
MEXTURES SESSIONS: @BLOODY_SCISSORS
Today, in anticipation of his Mextures Collective round (coming tomorrow!), we’re bringing you a Mextures tutorial from @bloody_scissors! Brad’s work is simply outstanding. Crisp images, bright colors, and yet always with a touch of darkness , his images and his edits are constantly impressing us. Read along below for a behind the scenes walkthrough of two of his edits and stay tuned to the Mextures Collective tomorrow for your chance to edit his original images!
Formula Code: MDZQWJR
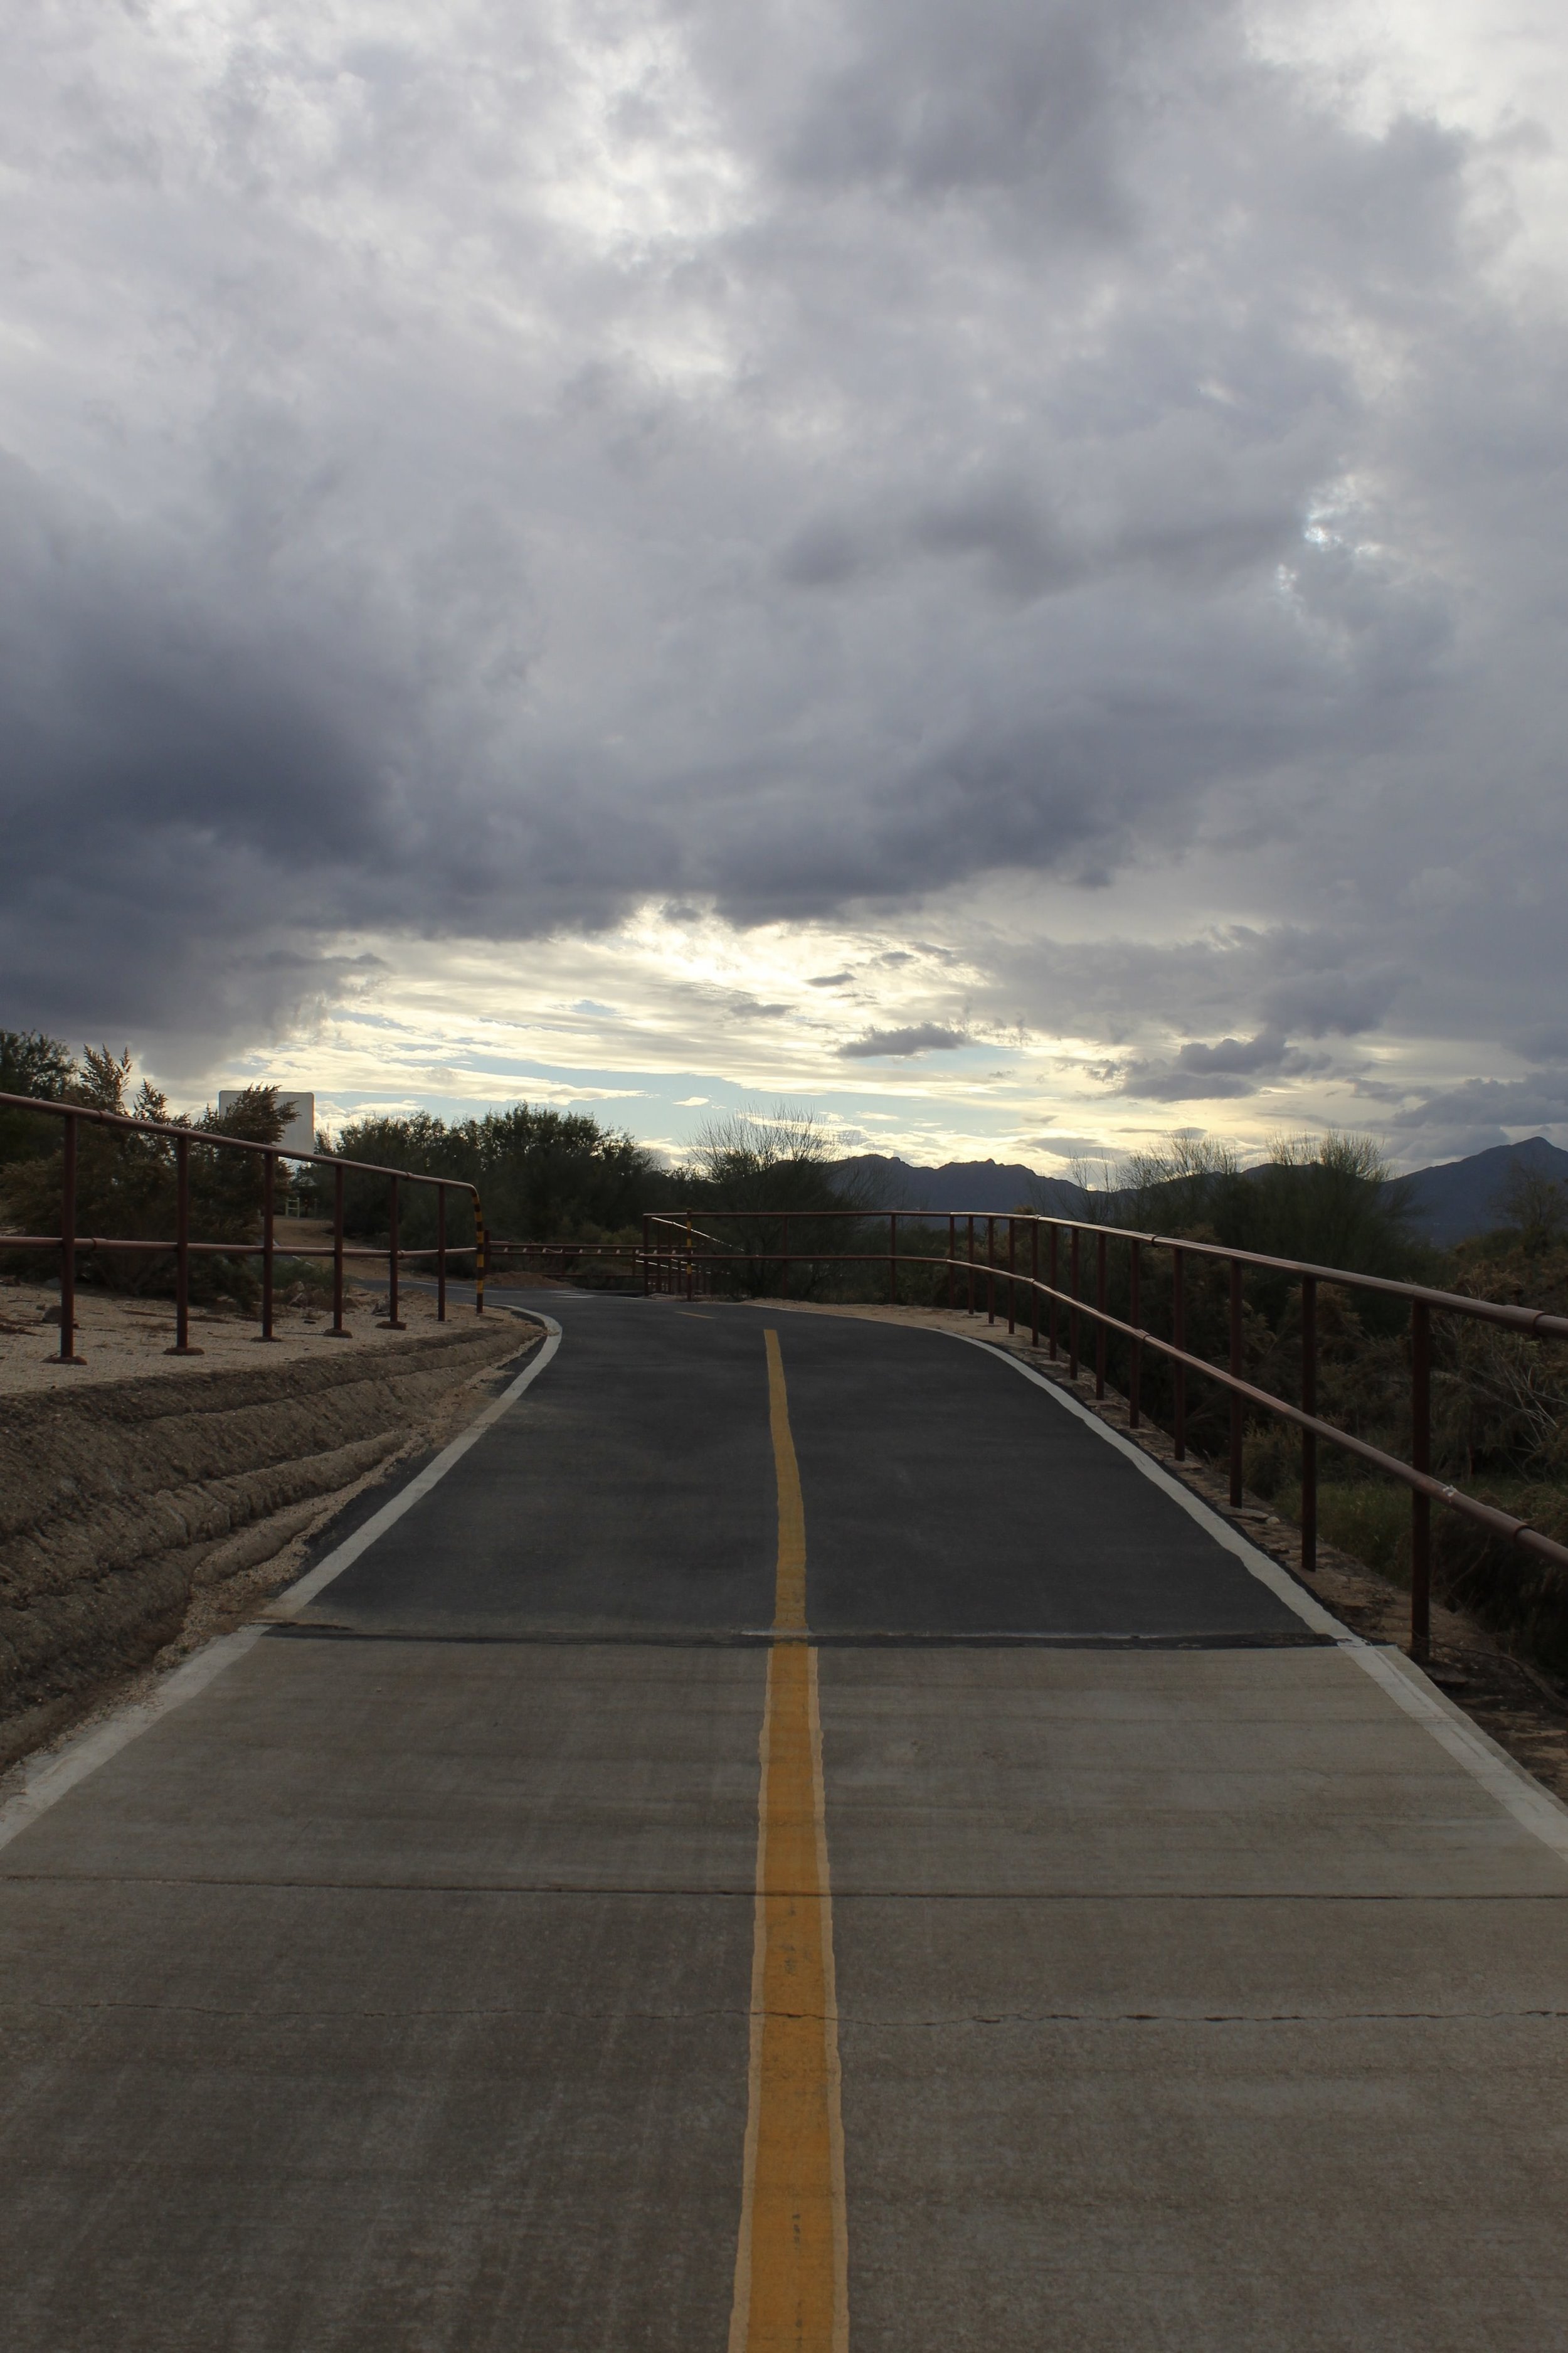
This shot is also why I love using Mextures, because I enjoy doing Landscapes as well.
For this edit with this shot I used the Grit And Grain pack again but this time I went with 1970. It darkened up the bottom half of the shot which made it balance with the lighter top half, as well as Telsa, that helped the balance also. I then went under the Landscape Enhance pack and chose Vignette, so I could darken the corners, making the eye focus on the center.
I finally went with the Vintage Gradients pack and chose Soil. It gave it a yellow natural glow that really made the shot appear almost as it was just a raw shot.
Formula Code: MDZQWJR
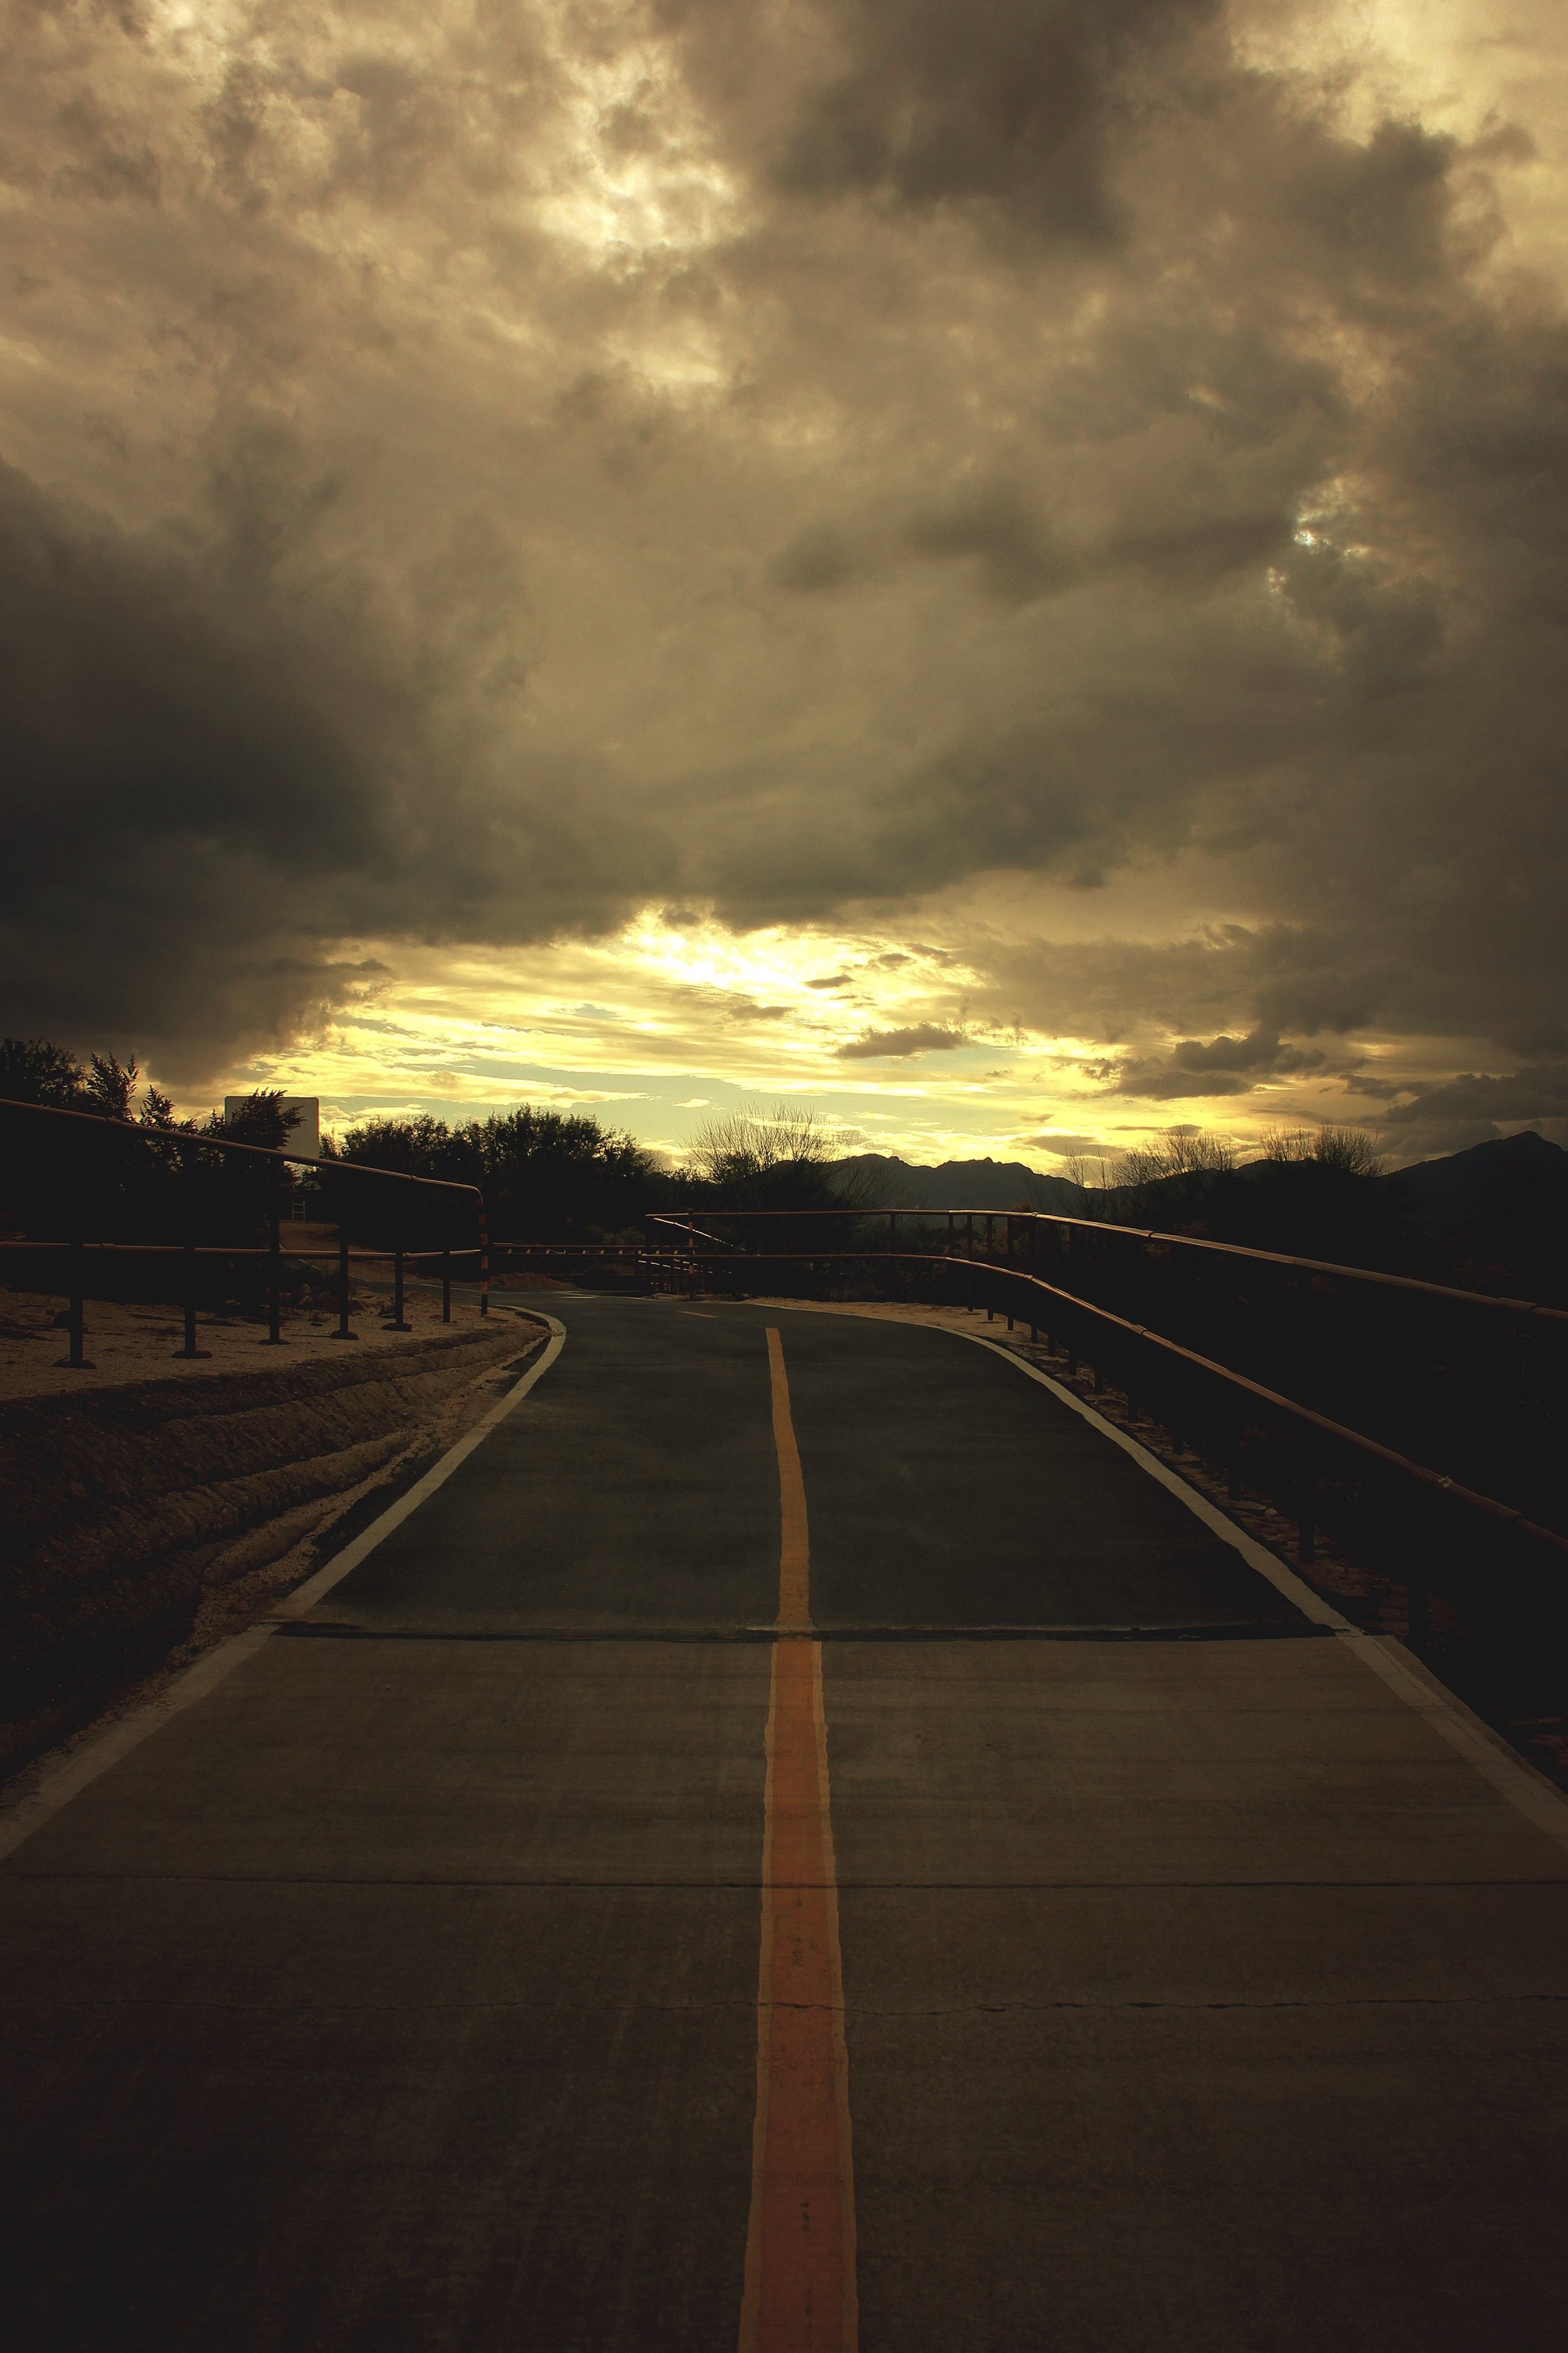
This shot is also why I love using Mextures, because I enjoy doing Landscapes as well.
For this edit with this shot I used the Grit And Grain pack again but this time I went with 1970. It darkened up the bottom half of the shot which made it balance with the lighter top half, as well as Telsa, that helped the balance also. I then went under the Landscape Enhance pack and chose Vignette, so I could darken the corners, making the eye focus on the center.
I finally went with the Vintage Gradients pack and chose Soil. It gave it a yellow natural glow that really made the shot appear almost as it was just a raw shot.
