
MEXTURES SESSIONS: @MERDERICH
Today we bring you a texturized and terrifically moody tutorial from our dear friend, Mar (@merderich)! Mar creates gorgeous artwork with her signature tones and textures. Her ability to transform an object, building, or landscape into a hauntingly gloomy scene with a touch of hope is both refreshing and unique. Mar was kind enough to share 3 of her formulas with us, as well as an explanation for her overlay choices along the way. Read along!
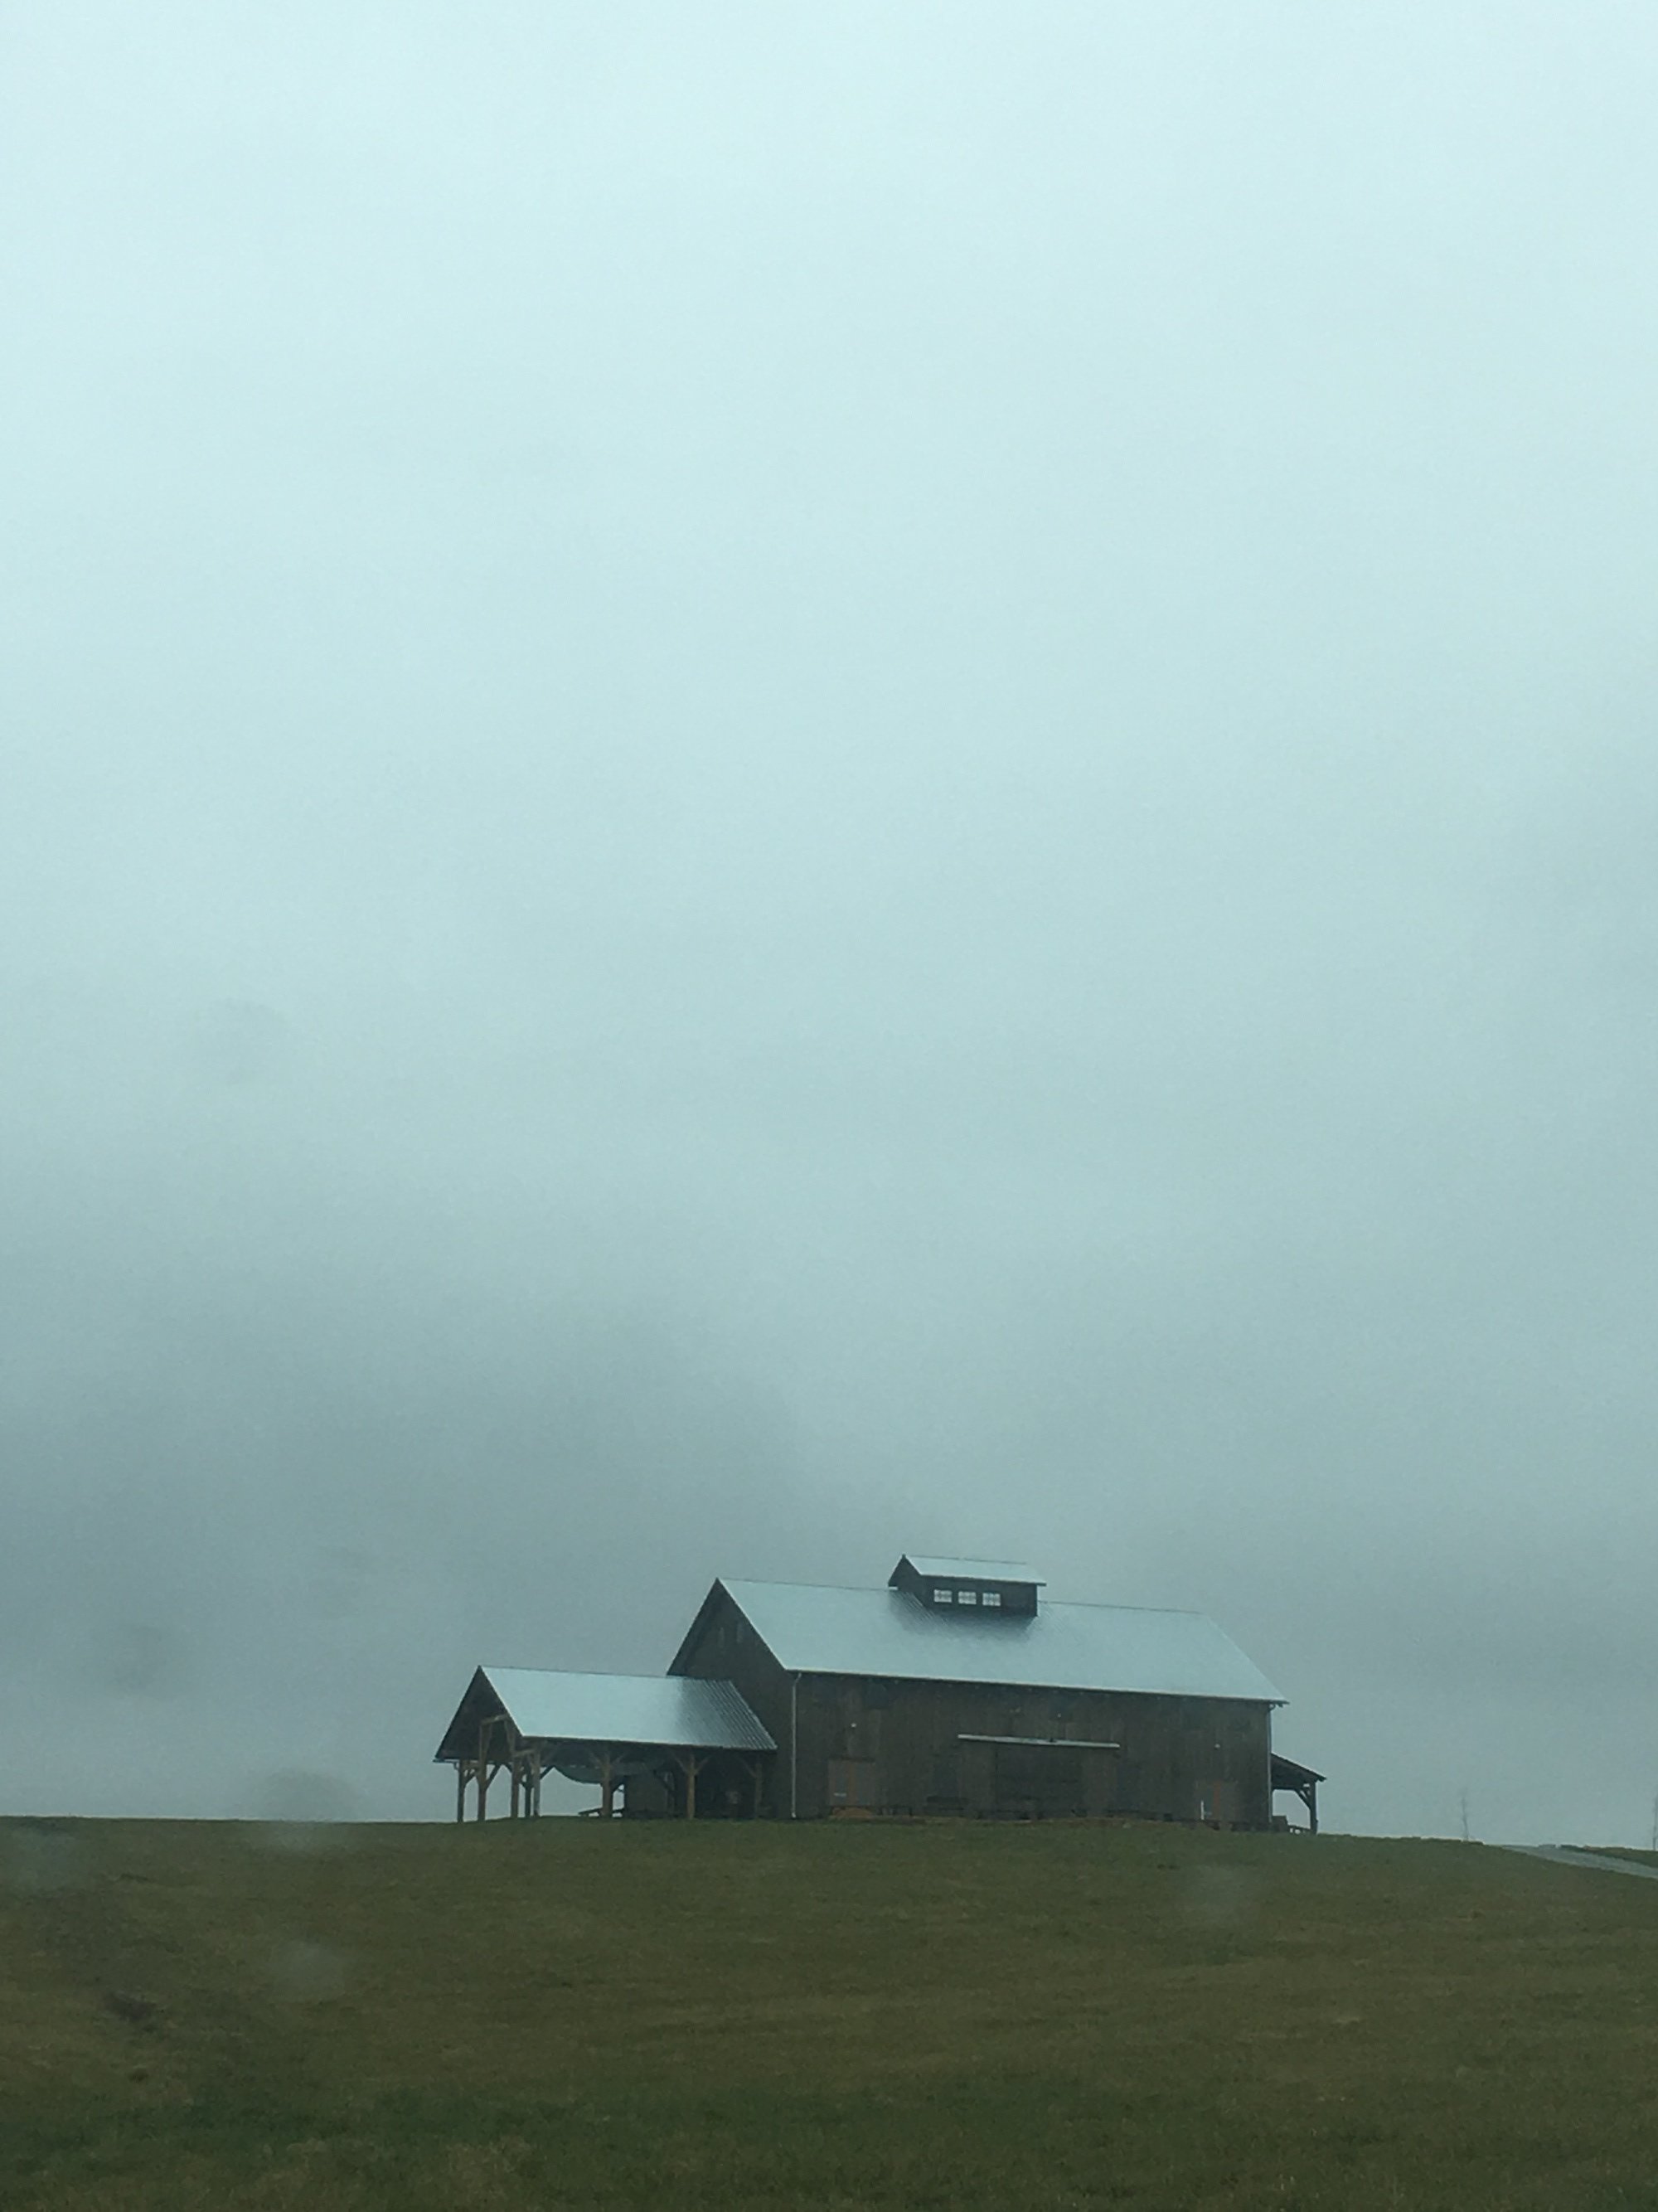
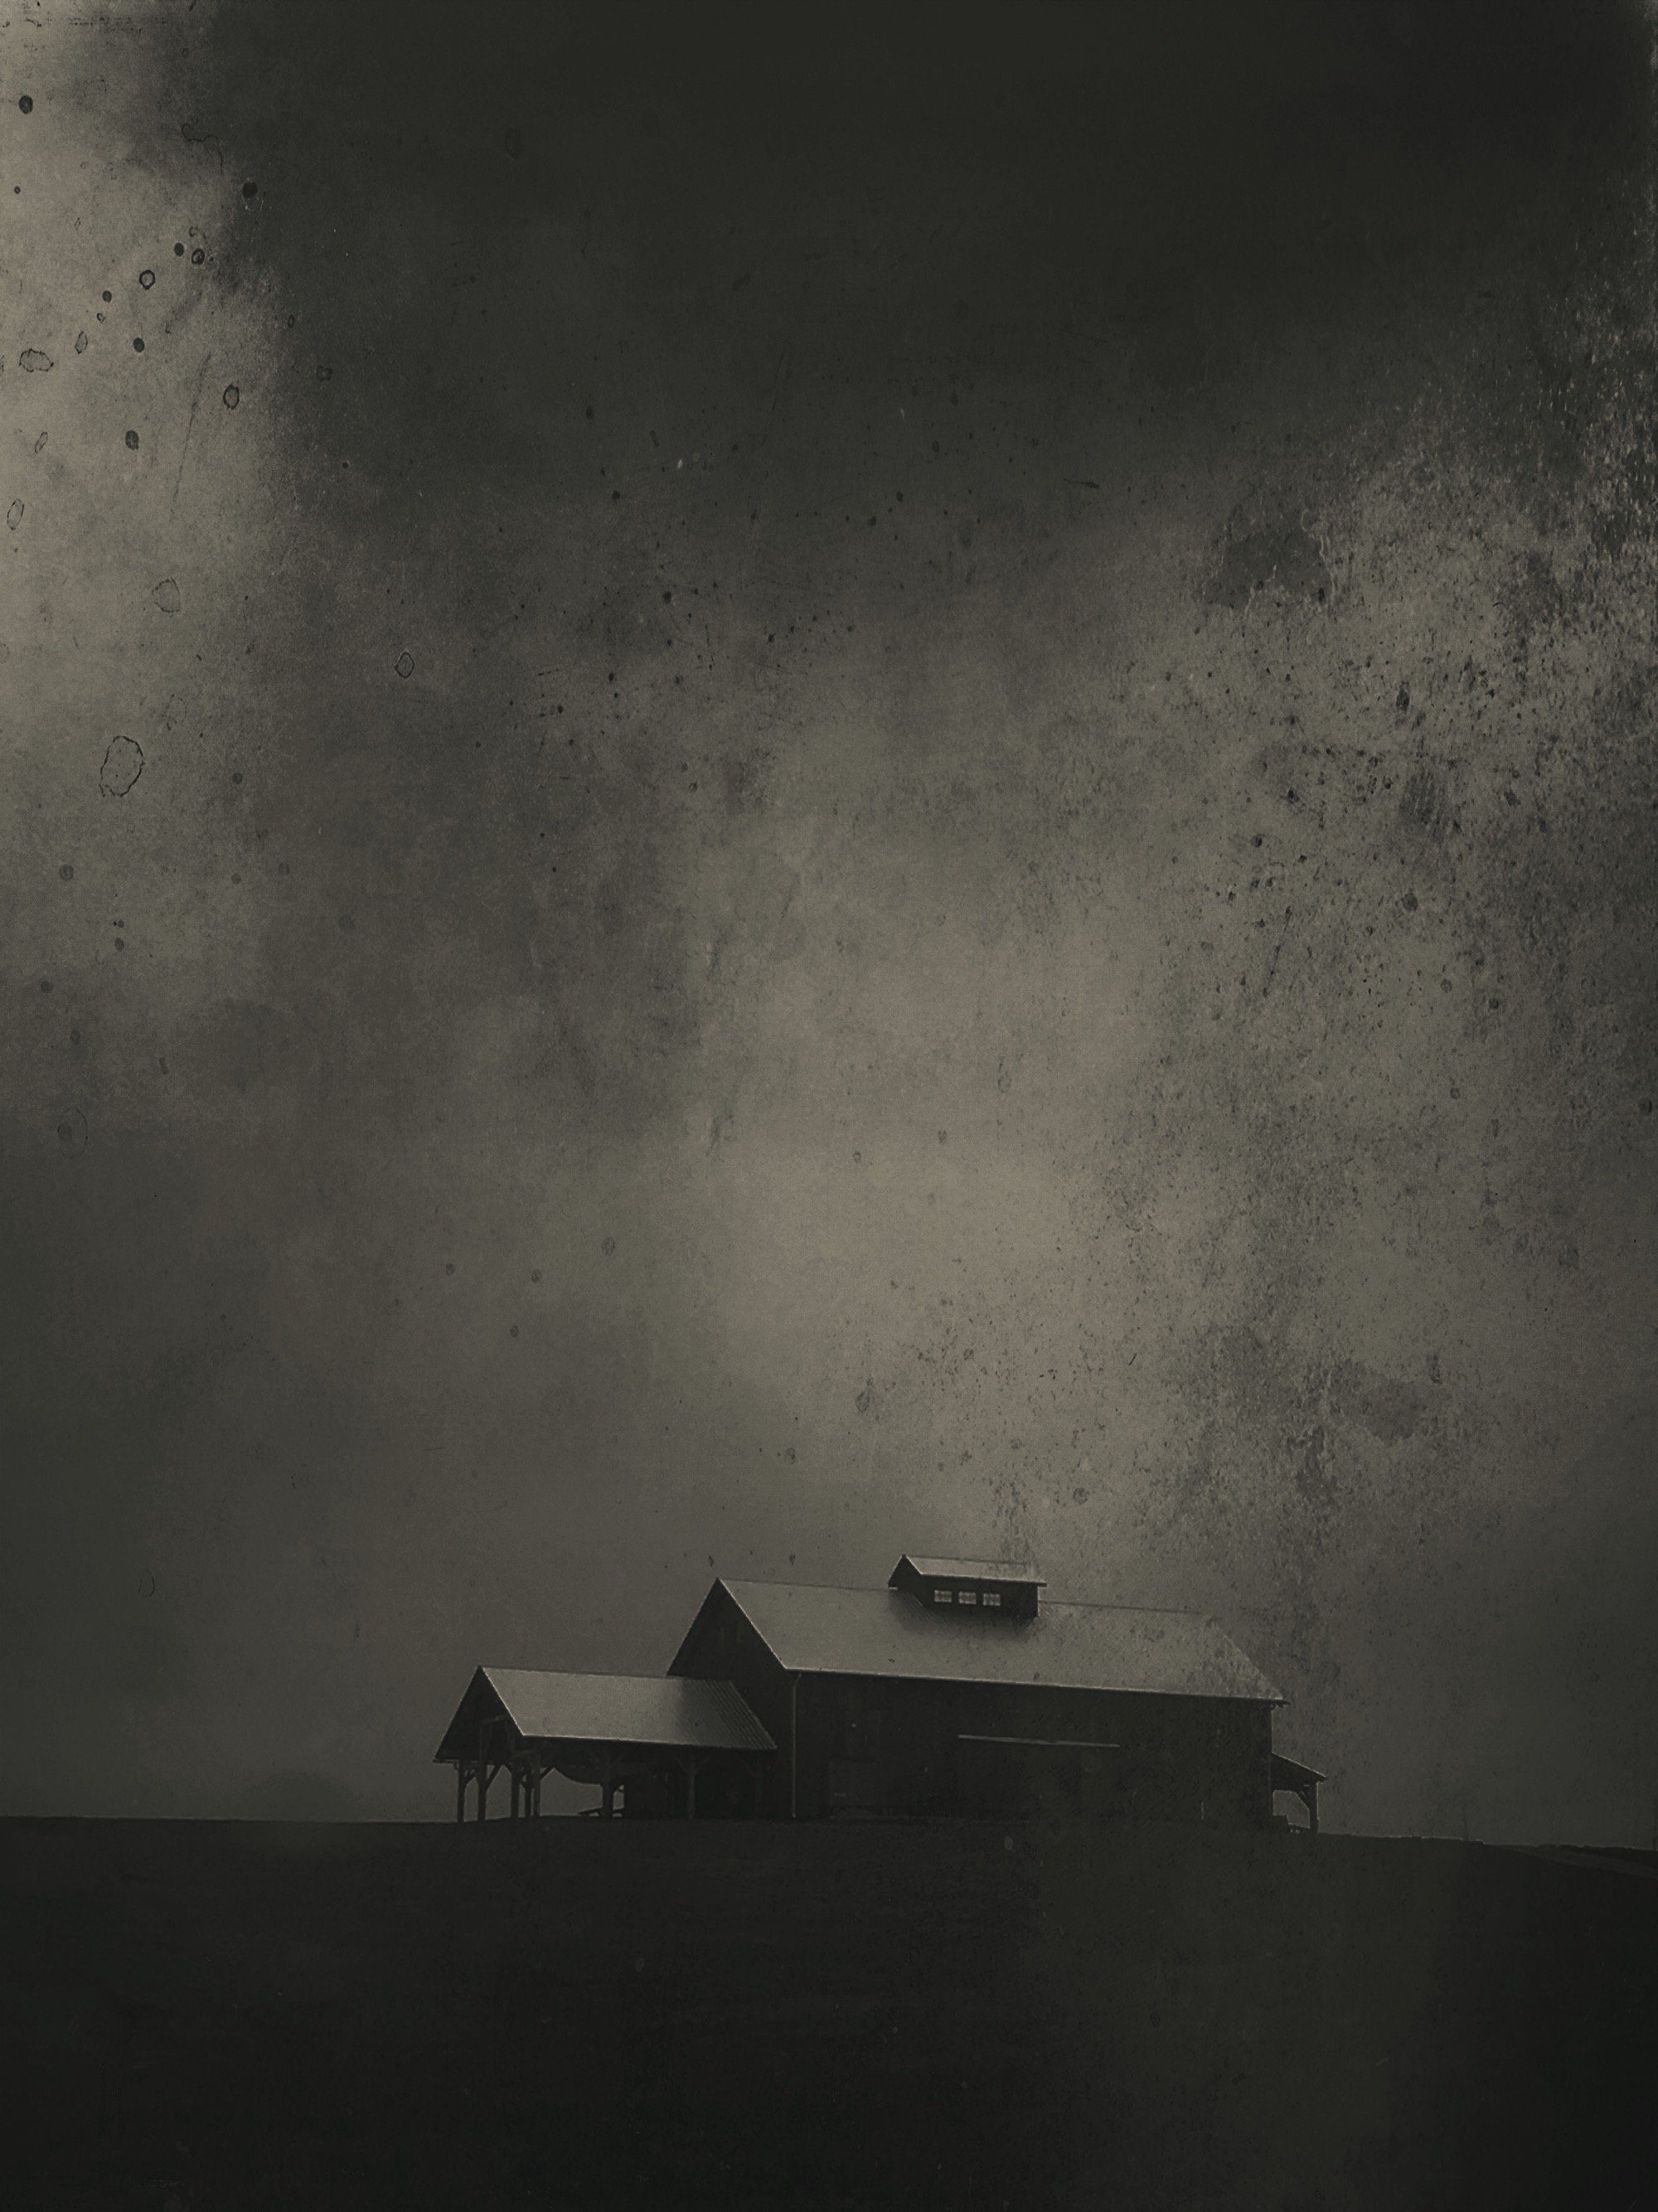
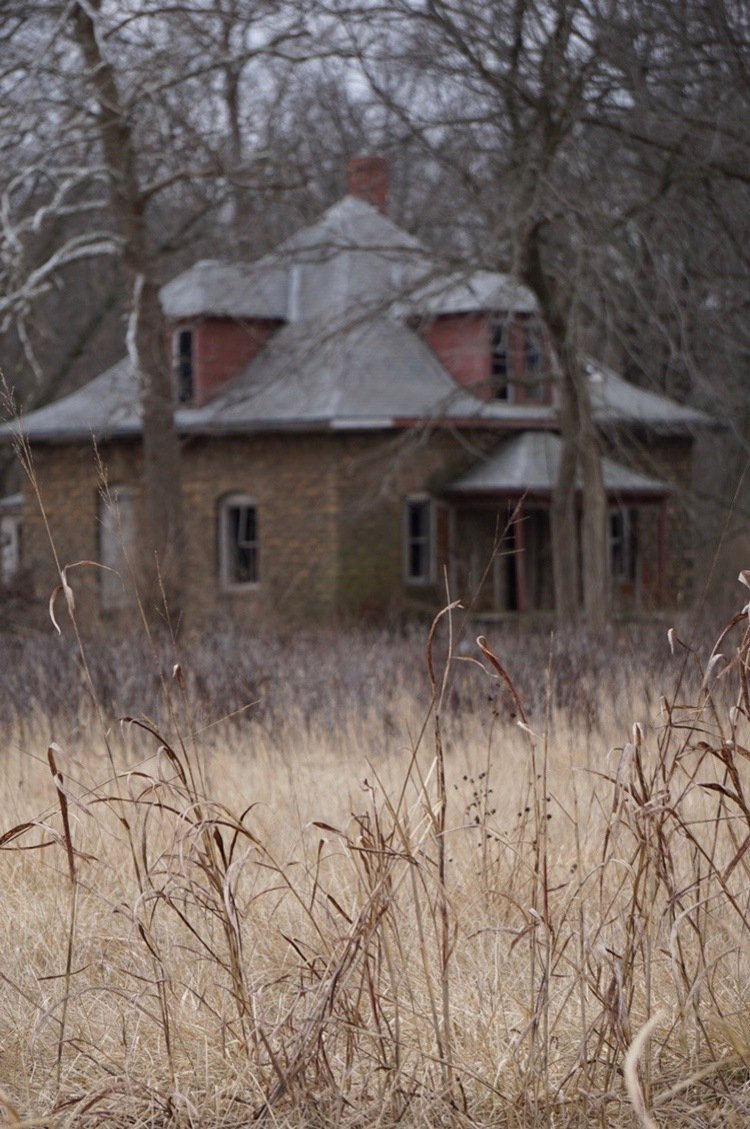
"Approaching Storm" - FGYZFYP
I love multi layers, because it mutes the image more and adds to the mood.
Here I’ve added 12 layers of grit, grunge and dust to create an atmosphere to this abandoned house. I usually use a vintage layer for the old effect, and then an anomaly or leak to create that eerie lighting. I went with a Punch preset to add a hint of yellowy antique mood, and finally used an Overlay blending mode.
If you import this formula, you’ll notice I’ve kept some layers, but they don’t factor into the layering...I’ve turned them off for this image...whereas, I’ve included them for another image.
Learning these layers/unlimited effects can be overwhelming at first...but also fascinating in that no 2 formulas are the same, and each formula applied can bring different effects for different images. The same formula can bring out different aspects of another image. I have over 1,000 formulas, some built off of others.
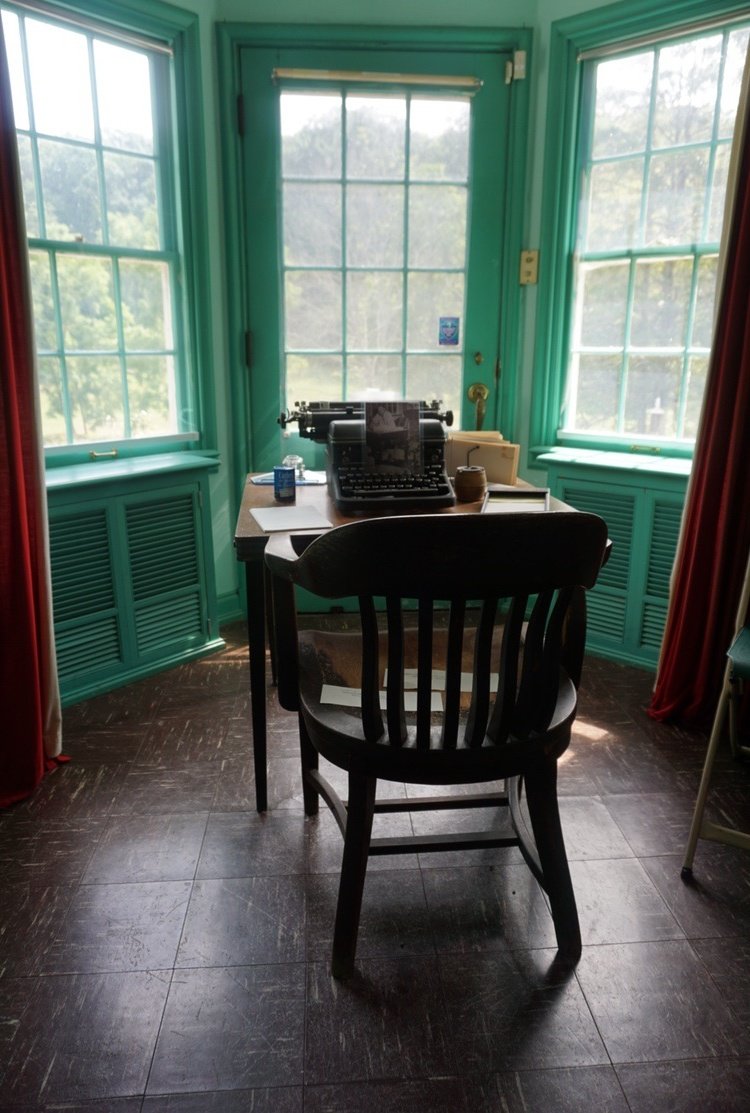
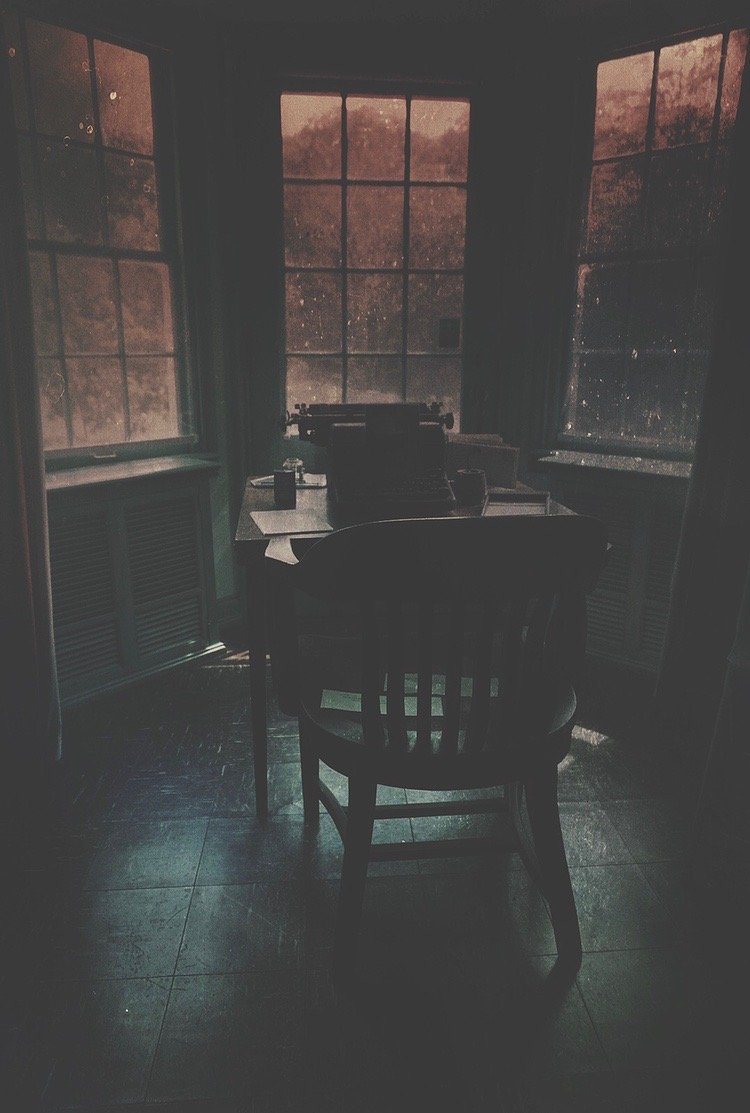
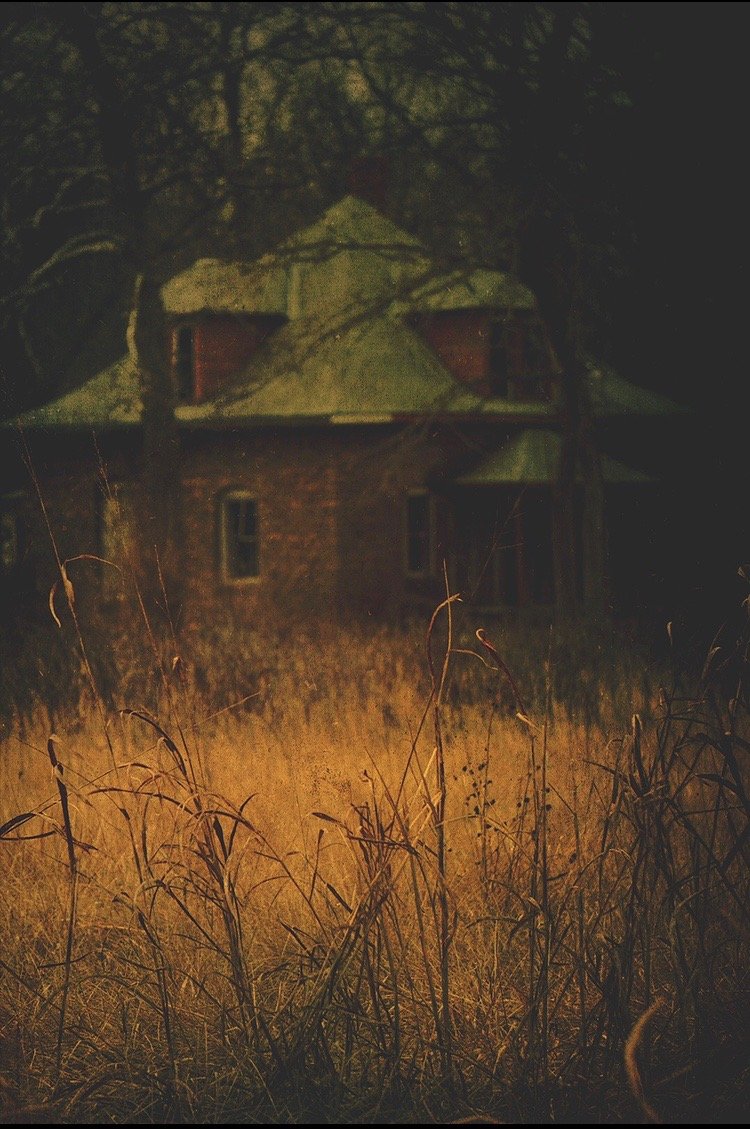
"Malabar" - LLKKKJB
Overlays, presets, and blending modes, the 3 aspects of using Mextures, are the same for me as drawing, painting and printmaking.
Deconstruction of a formula, even others’ formulas, is a super way to better understand how this app ticks...I think that why it’s cool to play with layers and pick ones as your “go to” faves. Make sure you save your formula, though...you can build off of old ones or go from color to bnw which becomes a whole new visual.
My faves are of course the ones that bring texture and lighting to my image...grit n grain, emulsion, leaks and anomaly.
I like to get “unearthly” lighting by using radiance and atmosphere layers, sometimes even flipping the layer upside down, help bring another element to the process by deepening the contrast or color.
By far my go to layer is the Franklin Emulsion layer...it creates atmosphere in my pics. This image begins with it, then I’ve added bits of landscape and vintage layers, plus those atmosphere layers that add lighting to certain areas, not necessarily the lighting that would occur through an open window...but that ethereal lighting I try to create. I like to mute a pic with Xfilm layers, then add more grain effect. Here, I’ve chosen the Diana preset to give the image a bit more rosy coloring, then I hit those special little double circles at the bottom left (blending mode) to soften the lighting...
"Spellbound" - JTQHECC
It’s no secret that I love that contrast between dark and light, mood and multi layers of texture. Because I’m into drawing, painting, printmaking...I think in lines and brush strokes. So, to take Mextures and use it as a tool for creating art, not just photography presets, is super interesting to me.
This pic is one of my faves in that I tried to dramatize the stormy atmosphere that erupted over my head moments after I clicked this image. Using bits of light leaks and emulsion grain layers, then going to vintage and landscape layers helped me create that mood on the hill I was going for...I literally was drawn to the layers named for the mood I wanted to convey; it’s that easy....playing with them, with the percentage of grain, or contrast of vintage is actually fun, and for me, it’s another medium to a piece of charcoal or a litho print.
See more beauty and talent from Mar right here!
