
MEXTURES SESSIONS: @THEGENTLEMANBRONCO
We're beyond stoked to bring you some behind the scenes action from one of our favorites, James Livitski (@thegentlemanbronco)! His work is consistently innovative and mesmerizing. Here, he breaks down his Mextures process for 3 of his pieces. Read along, import his formulas, and get creative!
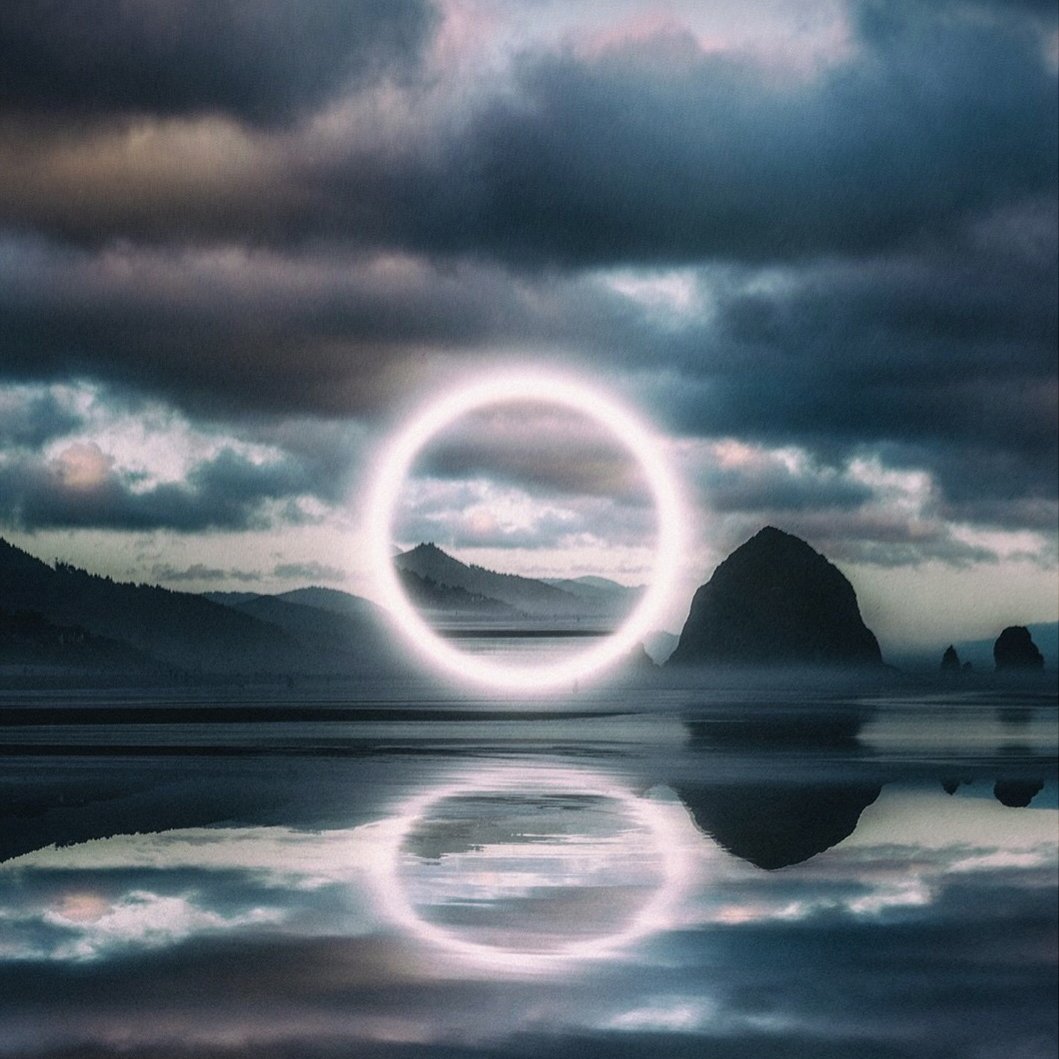
Hourglass
Mextures Formula: UPVKIJM
I’ve been really into purples and pinks lately. I wanted to bring those tones into this piece to give it a lot more life and some more mood. Surprisingly, I used a lot of warm overlays through the app, but using the apps blending modes with the image’s original cool tones, it got the piece exactly where I wanted it to be. I started with the dirty pop grunge overlay, brought it done to 6% opacity, with a lighten blending mode. Added the window wash grunge overlay with a soft light blending mode, and brought it down to 40% opacity. Finally, added a neutral density texture with an overlay blending mode to tone down the water and make it a little more dark.

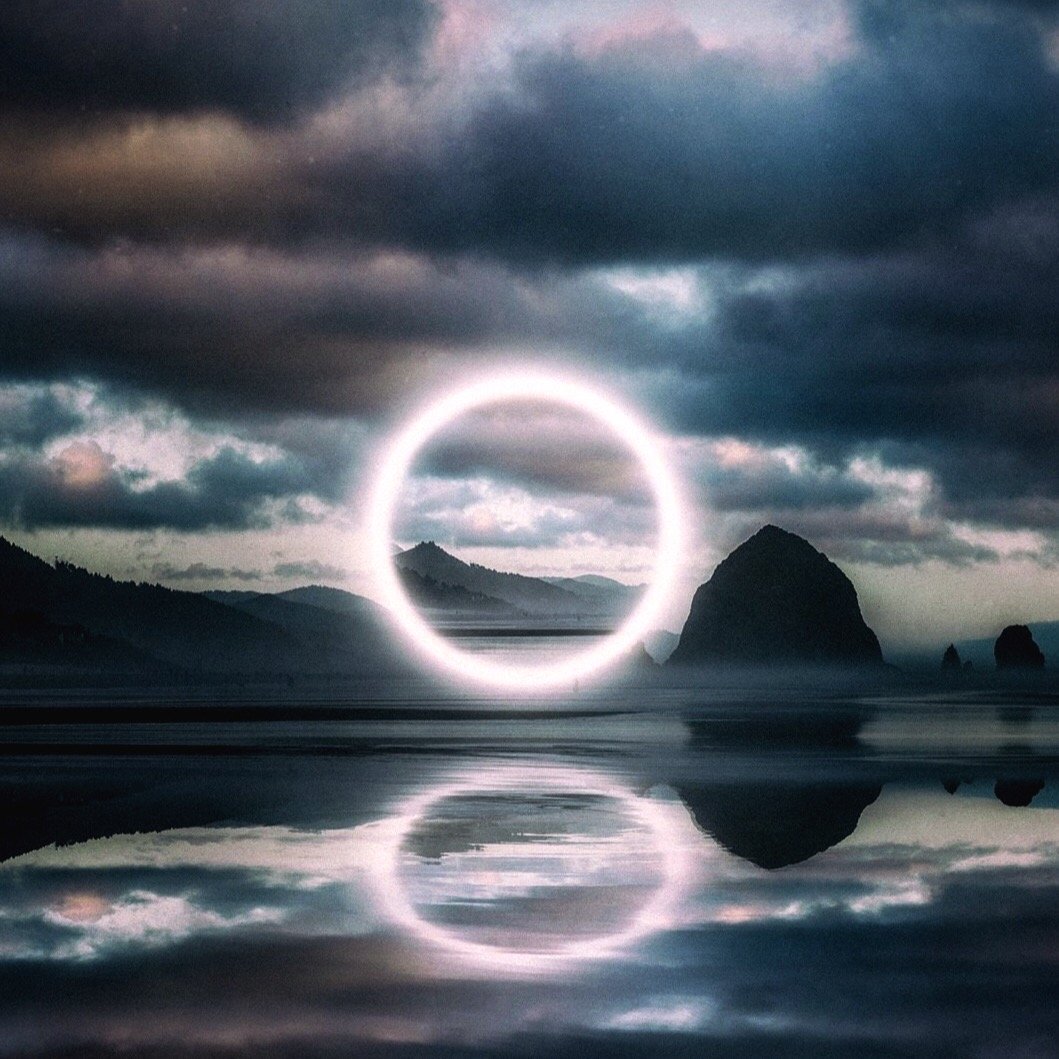
Coastal Break
Mextures Formula: JFXXAFV
This is a piece I’ve had brewing in my mind for awhile. I made a piece a few years ago called ‘Imagine Herbal Flows’ that directly inspired this piece. While the piece done in Photoshop looked rad, I felt I wanted to push the mood just a tad more. I achieved this by using just three overlays in Mextures. I love the grunge pack, so I used the window wash overlay at 6% opacity with a multiply blending mode, duplicated it, brought it up to 9%, rotated the overlay twice, and changed the blending mode to soft light. That was it, just that alone brought the tones in I was looking for, but just for a little more mood I added a vignette with an Overlay blending mode at 4% opacity. This added a little more darkness to the piece.
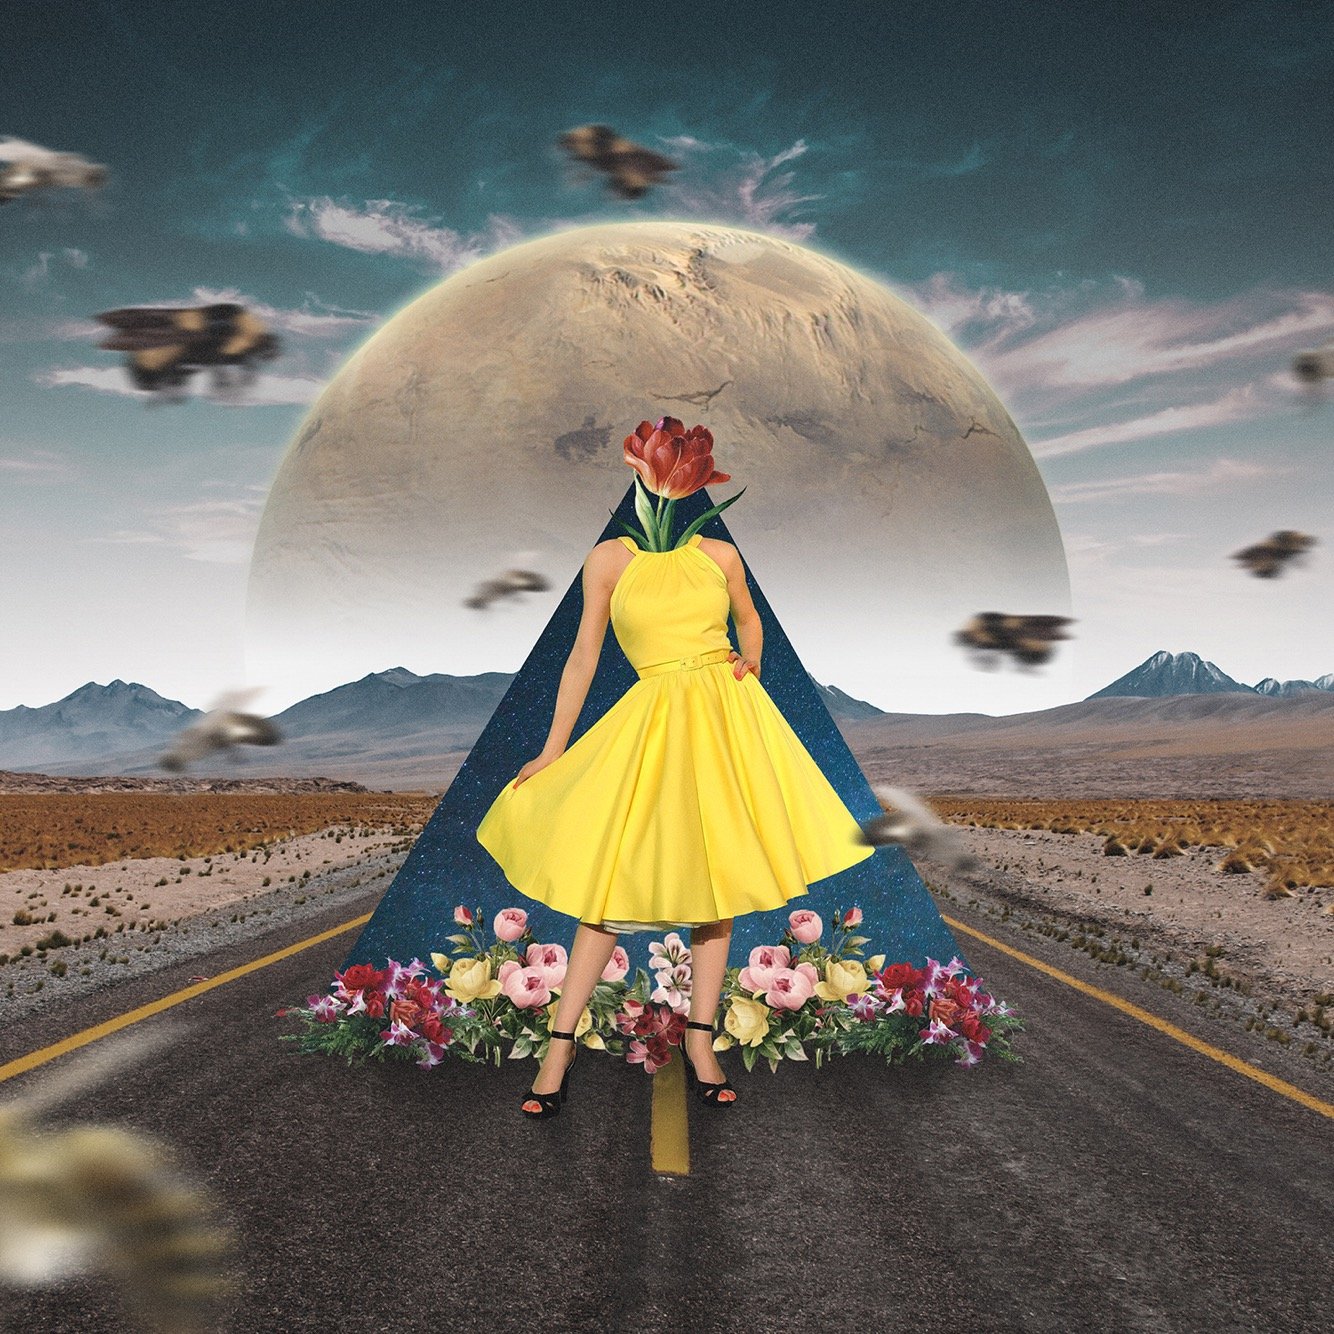
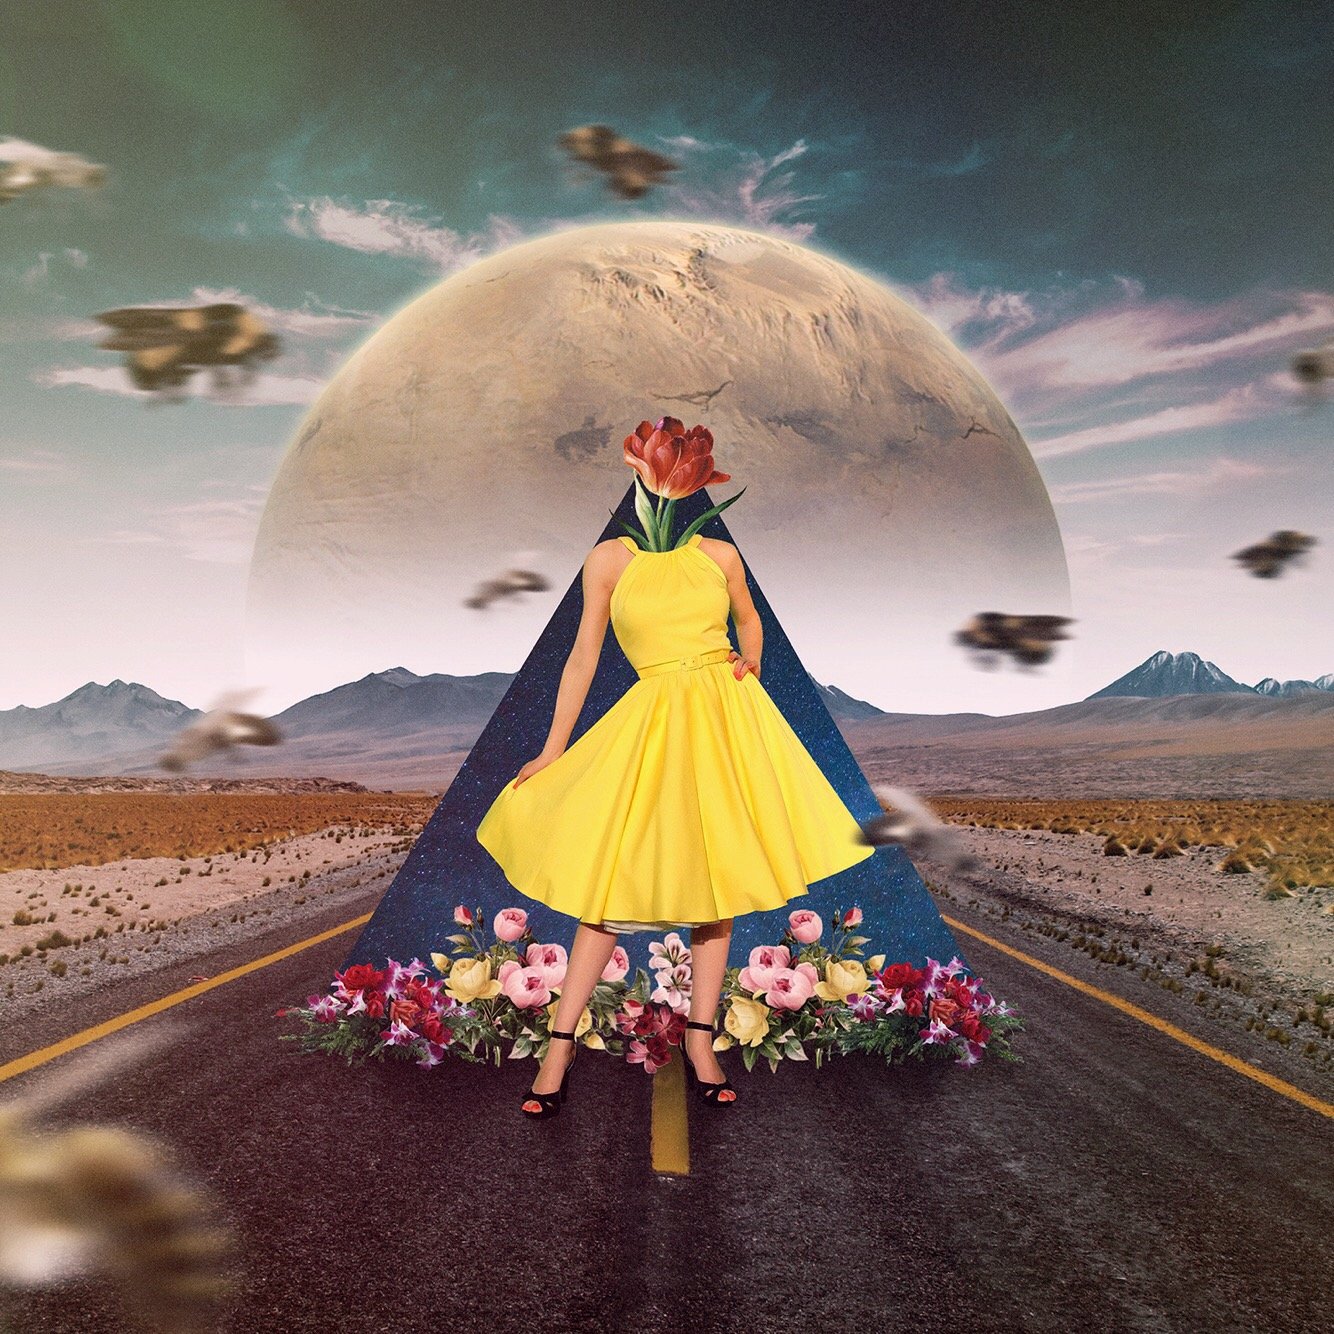
Summer Friends
Mextures Formula: UPMWWMI
This was a fun piece that needed to have more of a tonal pop. I wanted the tones to be fun and vibrant like the flowers used in the image. The image looked a little flat originally, so I brought it into Mextures and started by adding a digital darling texture with a screen blending mode at 27% opacity. I added the bokeh baby texture because bokeh has the in and out of focus feel that I thought would work well with the bees in the image. So, I added it into the mix with a screen overlay at 13% opacity. I then added the tropicana light leak with an overlay blending mode at 5% opacity, then an oz light leak to finish it off with a screen blending mode at 3% opacity. All the layers added were all at a low opacity, but you can see what just adding a few layers at low opacity can dramatically change your image.
See more incredible work from James here and shop his art here!
