
MEXTURES SESSIONS: @ELLIEPRITTS
Our lovely friend, Ellie Pritts, dropped by the digital Mextures headquarters recently to give us a sneak peak of her creative process. While we've discussed her ability to use Mextures to paint her photos with wild and beautiful colors in the past, we wanted to take it a step further. We asked Ellie to walk us through her editing approach for three of her pieces to give us an in-depth look into the how and the why of her Mextures technique. Below you'll find what she shared with us along with her corresponding Mextures formula codes. Let us and Ellie know what you think!
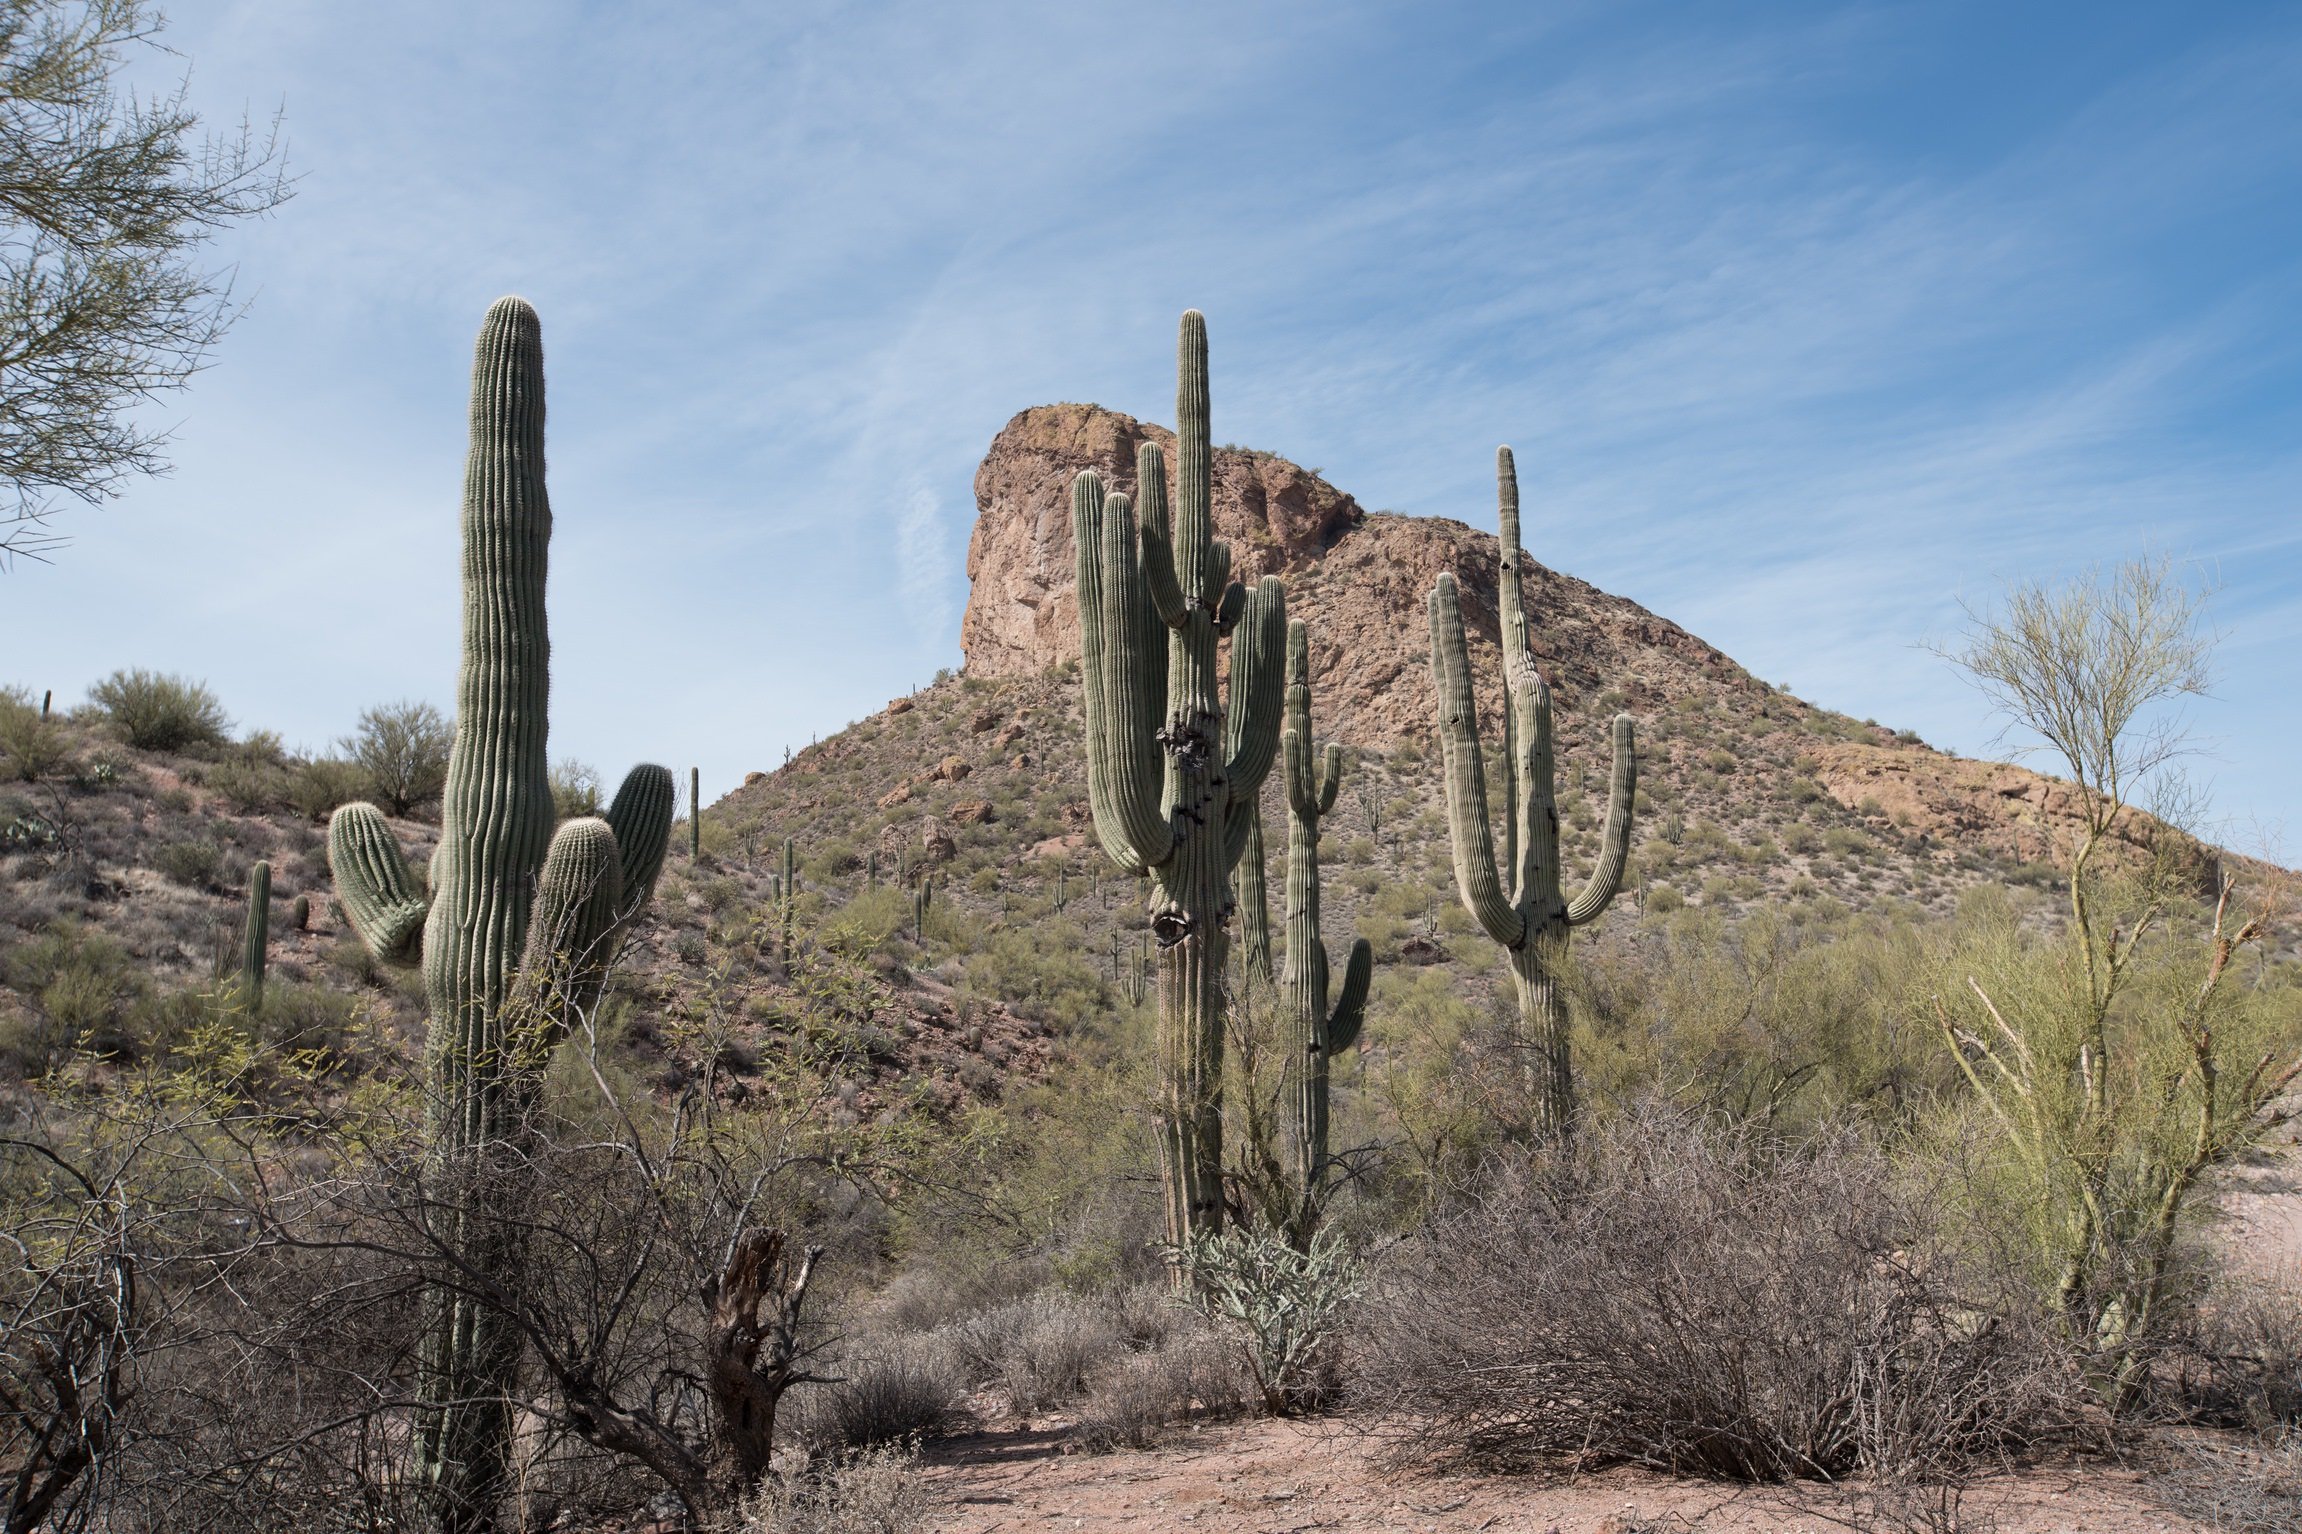
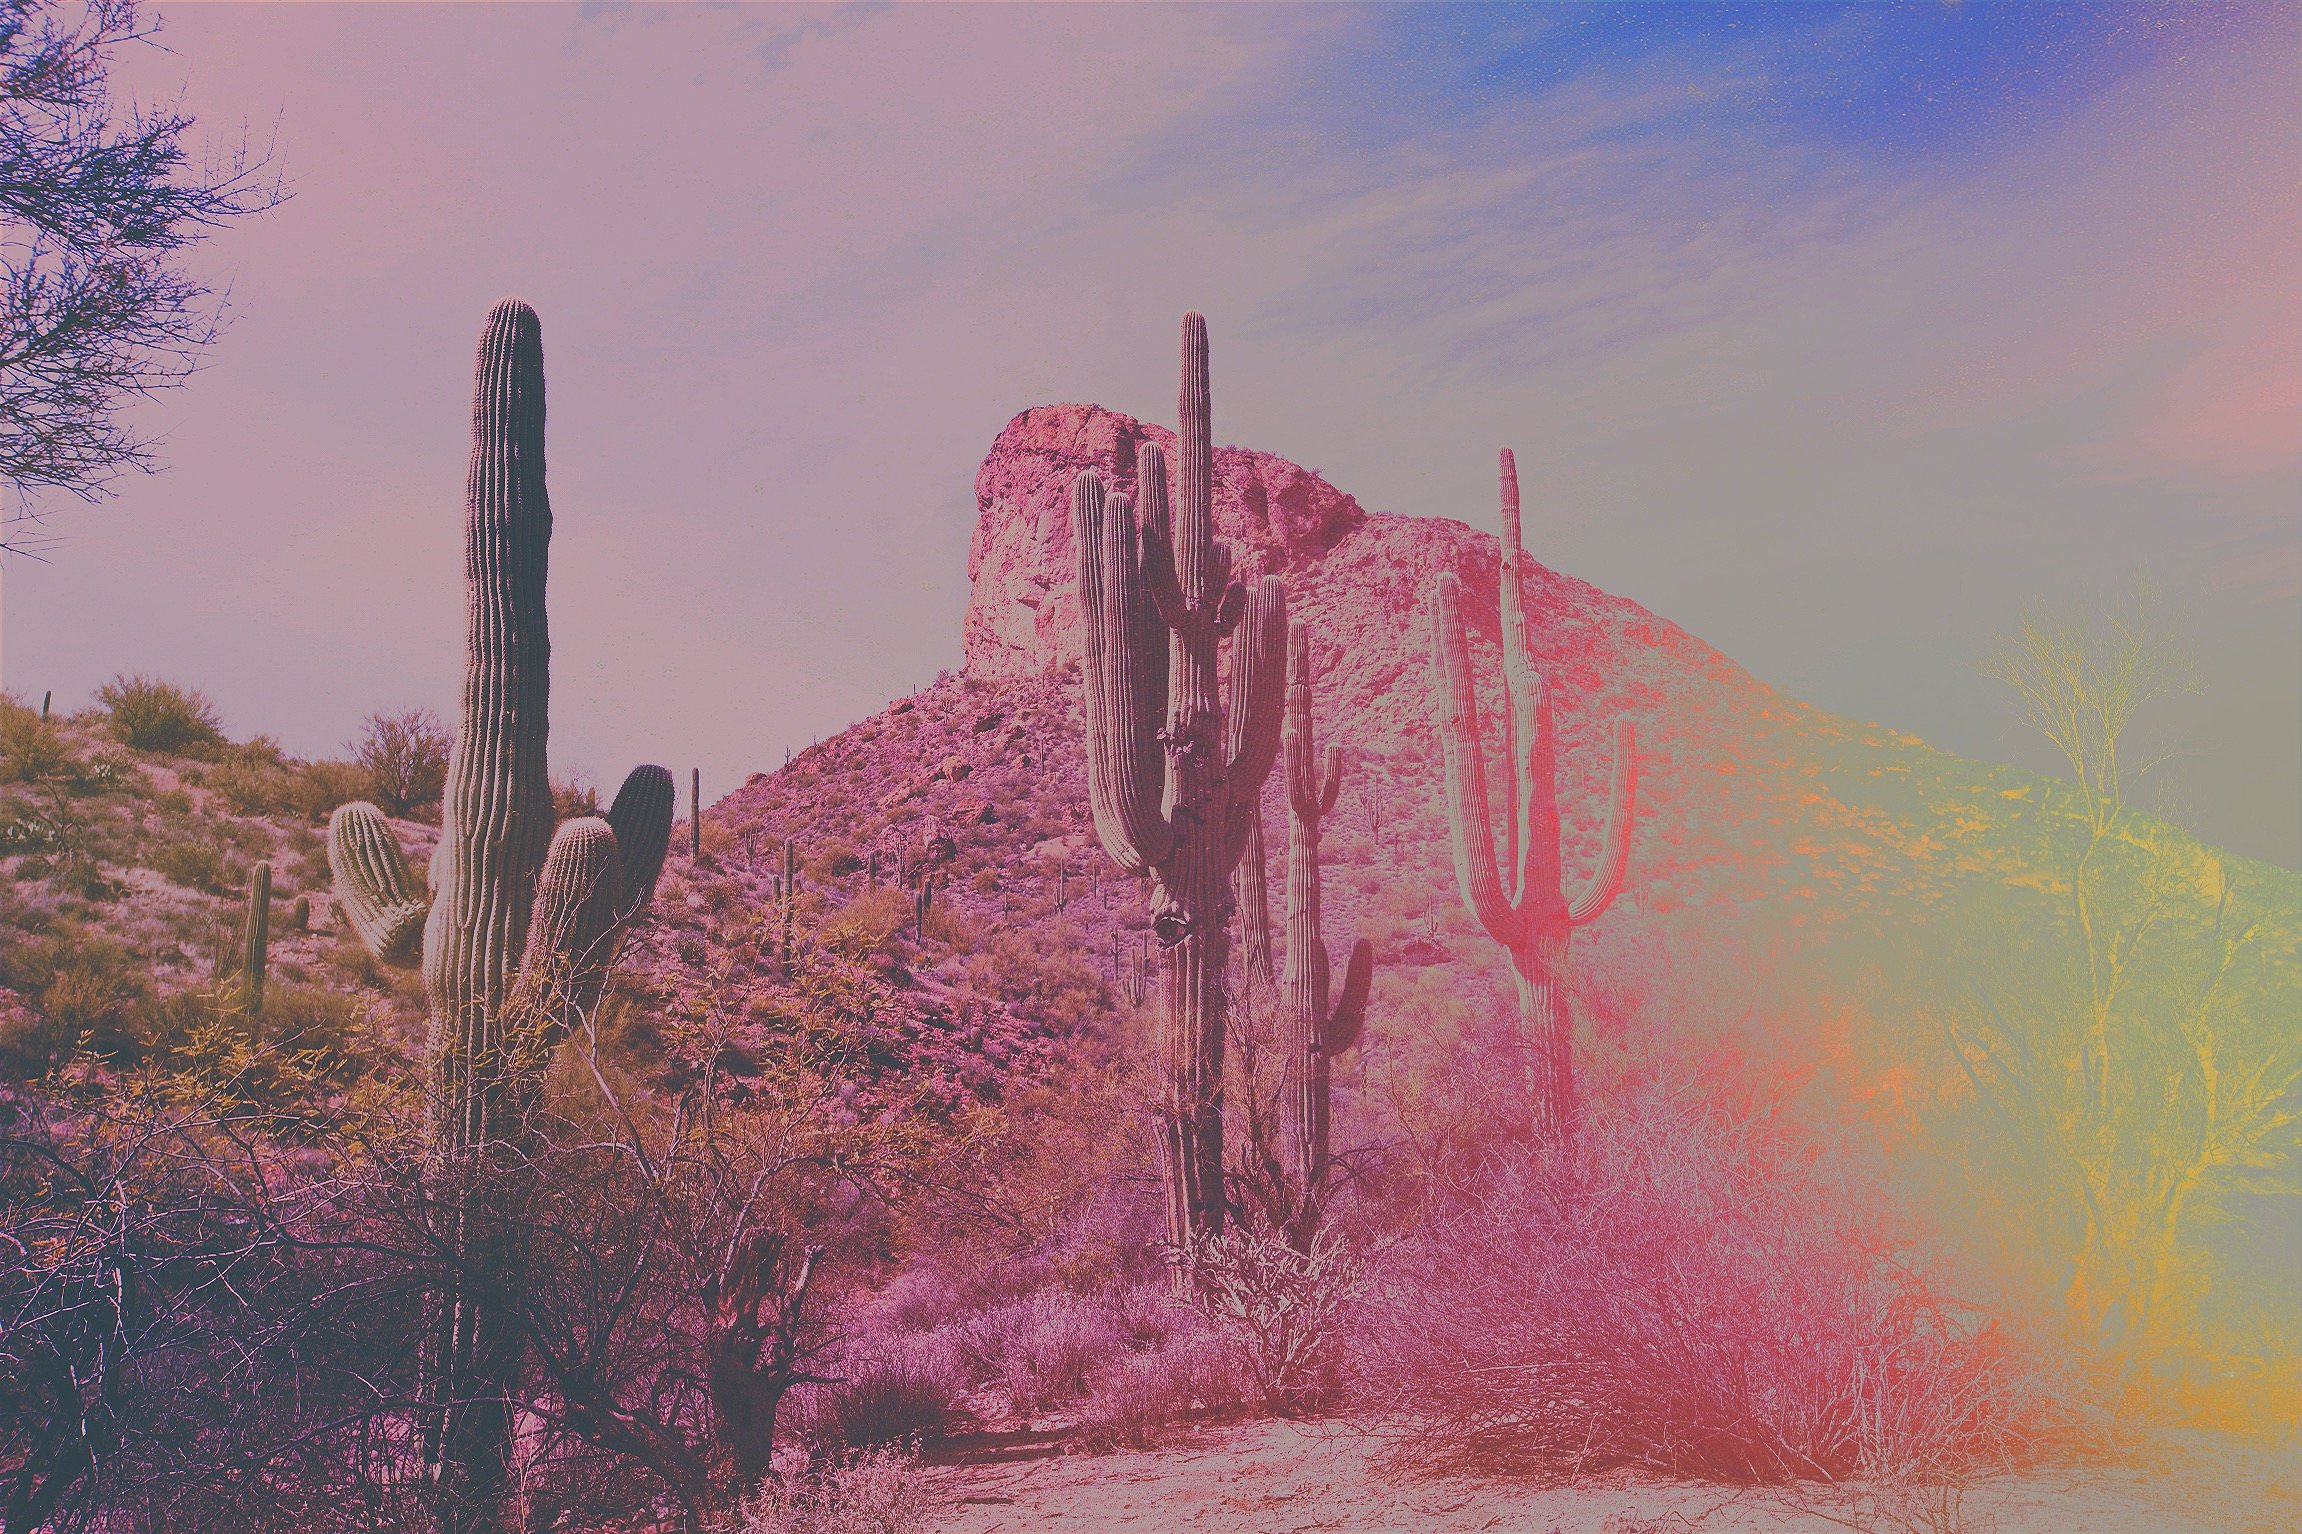
Formula Code - NSBRETU
I've been obsessed with desert photography lately. Something about the landscape really lends itself to the colorful palettes I like to use. I love purple hues so the first thing I did with this photo was add the X-Film Mauve overlay set to hard light so it's extra bold and helps boost the contrast of the original photo. I also find that these hues look best with the PX-680 film preset so I went ahead and used that. At this point the photo was pretty dark outside of the sky, so I knew I wanted to add some light leaks to bring light and detail back into the dark areas of the ground and cacti. My favorite blend mode for light leaks (and just in general) is exclusion. I like the colorful, inverted effect it brings to photos. So I started with Stopwatch and set that to exclusion and used it to bring some more light into the very bottom of the photo. I finished it off with Candle, also blended in exclusion mode and that's what's creating that cool, psychedelic effect on the right side of the photo.
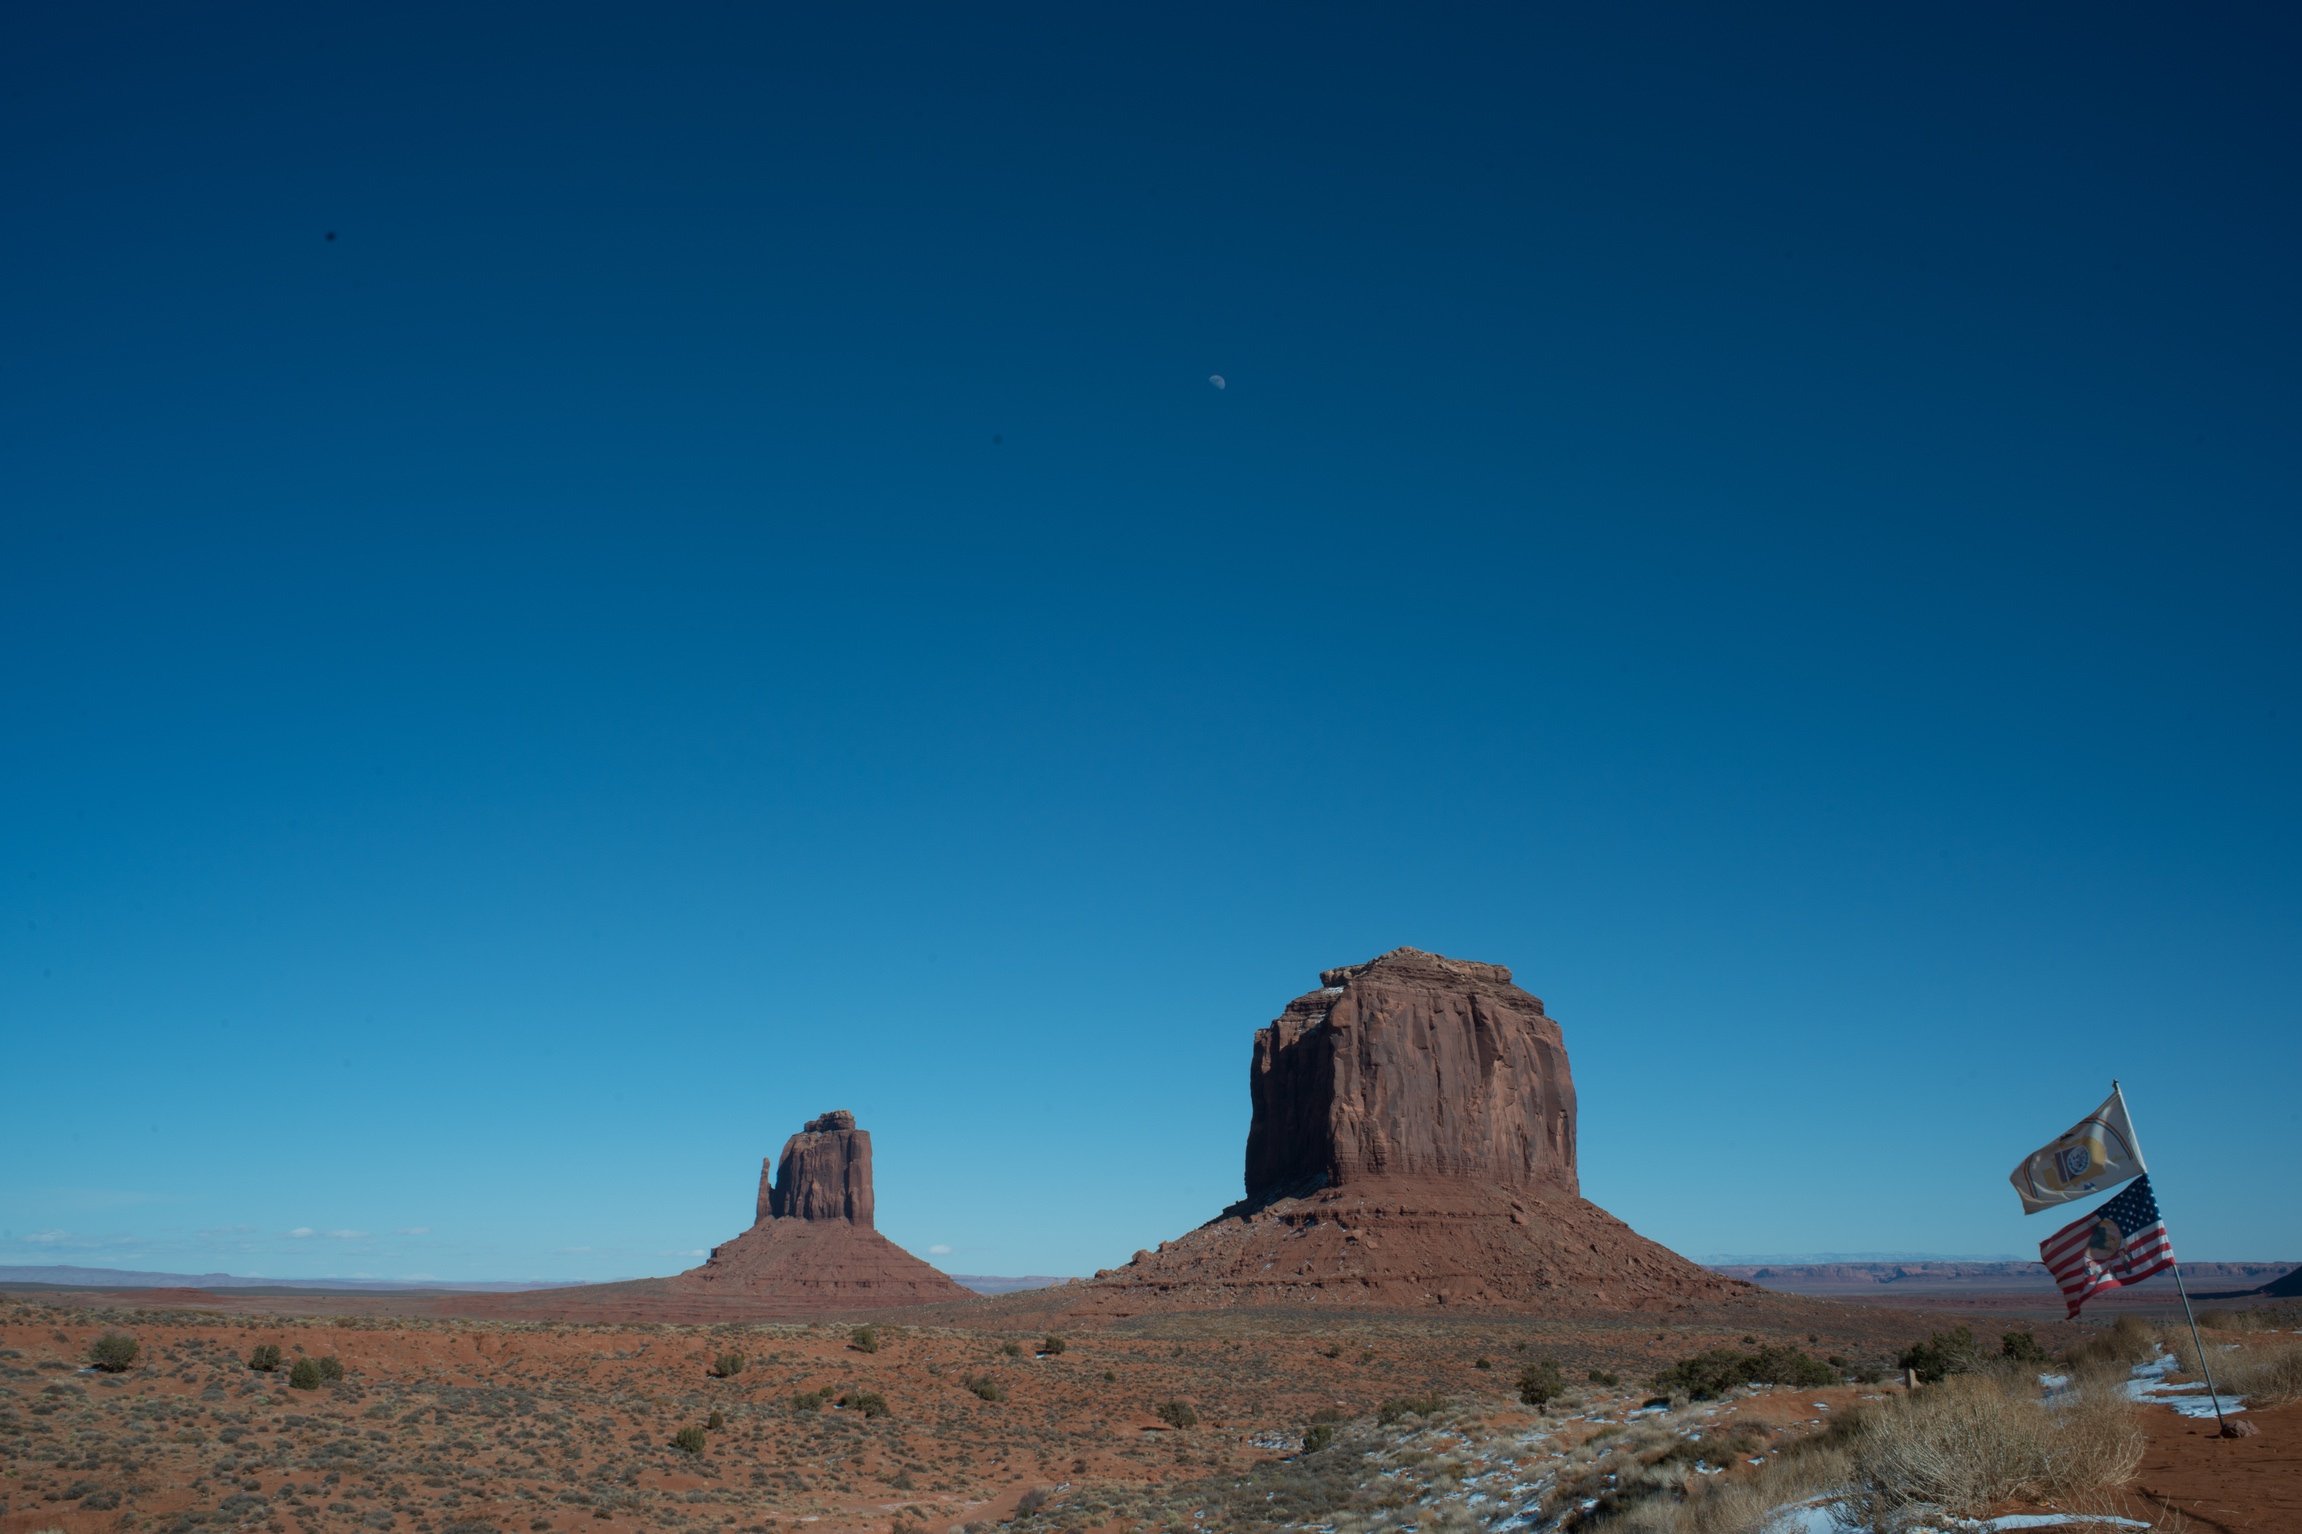
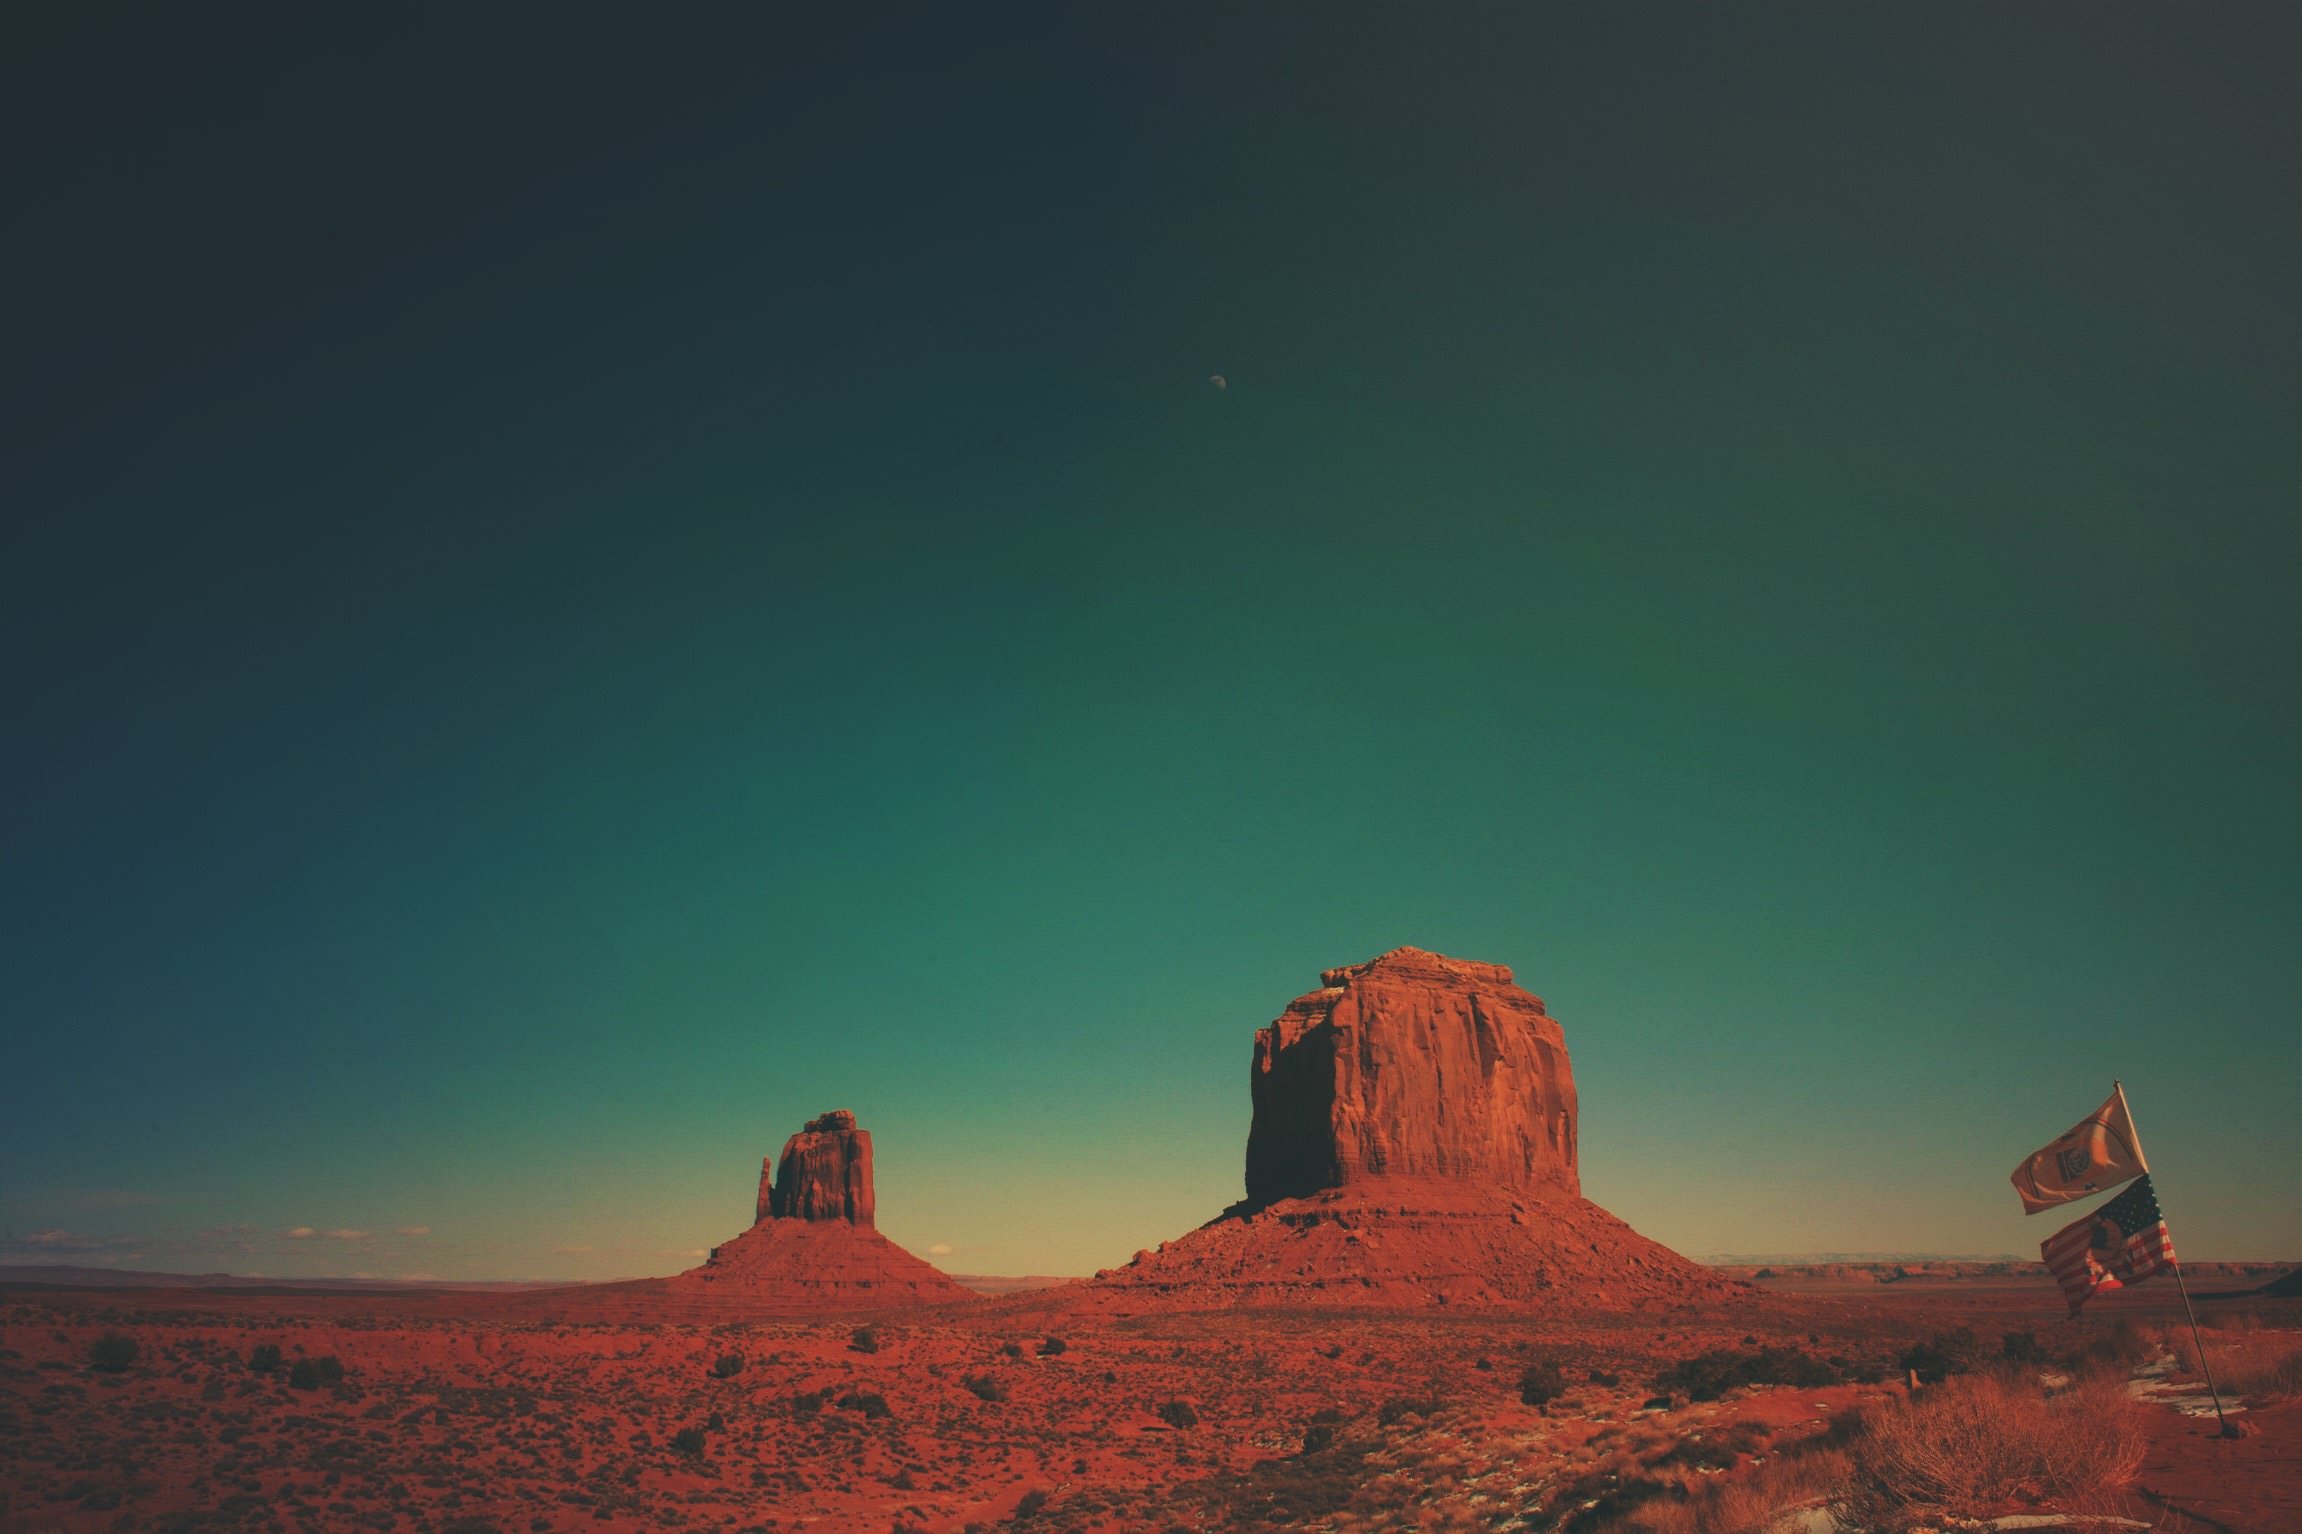
Formula Code - NUZBKUA
This one is from Monument Valley, one of my favorite places in the world. I wanted to highlight its beautiful red rocks with this photo, and make the sky extra moody and dark. I used the Flare overlay to bring more light into the center of the photo, created a somewhat vignetted look. Then I used Azure from my favorite pack, the X- Film overlays. I picked this nice blue color and set the blend mode to difference to help bring drama to the sky and create a nice contrast between it and the red rocks. The final touch for this photo was adding the Blood Orange overlay from the Vintage Gradients pack. That is what gives the mesas that final push of orangey red. At the end I used the PX-680 Warm film preset at the end to bring together the tones.
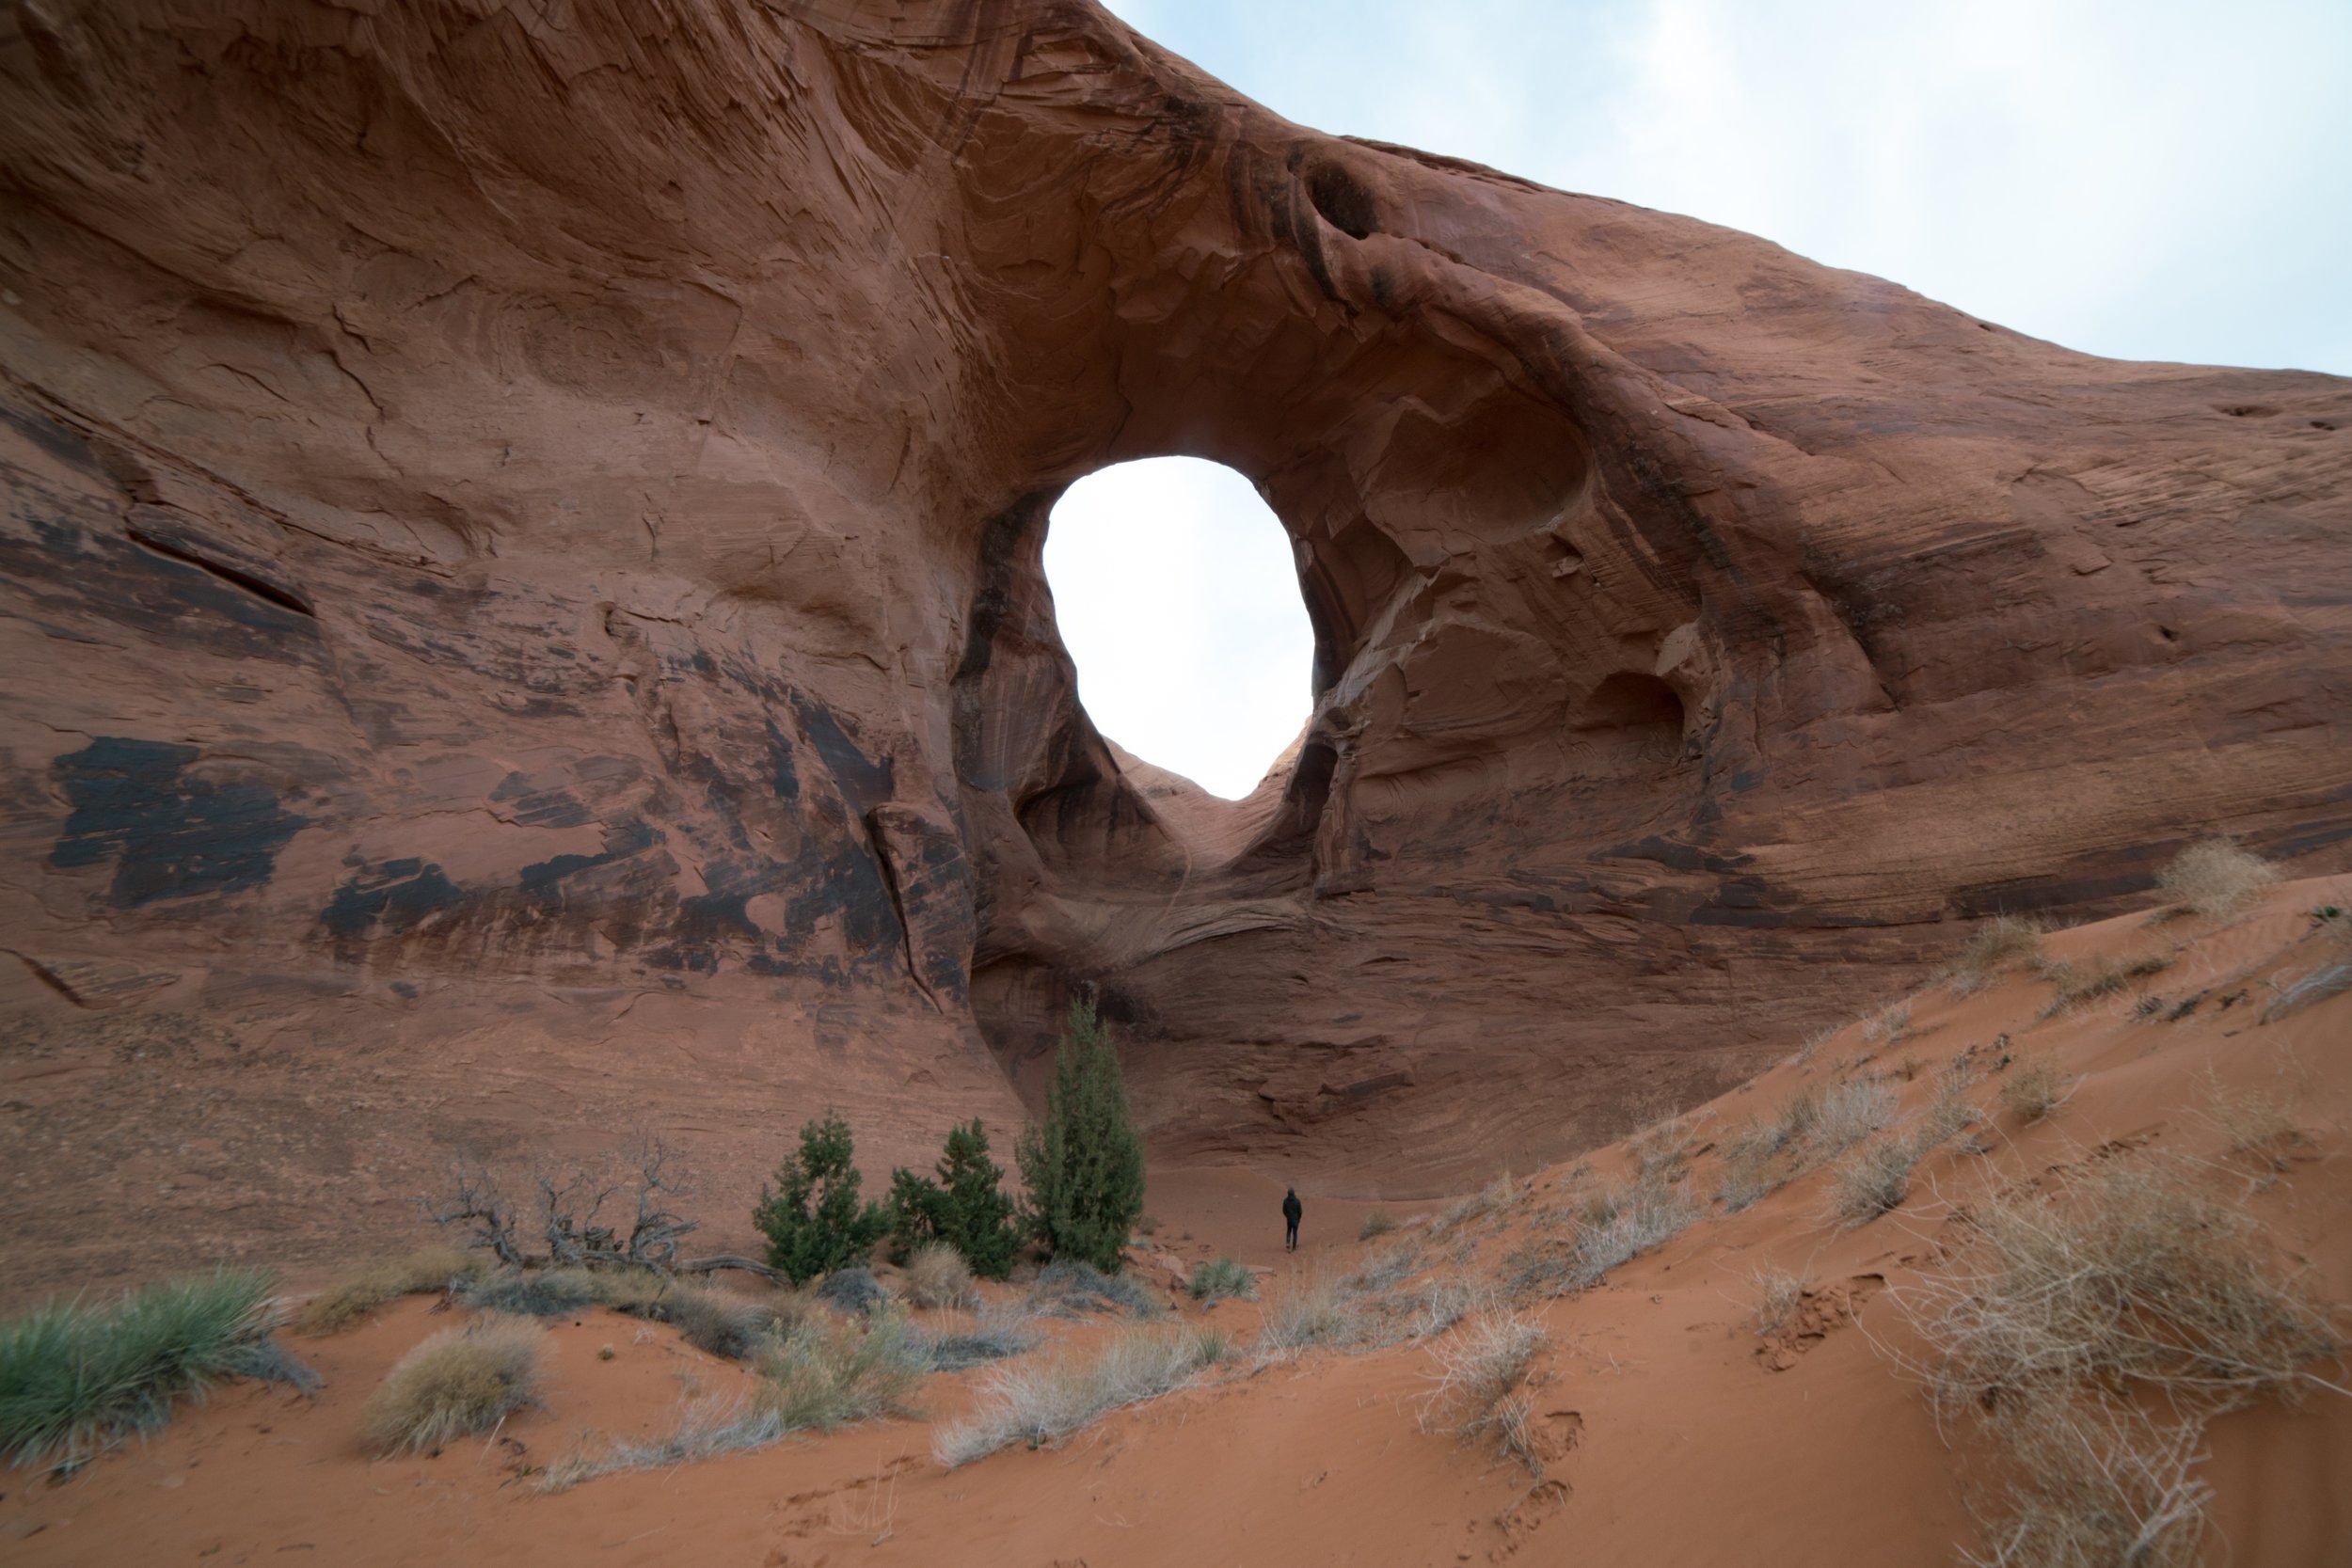
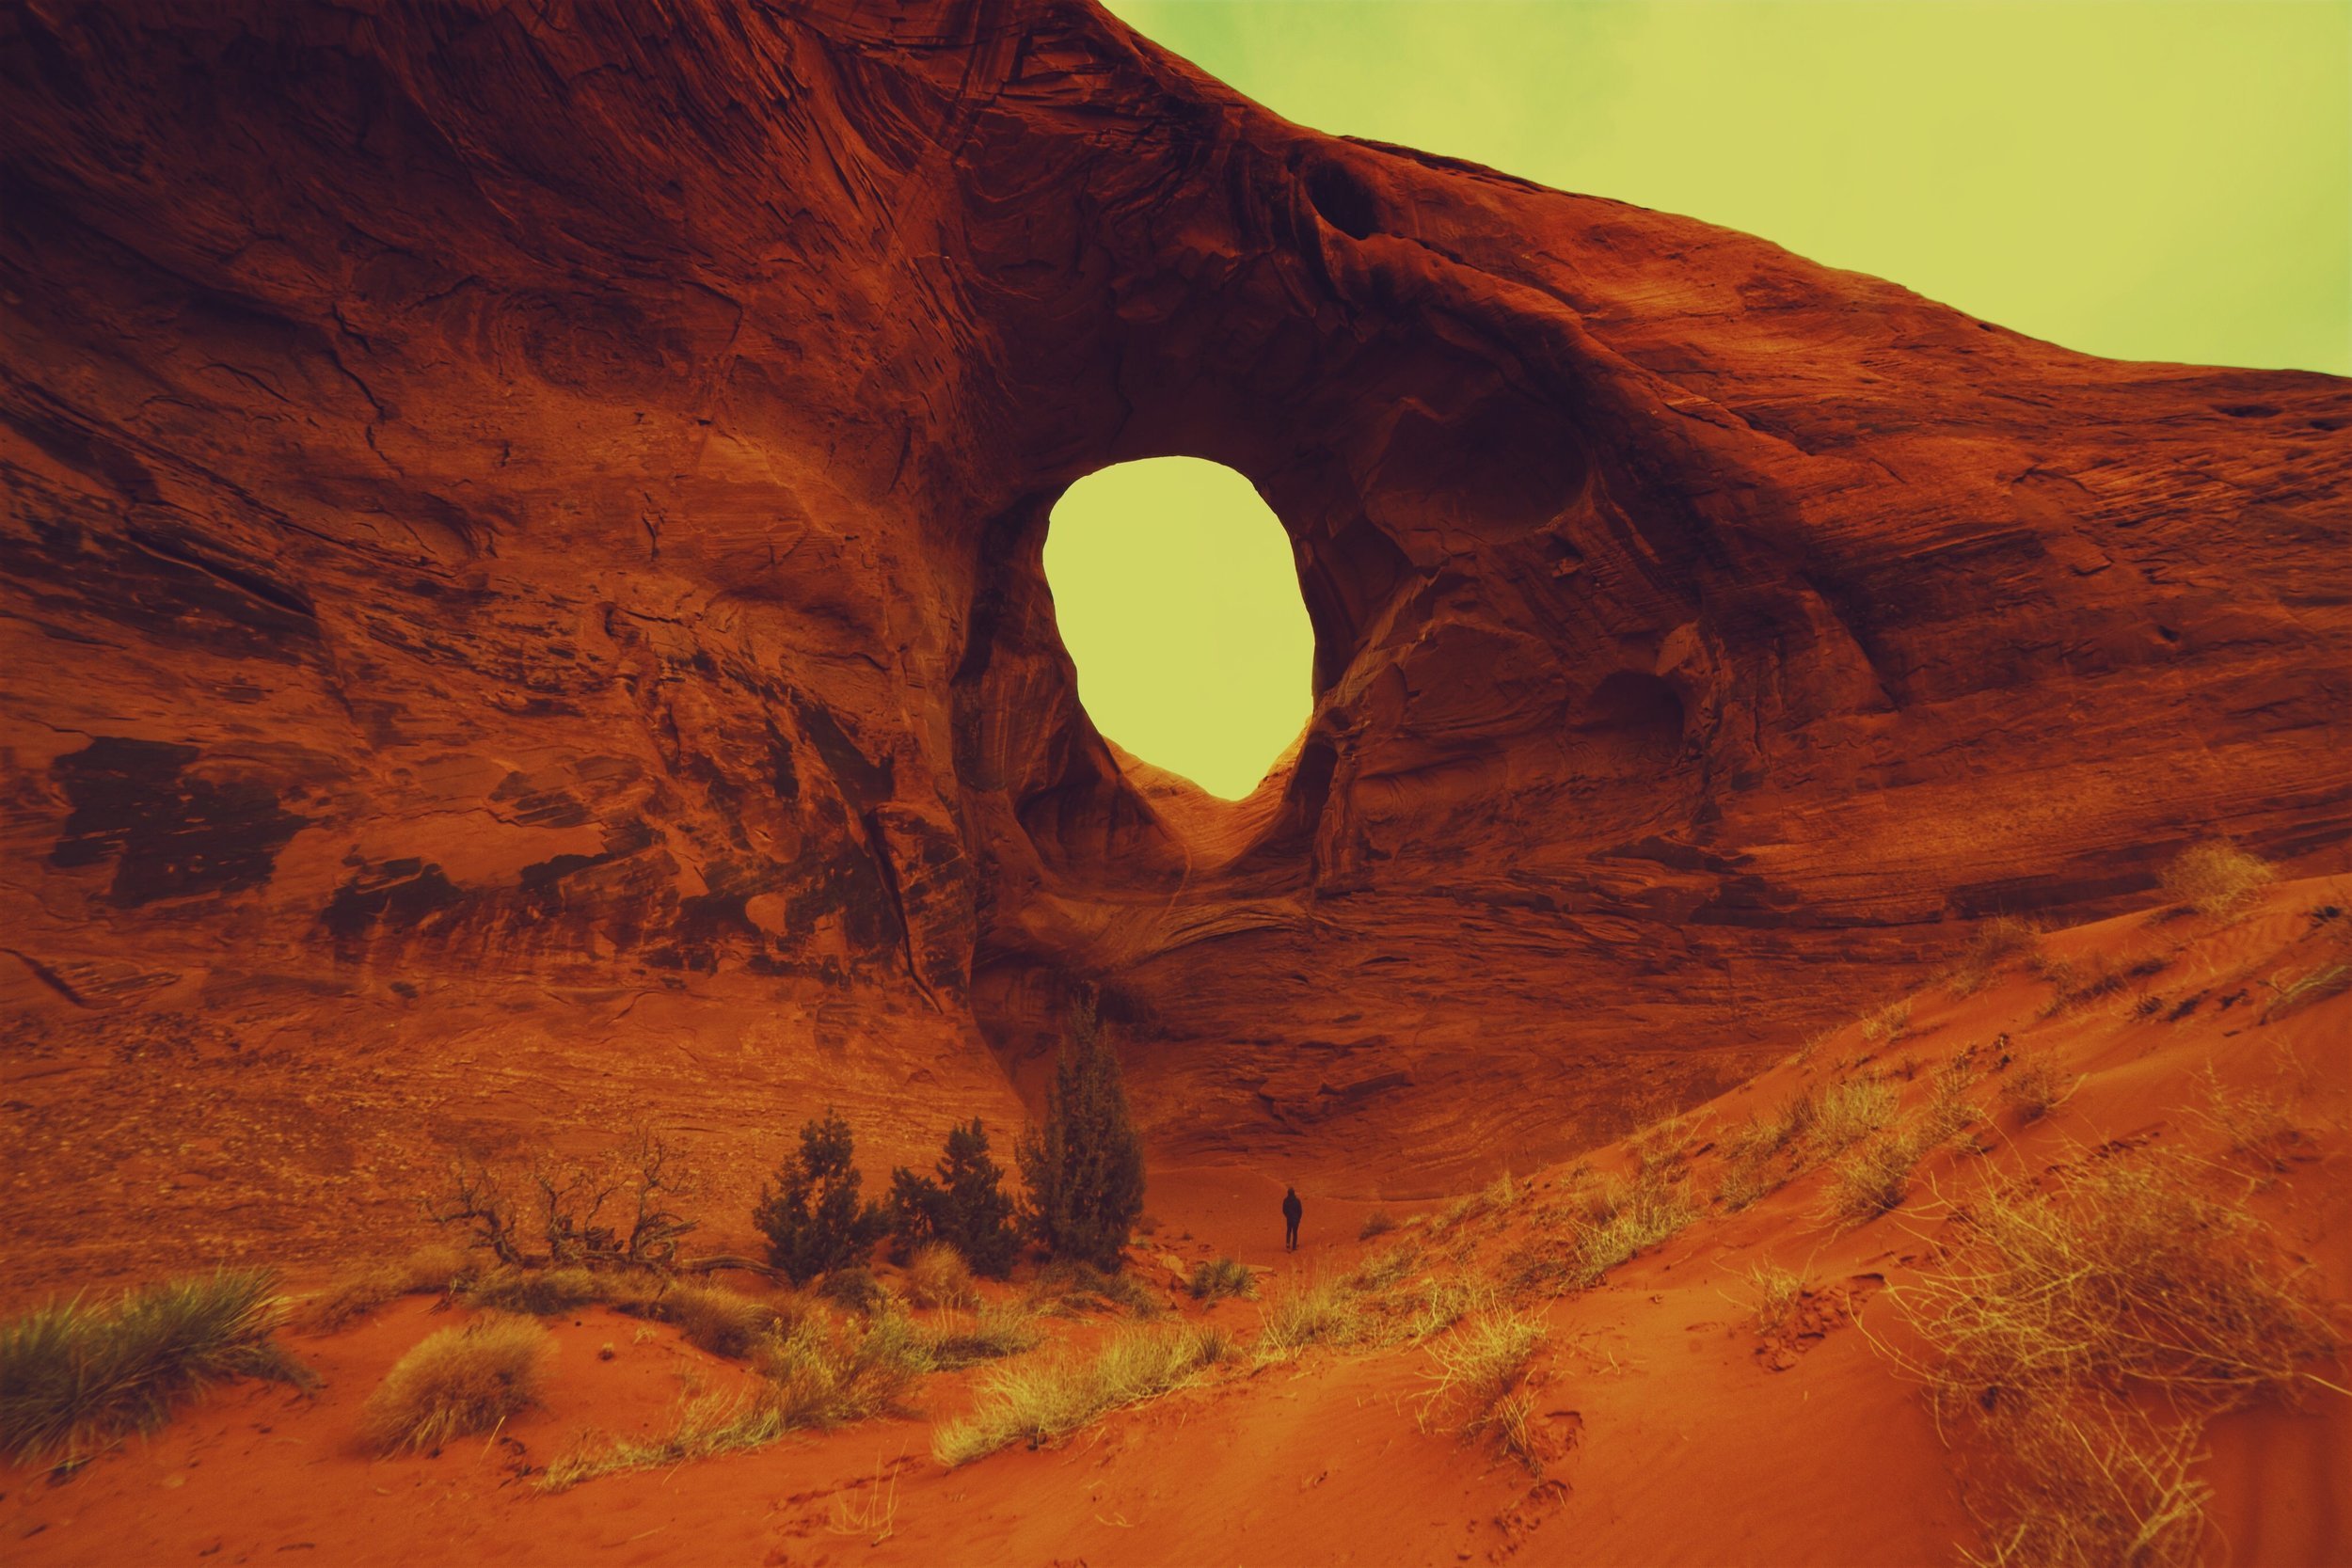
Formula Code - JZZNAQE
This was an amazing rock formation in Monument Valley. It was slightly overcast, so the skies were pretty uninteresting that day. I loved how you could see the sky through the rocks here, so I decided to get creative with it and make the sky yellow. I achieved that with X-Film overlay Bittersweet using the hard light blend mode. I highlighted the natural red hue of the rocks with Citrus overlay from the Landscape Enhance pack. This made the bottom of the photo a little dark, so I evened it out with Winter Skies using the lighten blend mode. I like to play with the different film adjustments once I think I'm done editing, in this case I ended up using the PX-70 film setting because it really brought out the yellow in the sky.
You can take in heaps of Ellie's work on her website and Instagram!
