
MEXTURES SESSIONS: @MEXTURES
Today we’ve pieced together a tutorial for you featuring two images taken by @vincentcroce and @breathingmysoul from a few of the Collections available via the Mextures Collective. Import these formulas and read a little bit about why certain overlays, presets, and adjustments were used to create certain moods and lighting!
FORMULA CODE: BBTGPRX
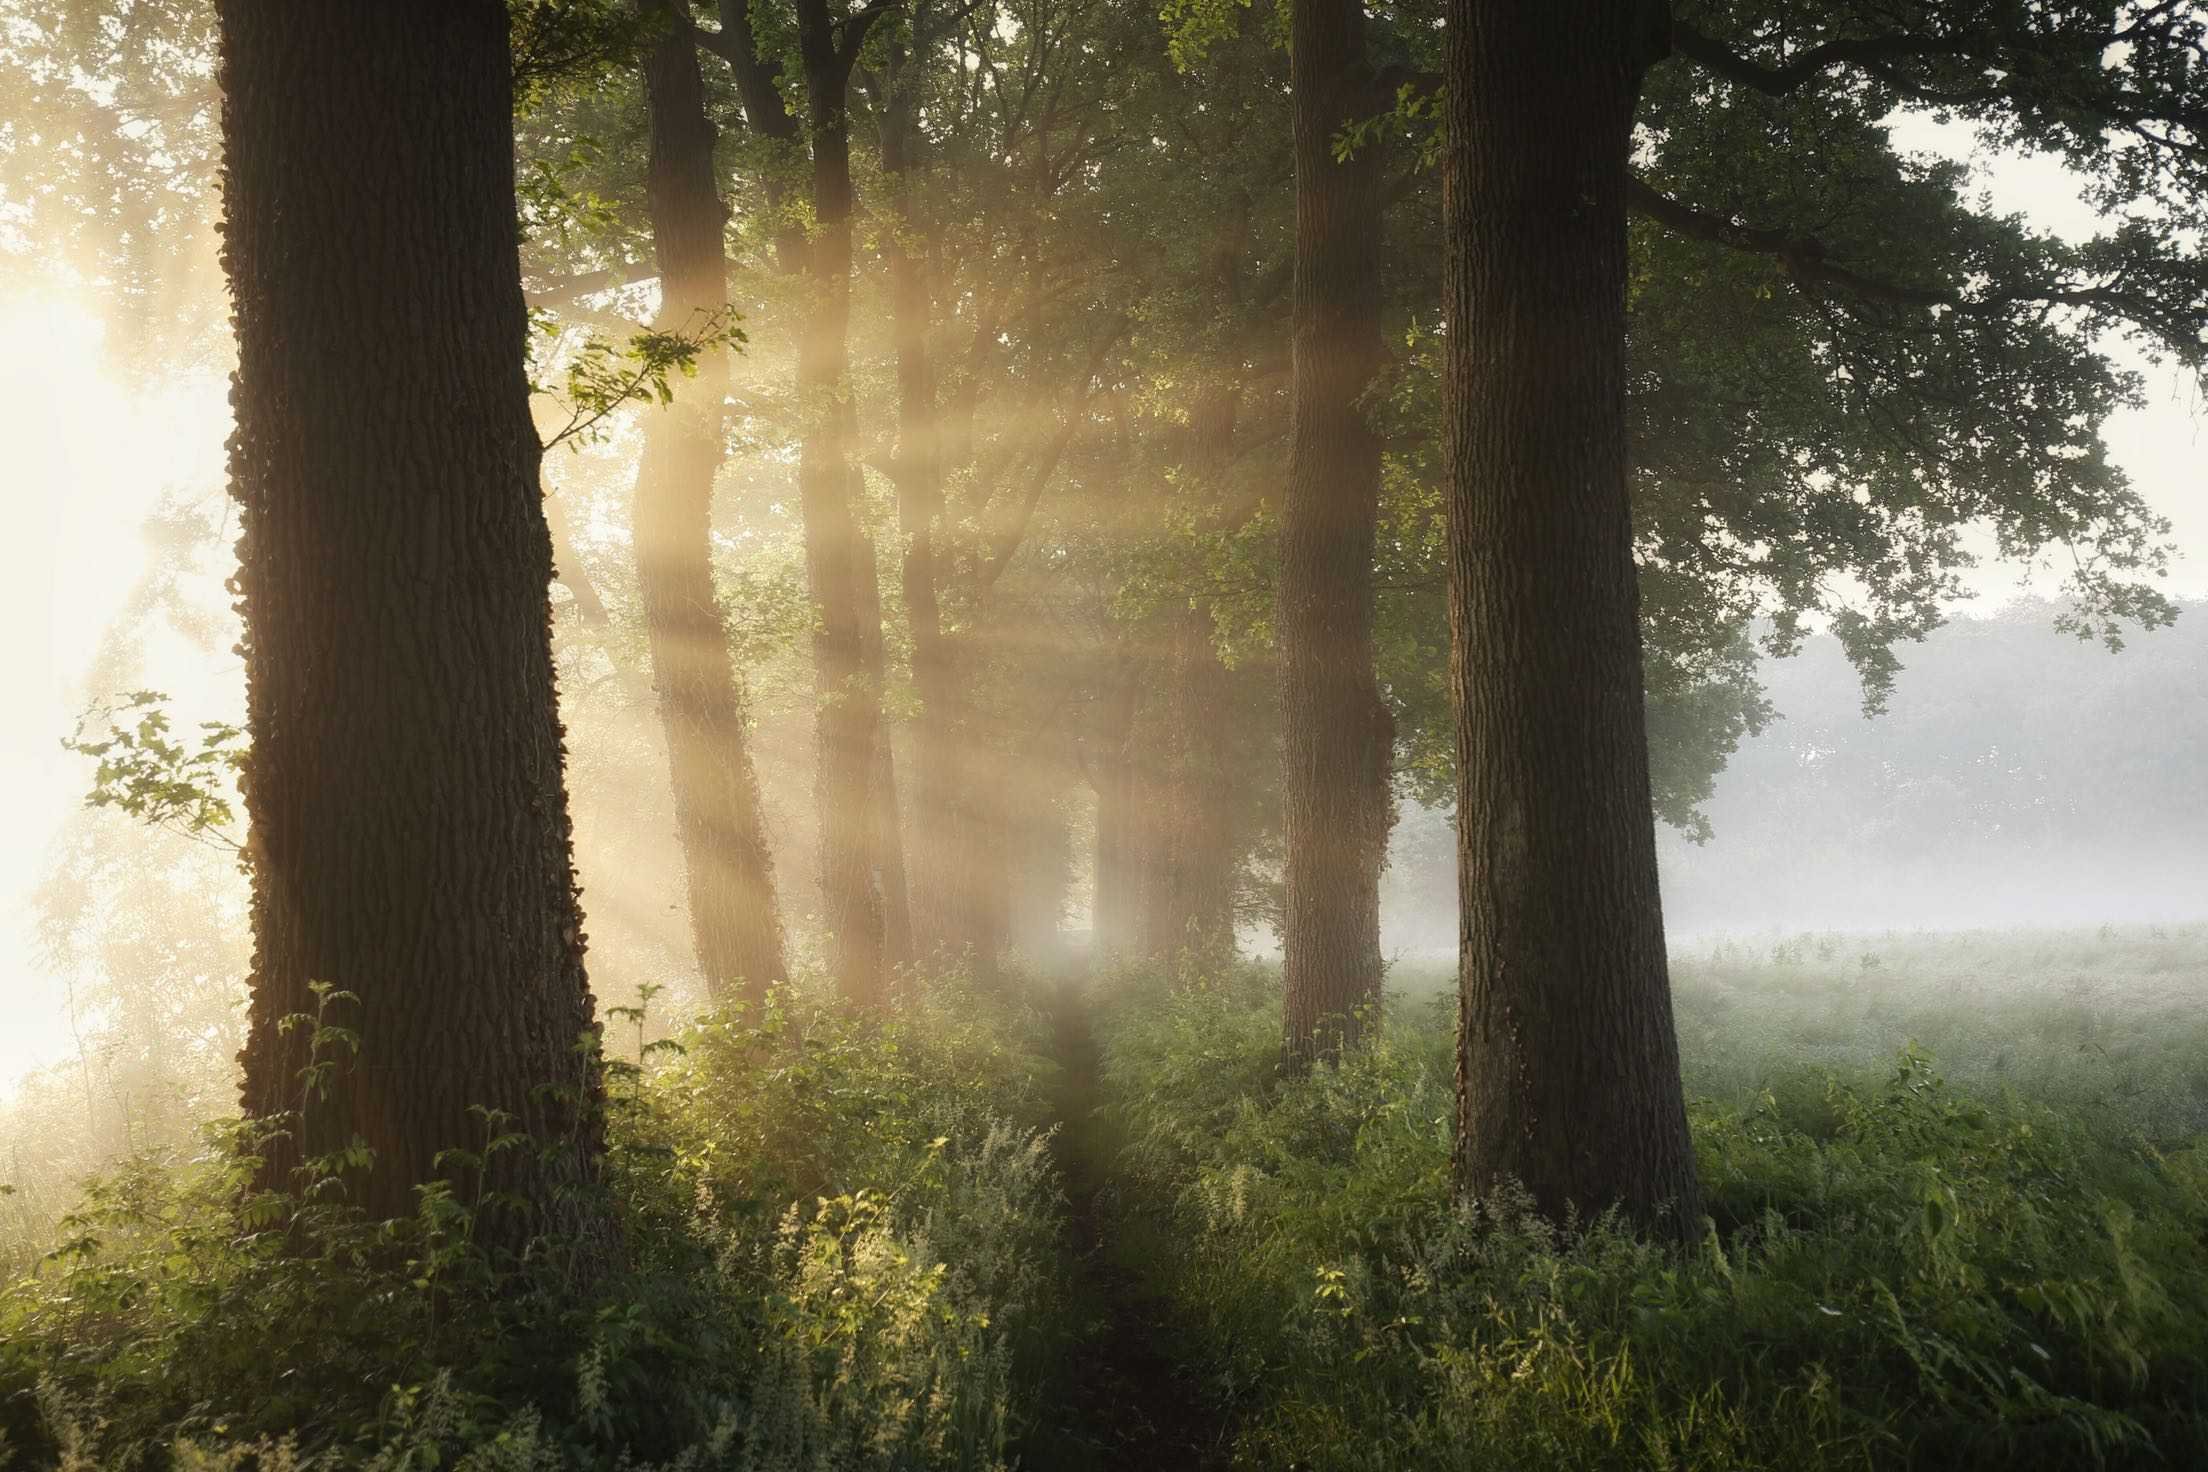
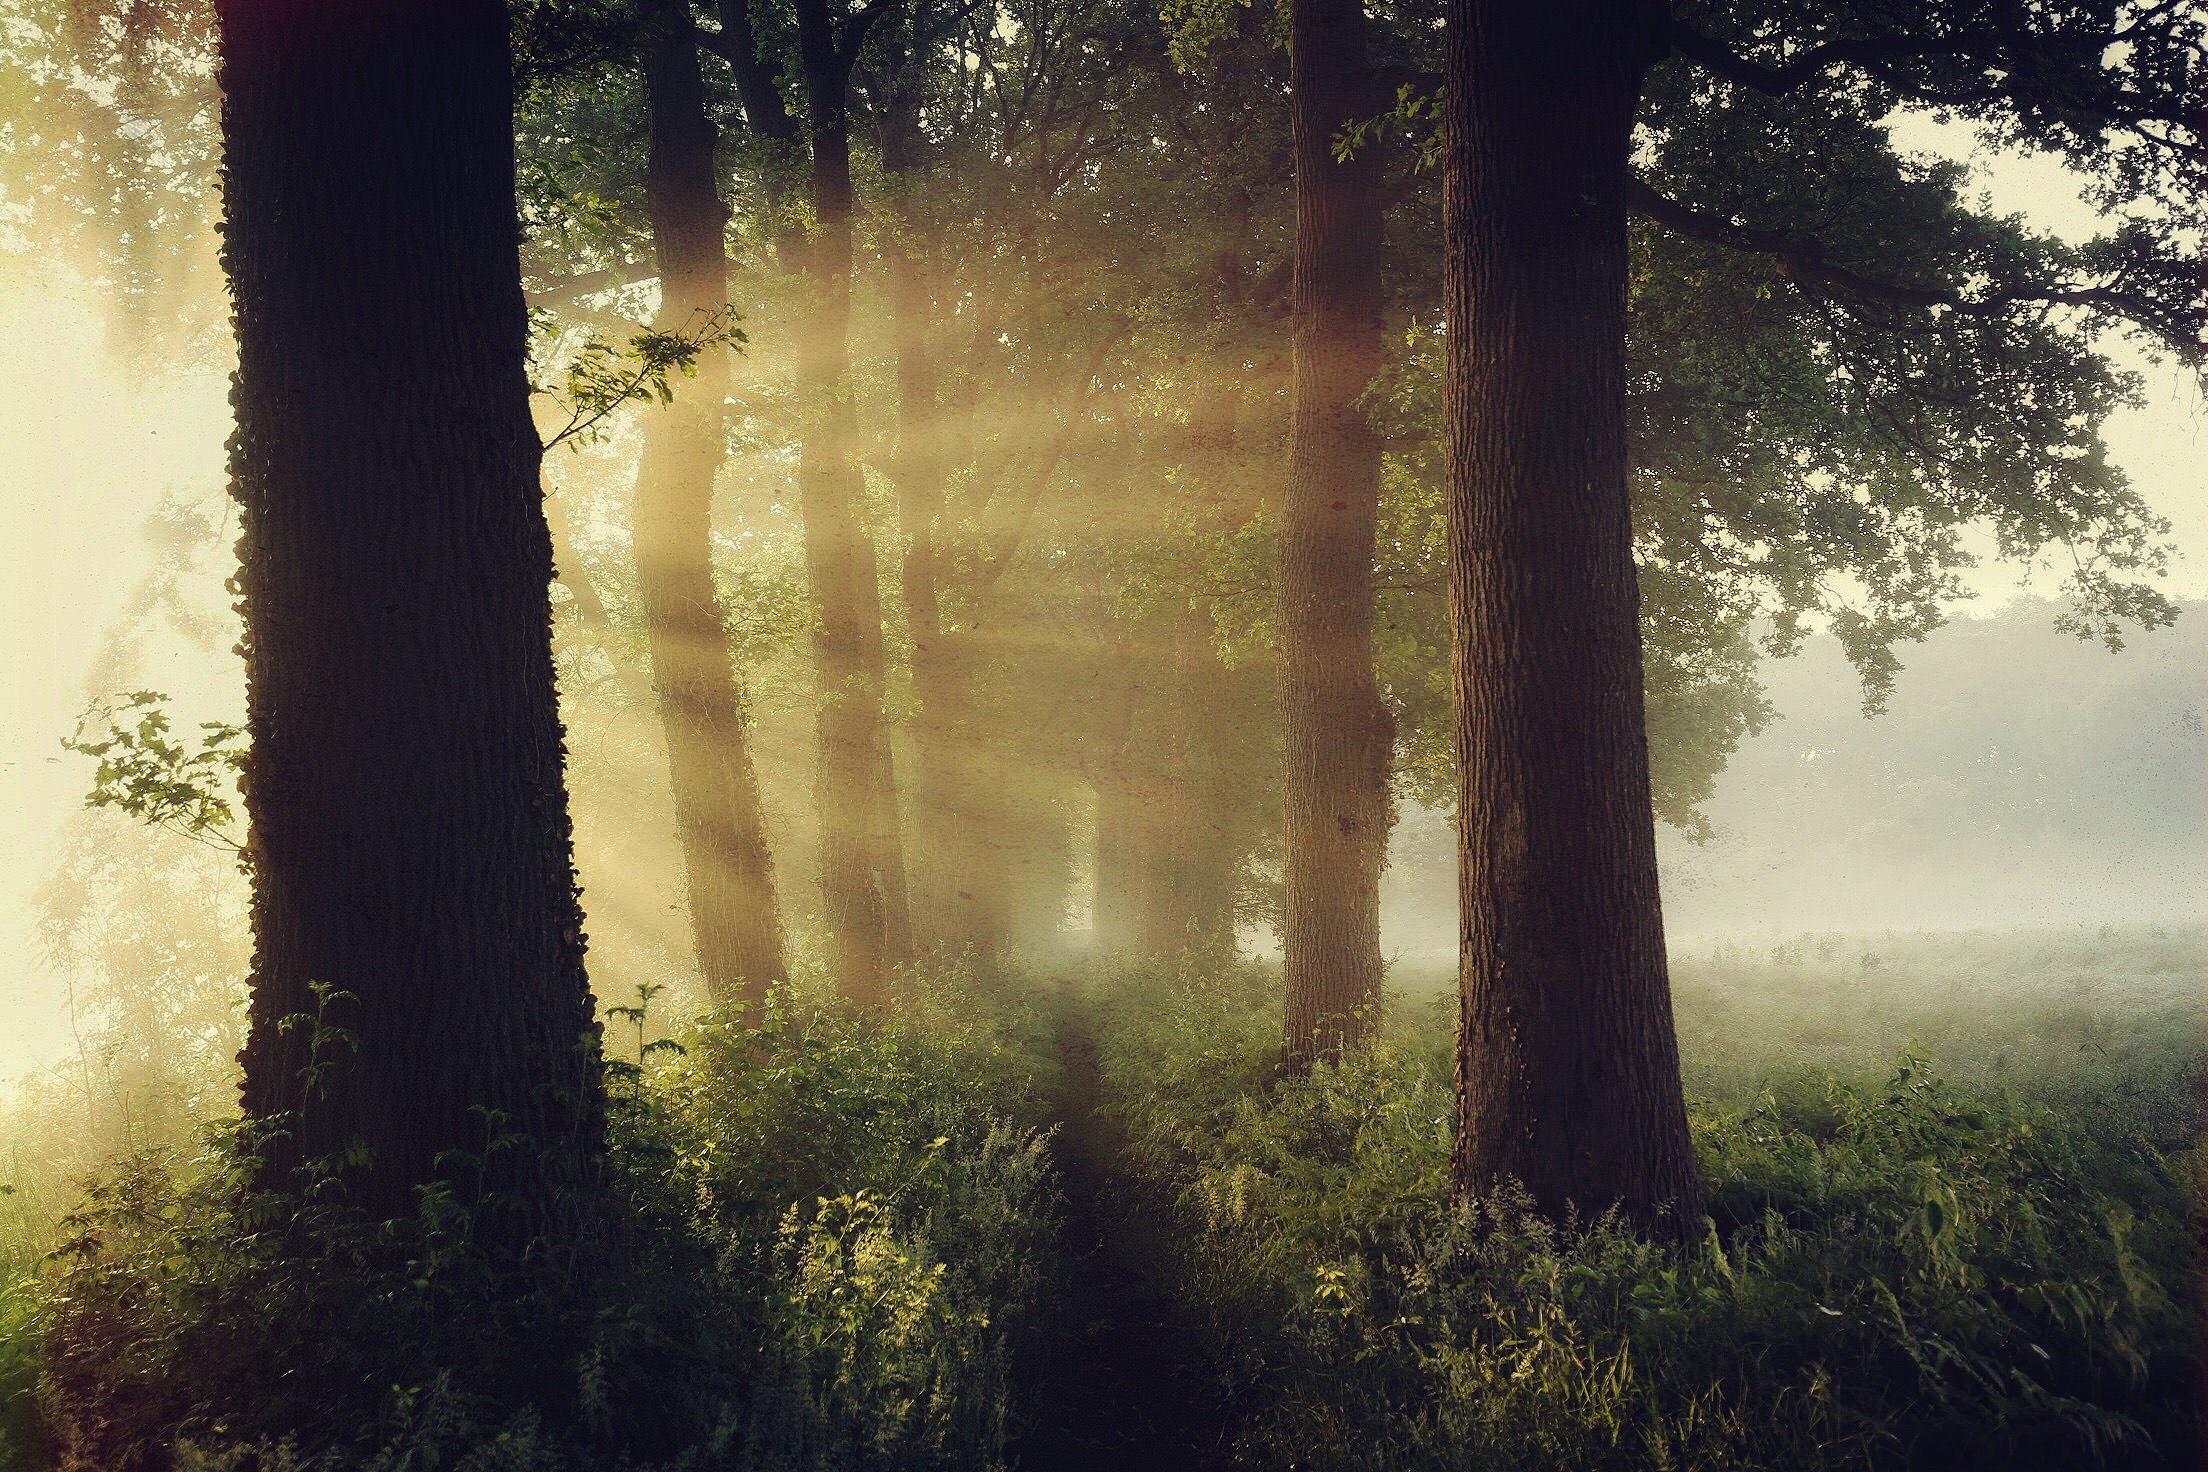
Original Photo: @vincentcroce
For this photo I wanted to put off a bit of a mystical forest vibe. I used Fore from Radiance and Edge Burn from Light Leaks to add to the light on the lefthand side. From there I applied Neutral Density from Landscape Enhance and Gainsboro from Intensity to darken the edges and direct the lighting across the center of the photo. Sandpaper from Dust & Dirt allowed me to add a little bit of texture across the mist and sun rays. As always, I brought in a film preset (PX-680 ALT) while increasing exposure, contrast, highlights and sharpening the image too for a nice polished look.
FORMULA CODE: MLXPIMT
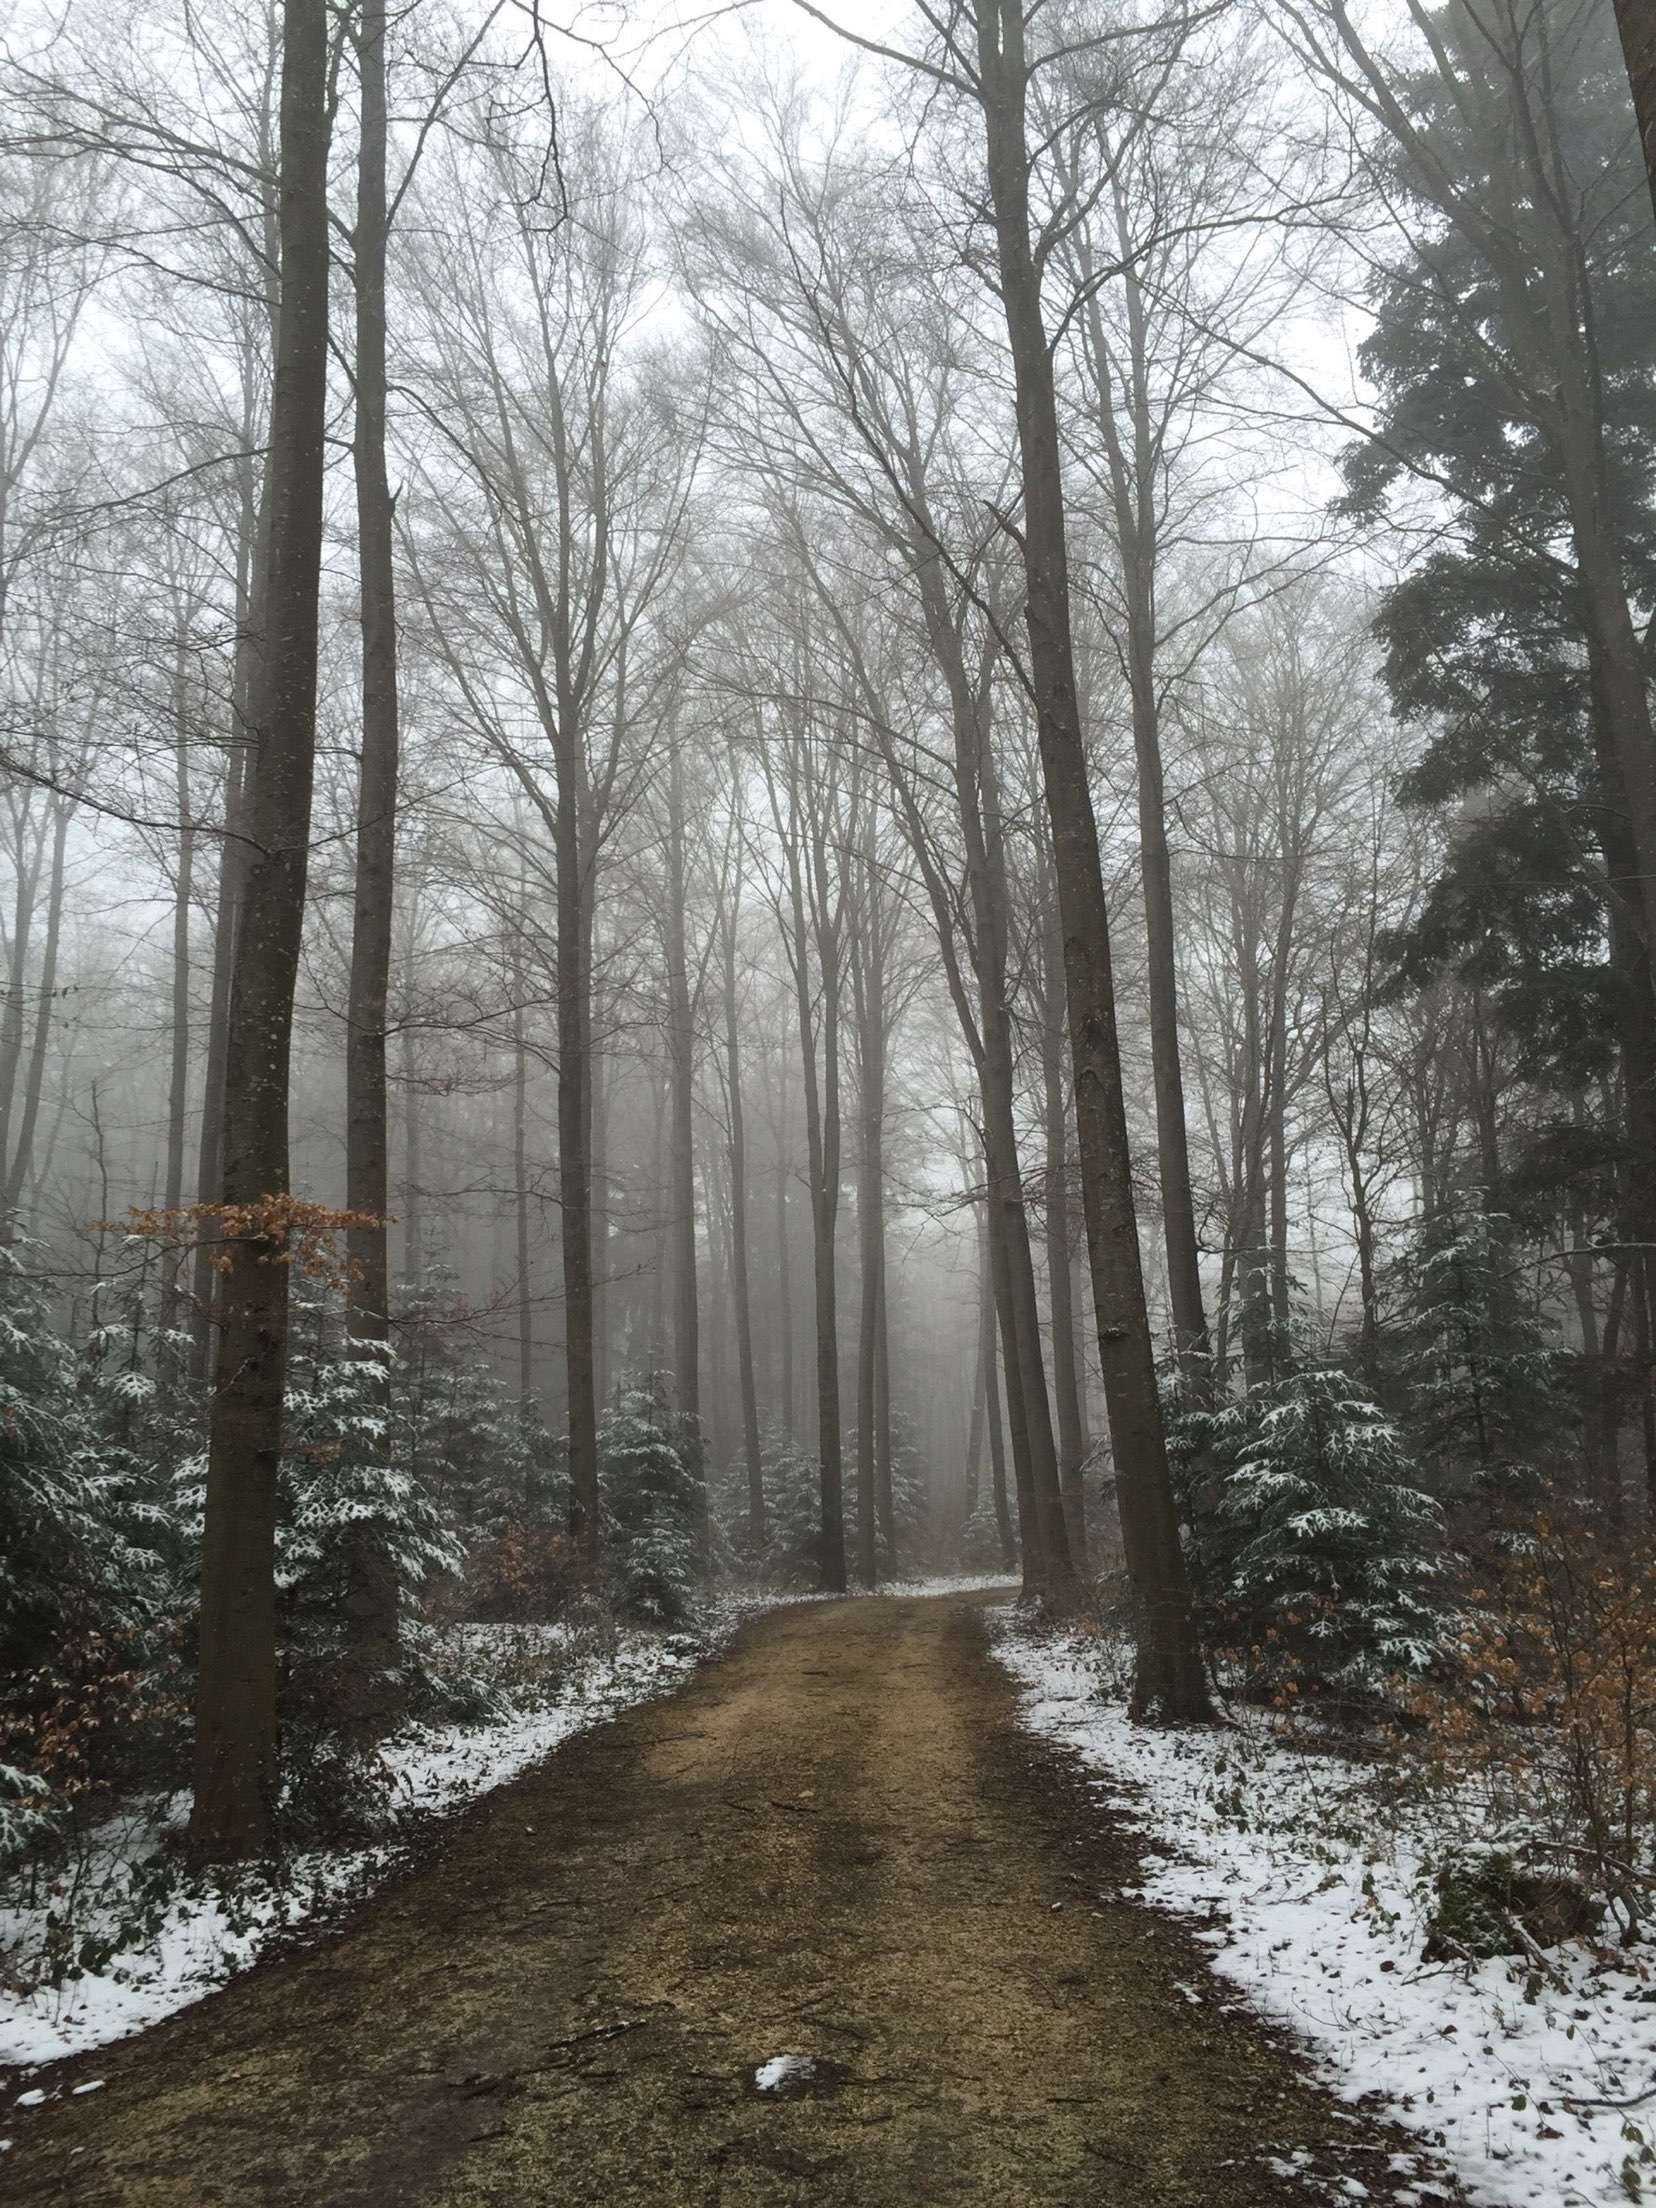
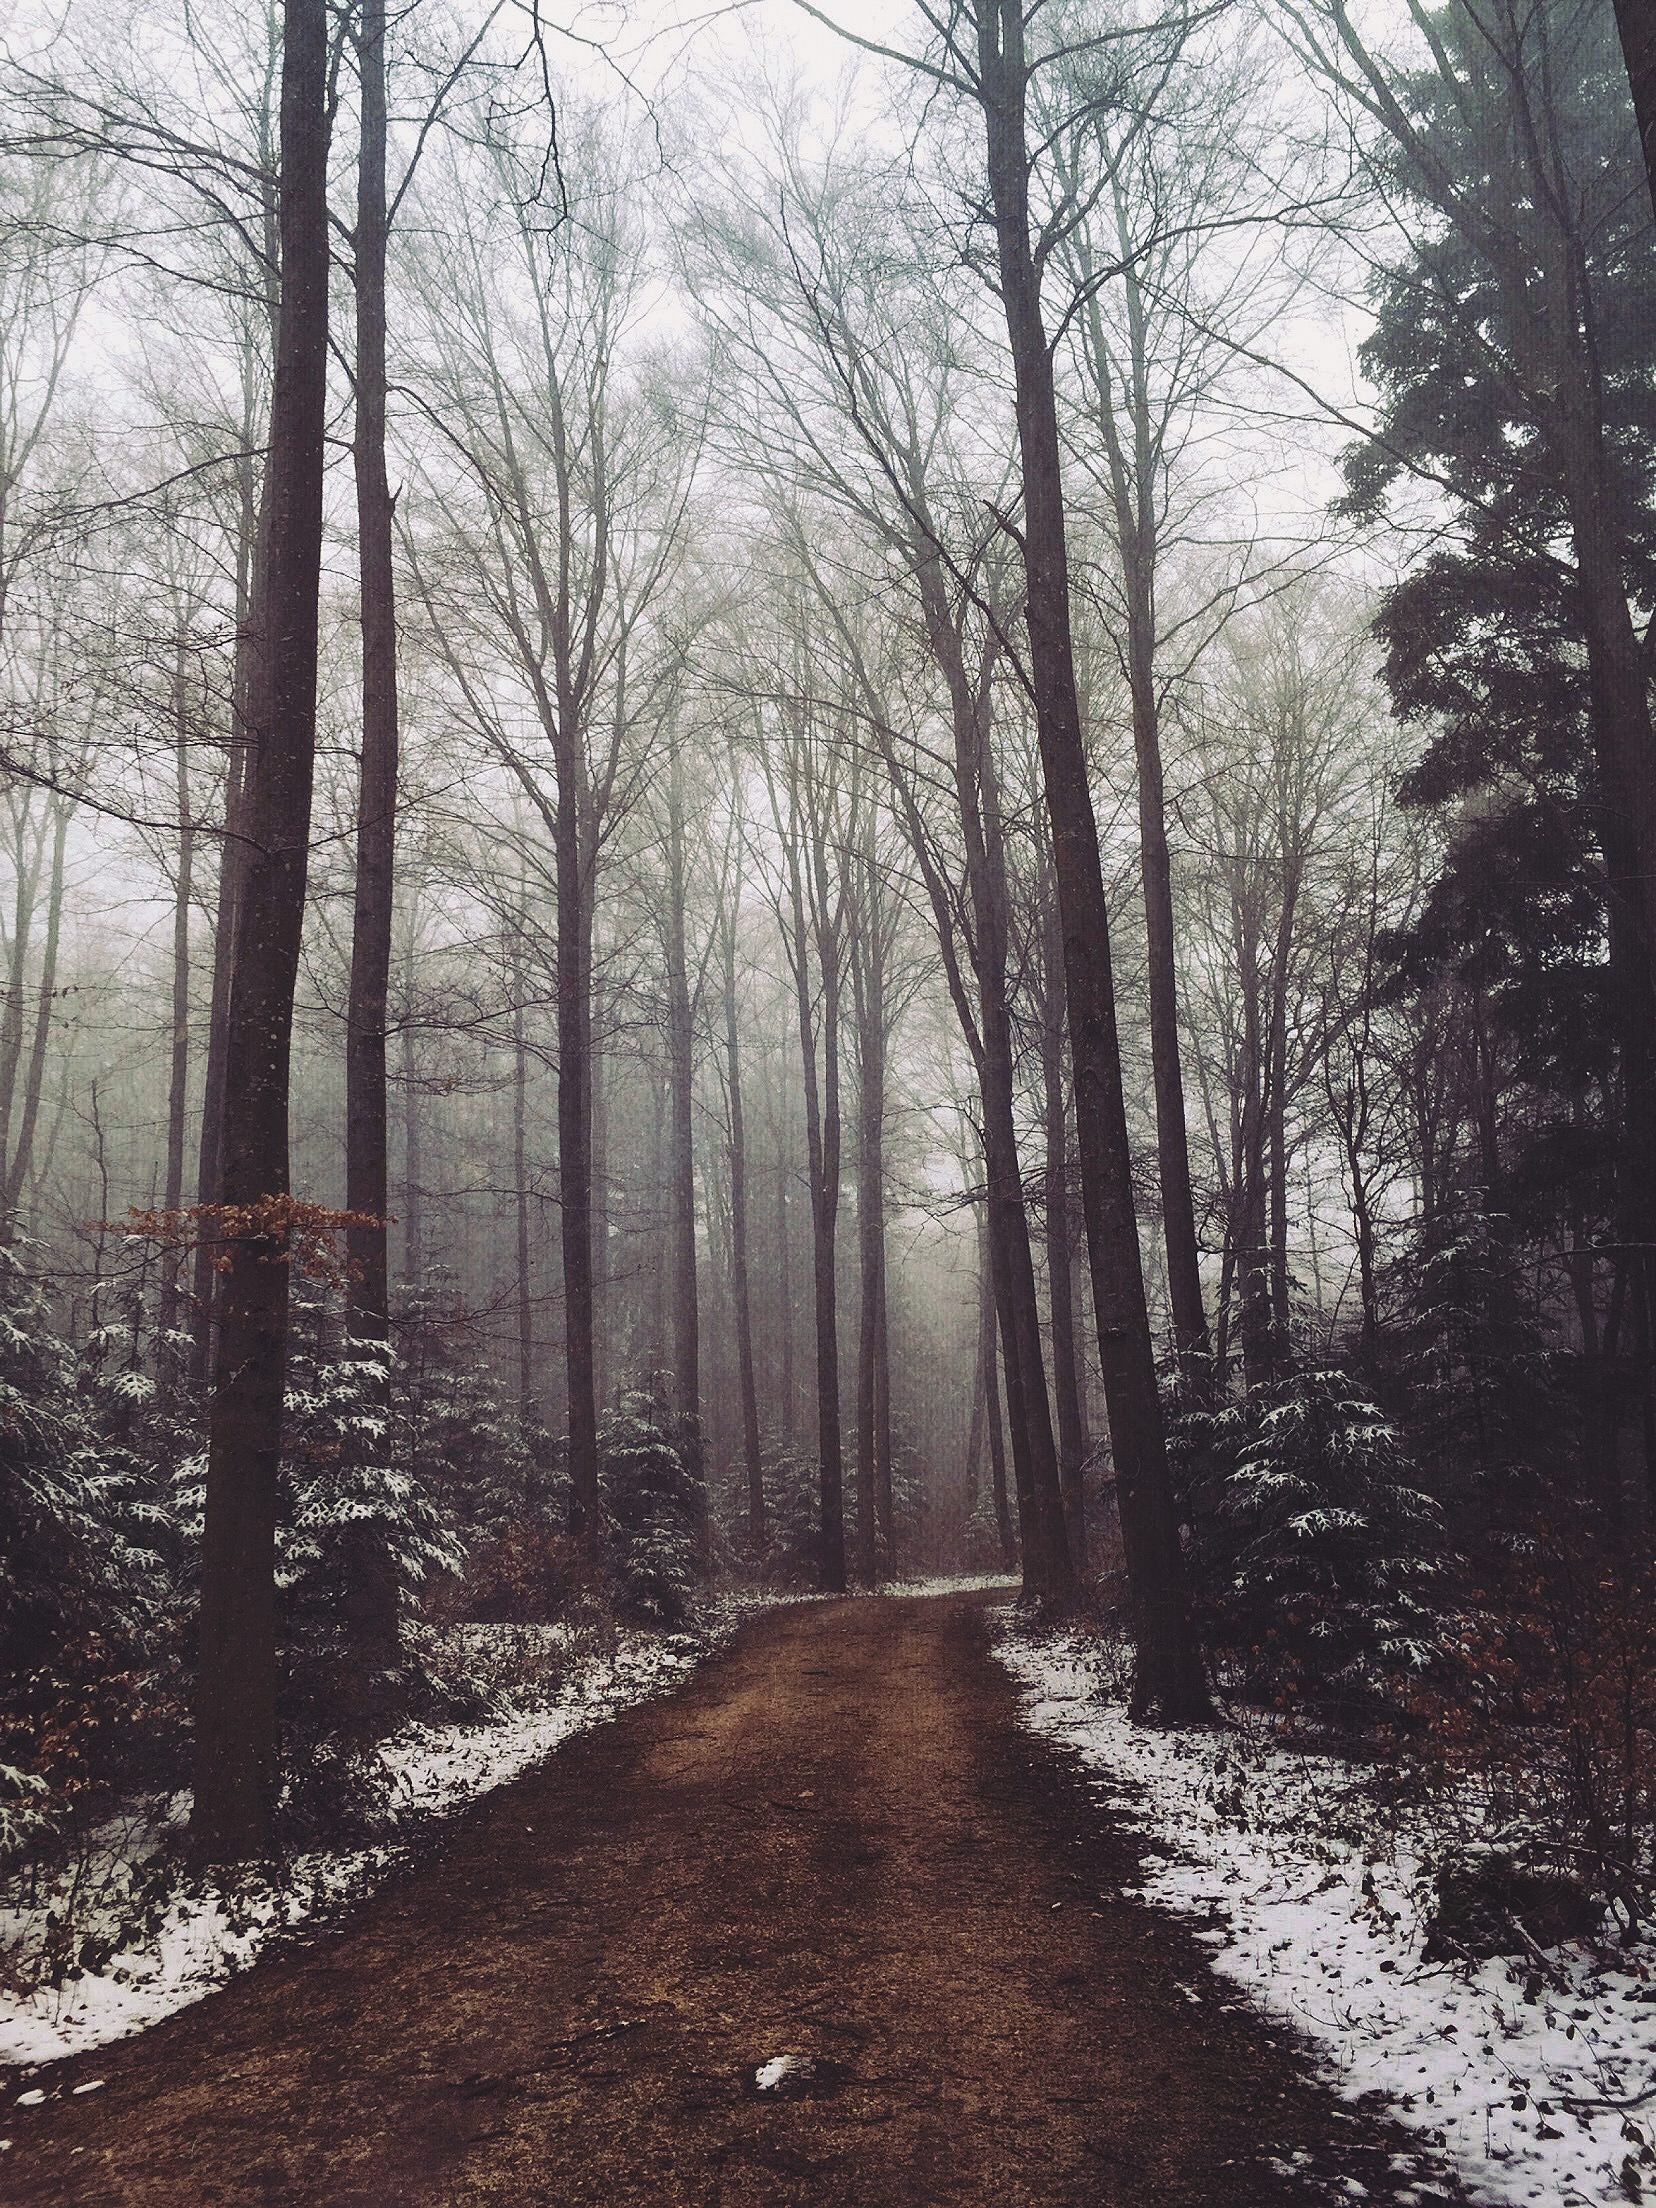
Original Photo: @breathingmysoul
I went all dark with this edit by first adding 16mm from Grit and Grain. I still can’t resist Neutral Density so I threw that layer on and added Binding from Grunge to make my greens a little darker. Sky Earth from Vintage Gradients is always solid when you’re working with a lot of greens and browns so I used it to emphasize the pathway and any other colors seemingly left over from autumn. Twilled from Intensity helped me to smooth out the darker colors at the bottom of my photo and lighten my colors at the top to give you a nice transition of dark to light from bottom to top. F-Fortia Fade was the perfect film preset to draw out the level of mood I was aiming for and slightly reducing the temperature and saturation had me feeling just right about this one.
See more of Vincent’s work here and more of Caroline’s here!
