
MEXTURES SESSIONS: @HIHOROSIE
This week we've put together a new tutorial piece with the help of our friend, Heidi (@hihorosie). With some of the most beautiful and delicate macro captures, Heidi constructs Mextures formulas that transform both the mood and toning of her images. Below, she walks us through her Mextures process for three of her images and we couldn't be more excited to share it with all of you. Enjoy!


Mextures Formula: ZFFVXHF
When I go to edit a photo, it mostly comes down to mood for me - whether it's based on the mood I'm in at the time or creating a mood fitting the subject or season. So with this ladybug, it was about creating a mood I wanted to convey. Ladybugs represent summer and sunshine. The original image seemed rather drab so I wanted to add in some warmth. I typically start with layers before finishing things off in Adjustments. Here, I went to the INTENSITY pack first to add a little texture using 'Jet Pack' before moving to one of my favorite packs, ATMOSPHERIC. There I added 'Ominous' and rotated it to help shift the light, then added a couple more layers from ANOMALY, 'Membrane' and 'Node' to further enhance the summer vibe and colors I wanted. Finally in Adjustments, I added the 'Golden Hour' preset, toned down the overall temperature so it wasn't too yellow, added a bit of fade and contrast, then sharpened all the way.
Mextures Formula: DWNXIIZ
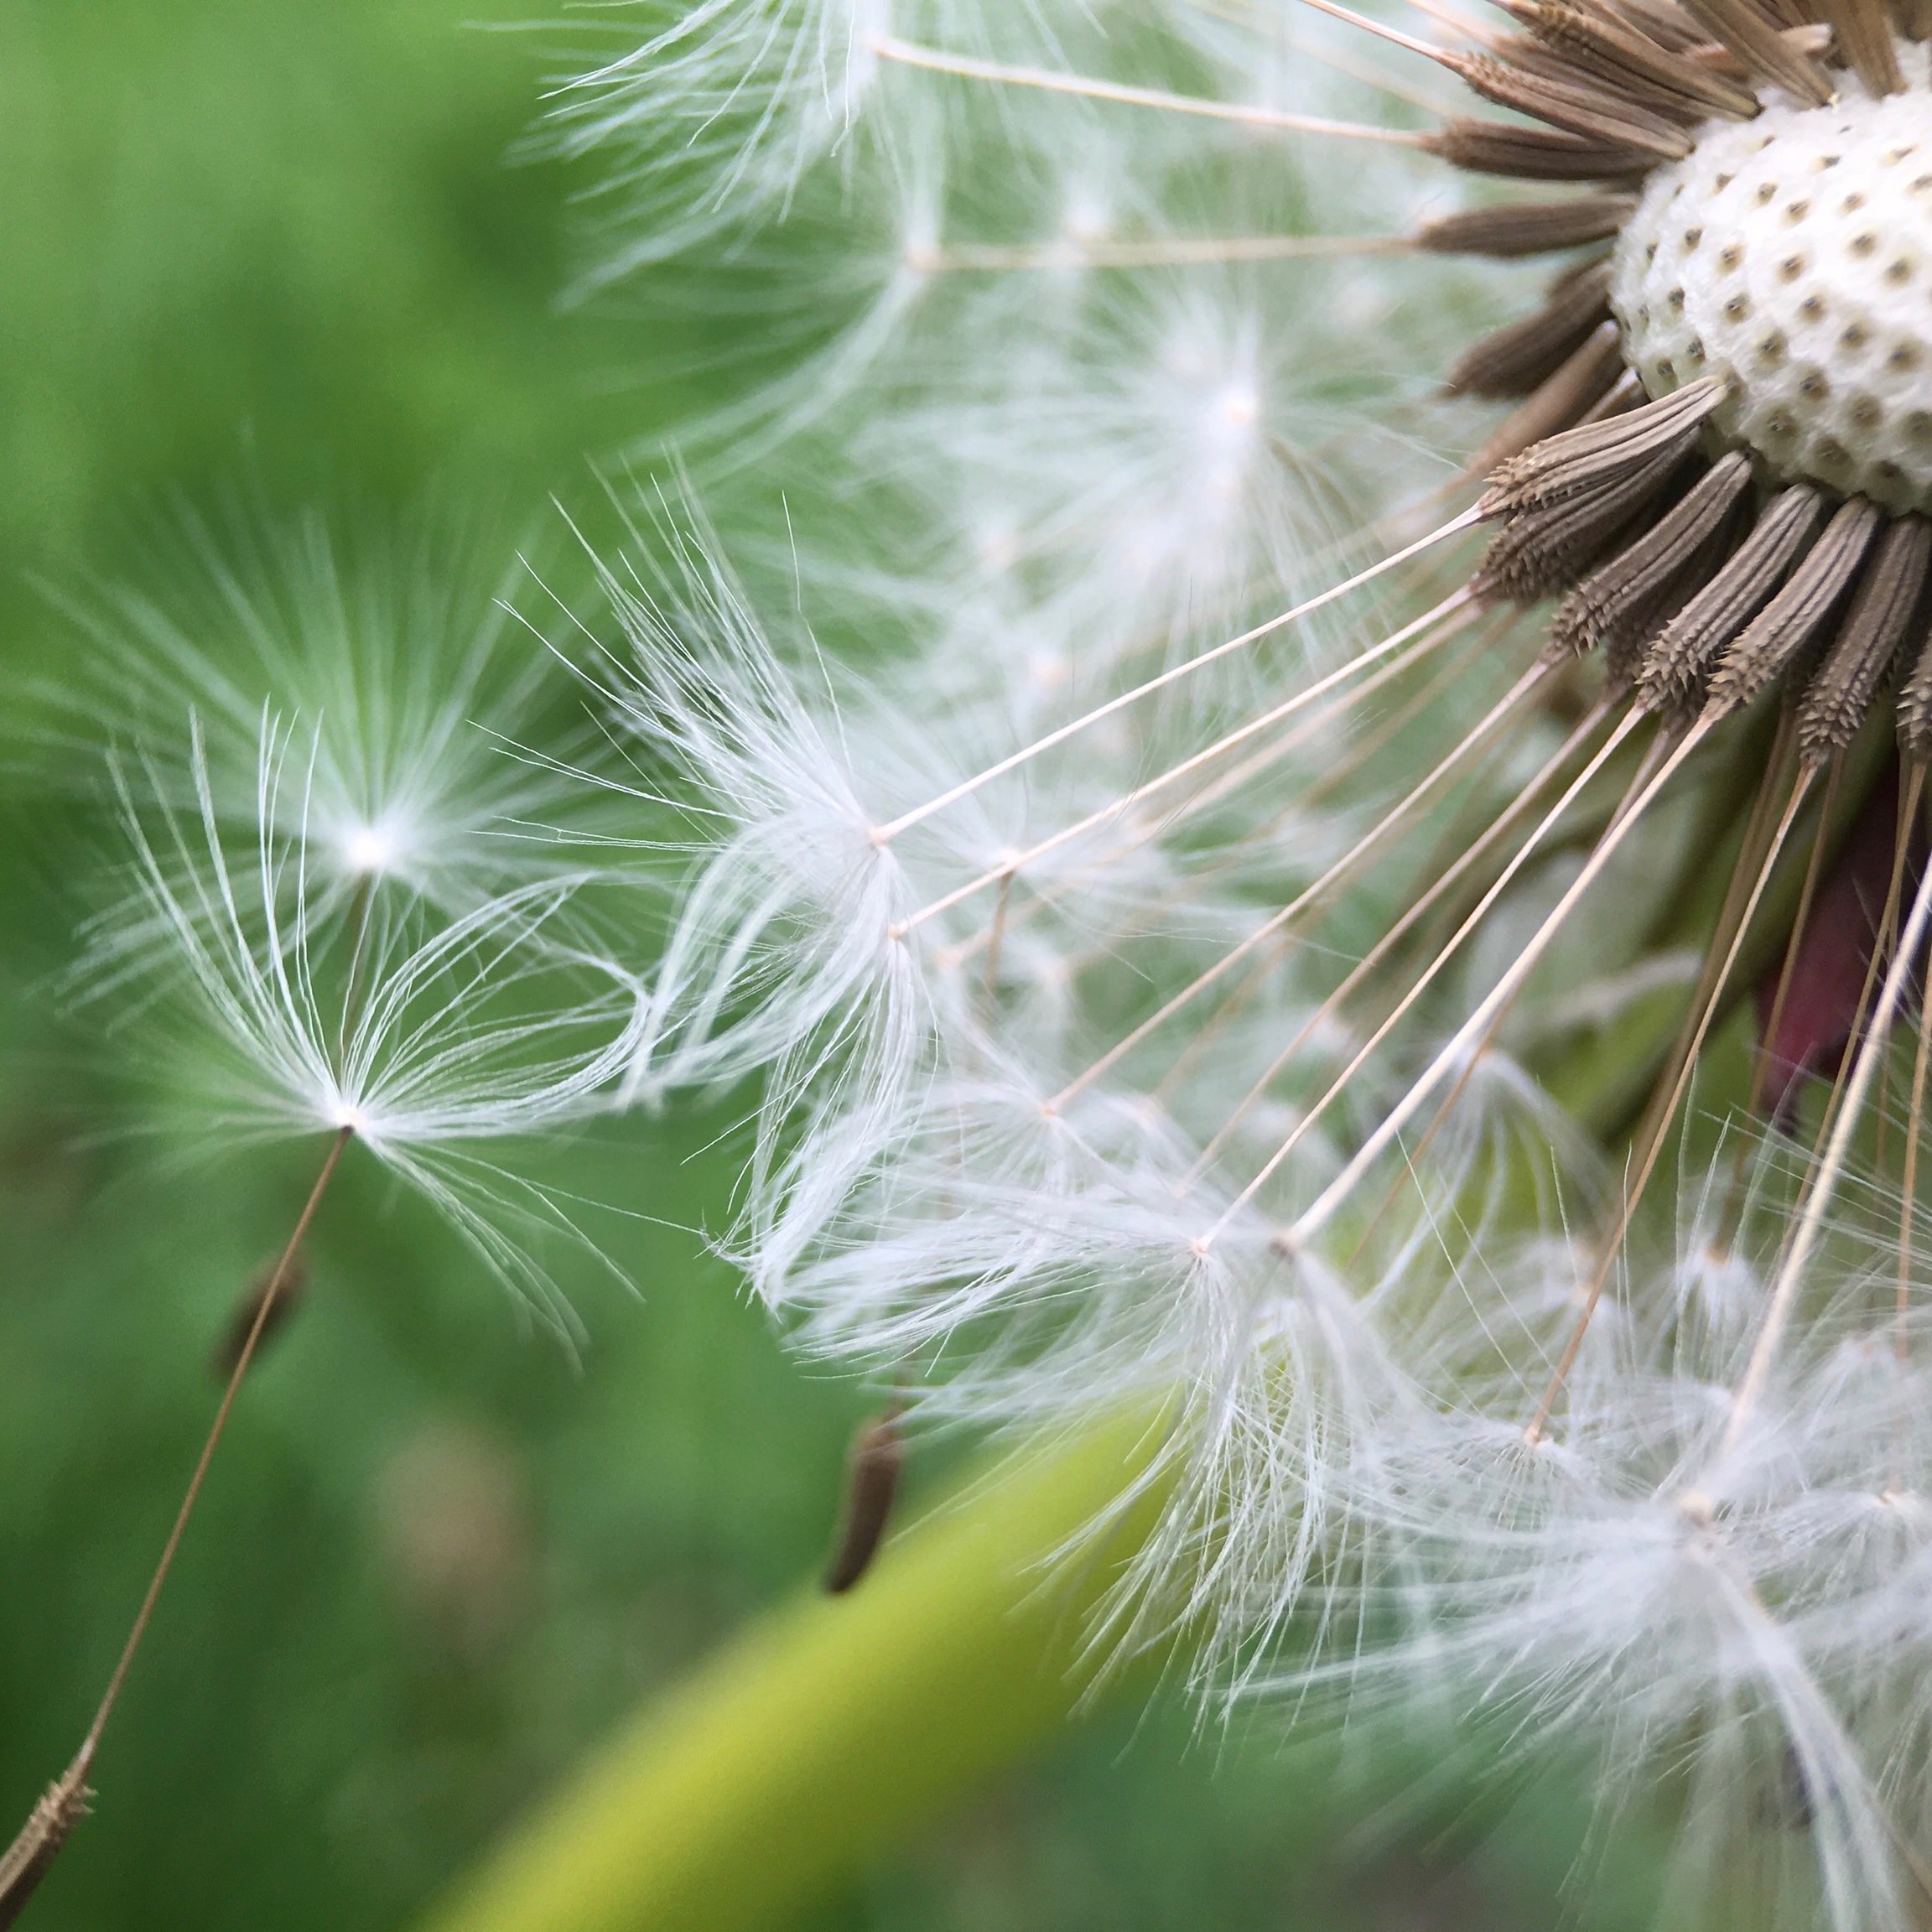
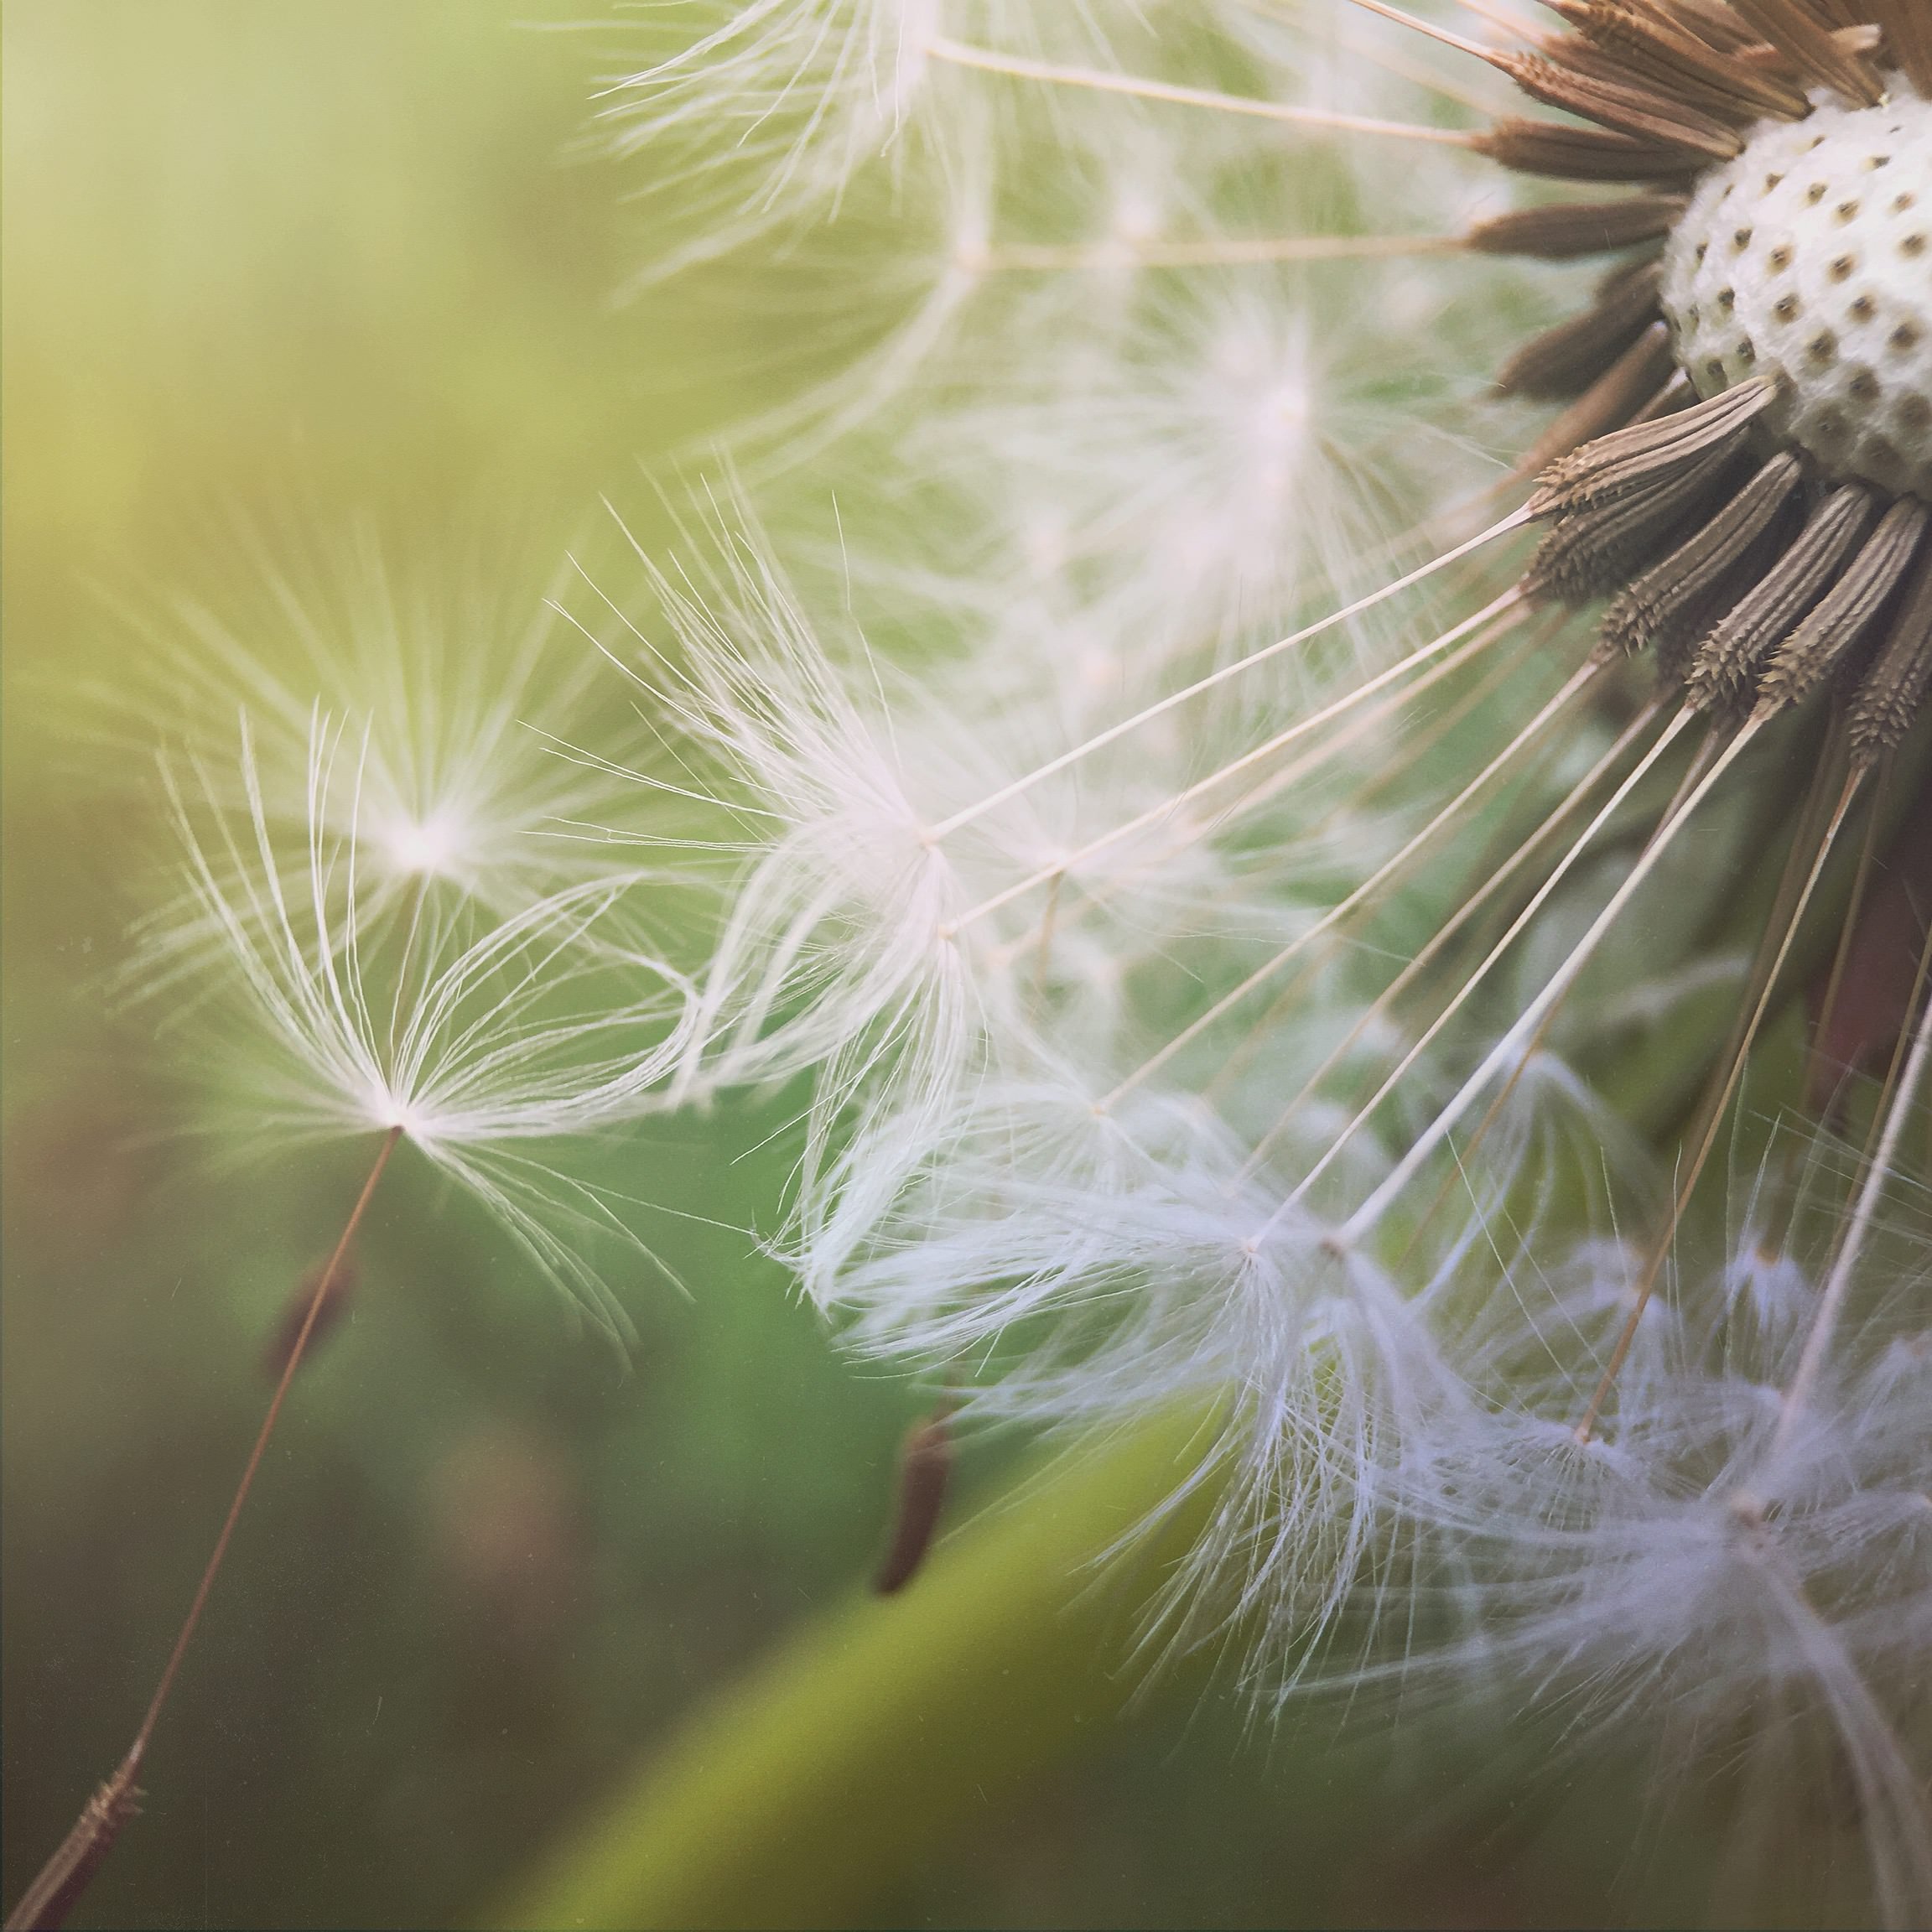
As a macro lover, I can’t resist taking shots of dandelion puffs. For this one, I wanted to have a soft dreamy vibe while maintaining its details. I like to have a bit of coolness added to a warm image so I started with a layer of 'Optimism' from ATMOSPHERIC, toning it down a little. Next I added a layer of 'Soil' from VINTAGE GRADIENTS for depth. With a layer of 'Digital Darling' from LIGHT LEAKS 2, it added a mix of subtle color and the spot of yellow in the corner gave it the perfect softness like sunny light. From the GRIT AND GRAIN pack, I layered 'Window Shopping' for added softness, then a final layer of 'Sunflower' from LIGHT LEAKS 1, orientation 4, to further add to the pseudo sunlight in the corner. For the final details, I used the 'Punch' preset, increased the sharpness and fade while decreasing the exposure.


Mextures Formula: ZBQZCPG
I love a beautiful sunset as much as the next guy but once in a while it's fun to mix them up a bit which is what I wanted to do with this one. In addition to the importance of mood, tone is another important element for me. For this sunset pic, I started with VSCO to reset the tone, like a clean slate. Back in Mextures, I didn't have a set plan other than wanting textures. I started in the RADIANCE pack with 'Abalone.' From there, I used 'Andromeda' from GRUNGE, which I really loved the strong colors especially the blue. To add more texture and richness, I added 'Papery' from DUST & DIRT and 'Tiger' from INTENSITY. With those, I varied the blending modes, orientations and intensities to the get the look I wanted. I polished things off with the 'Punch' preset and decreasing the temperature a bit to enhance the favored blue.
Find more of Heidi's lovely art here!
