
MEXTURES SESSIONS: @LAYLANICHOLSON
We have a wonderful tutorial prepared for you today from the fabulous, @laylanicholson! Layla is incredibly detailed in both her photography and her editing process. We love how each of her formulas are custom-built to add beauty in all of the right places. Read on to learn about the process she used for creating formulas for these two images!
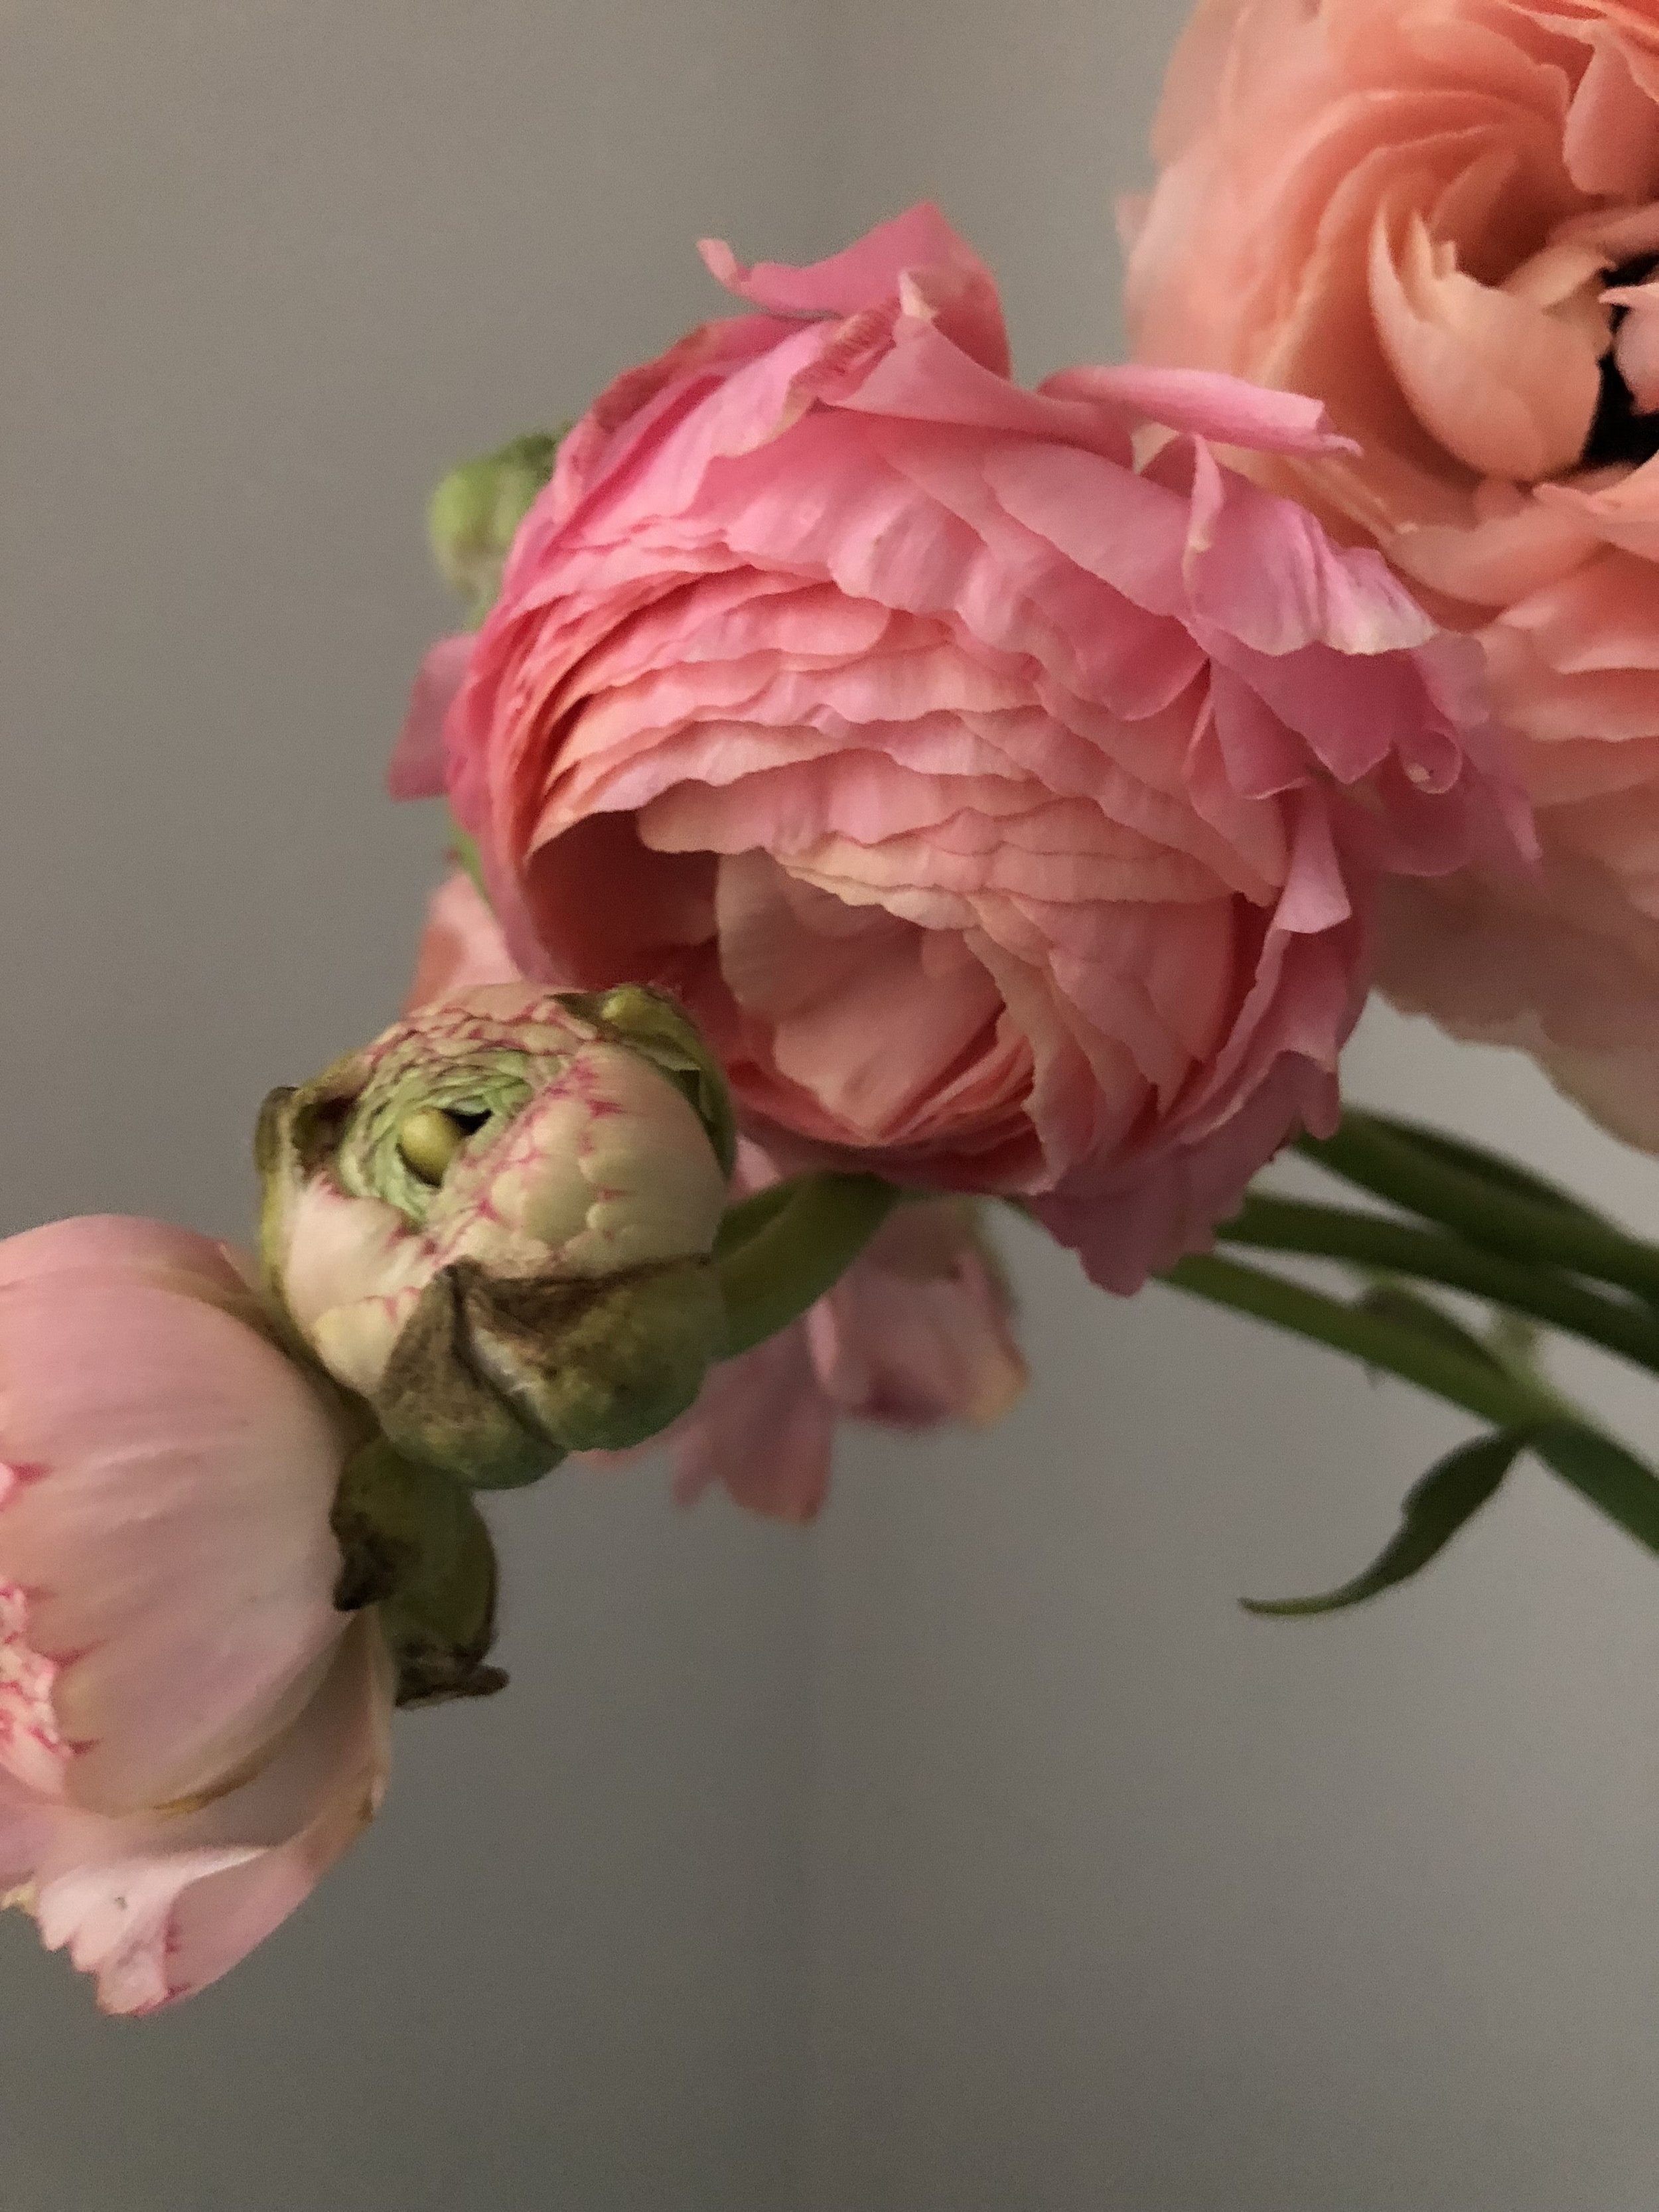
FORMULA CODE: LWTIHAH
For me, the ranunculus flower conjures up feelings of pure romanticism and beauty. I wanted to showcase this by creating a formula which brought softness with a vintage feel. Mextures brought this vision to life.
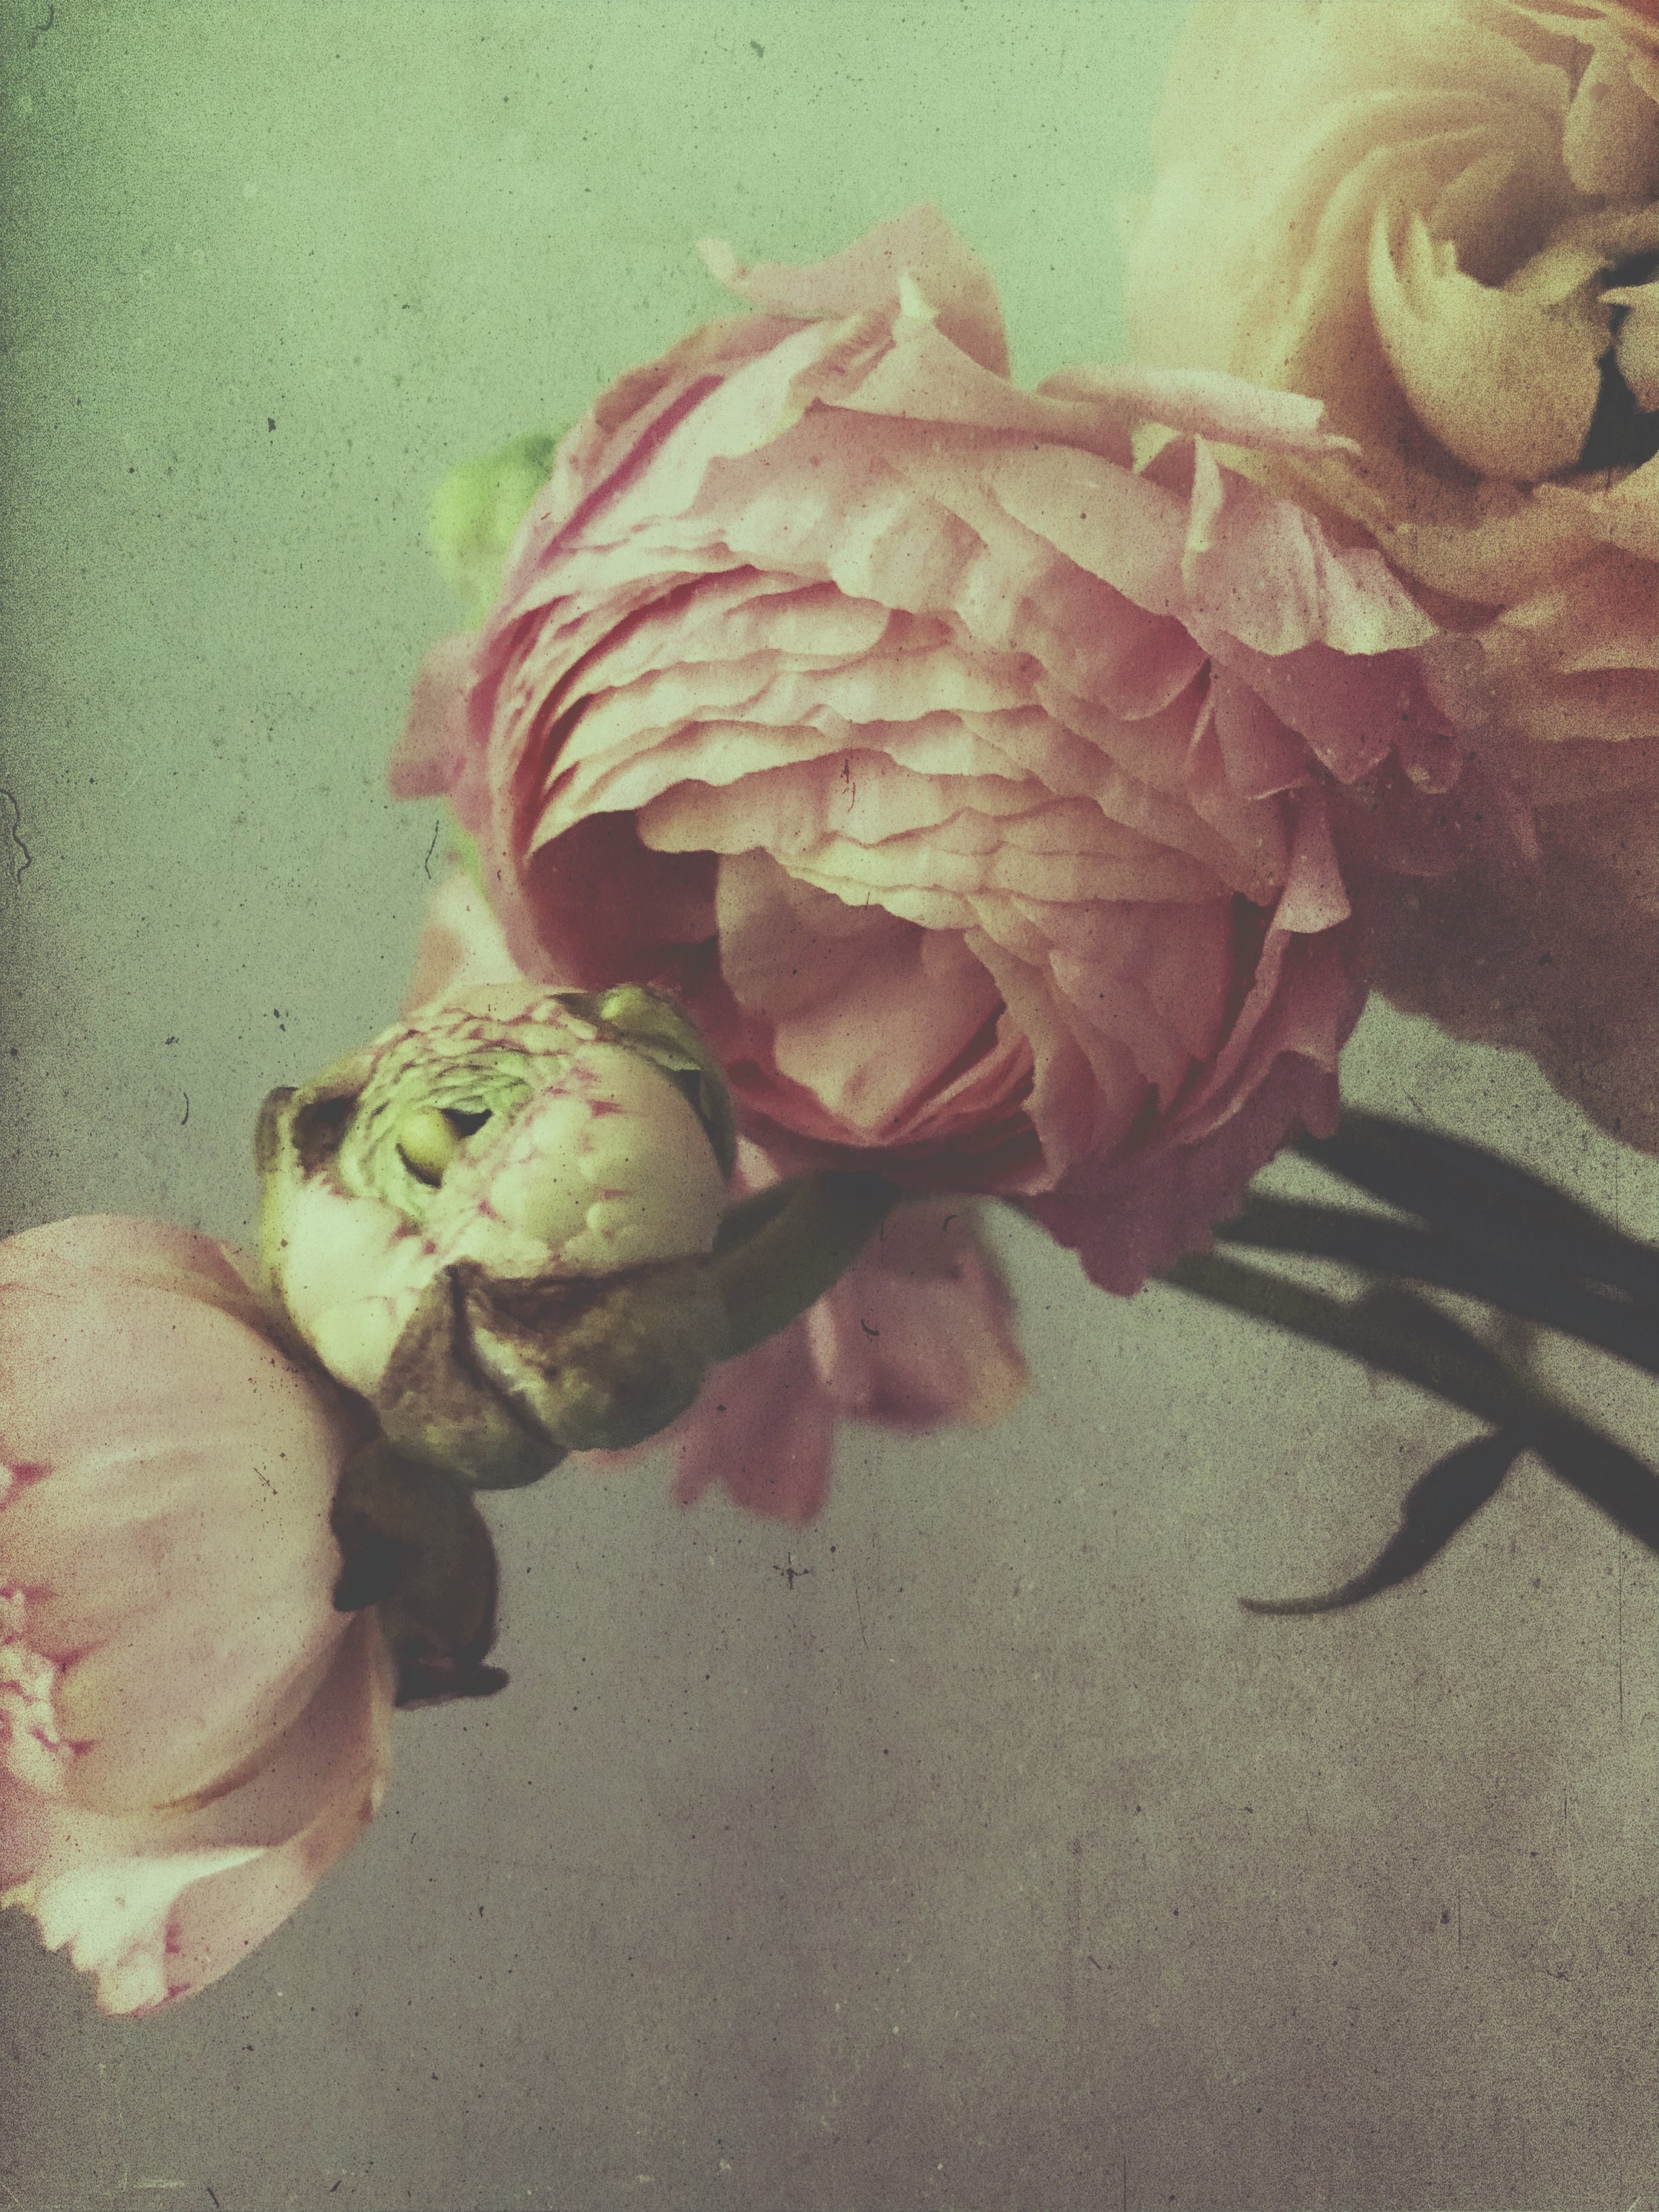
The dust and dirt textures are my most used at present. The textures work perfectly for this style which is why the first two layers are from this pack. Granule, when used in orientation 1 via the soft light blend at 100%, gives the image a brightness along with darkened granules around the edges of the image. The Organic texture provides a more dappled effect with better coverage when used at 100% through the soft light blend, orientation 1. To bring in a little more light and softness at the top of the image, I used the Franklin texture at just above half of its full effect via the screen blend from the Emulsions pack. I wanted to keep this look going by making the bottom half of the image darker, but not by necessarily using a dark colour. I simply changed the orientation of the 1990 texture found in the vintage pack, so that the fuchsia colour would be more concentrated at the bottom of the image when changed to orientation 3. I also changed the blend back to soft light so that the colour would not be too light and stop the effect of the dust and dirt textures. The final texture I used was Heliotrope which is found in the X-Film pack.
I wanted to reduce the saturation of pink from the background which is why I changed the blend to exclusion - 30%. This enabled the background colour to become more neutral whilst still highlighting the dust and dirt textures at a higher intensity. To finish, I added the Frost pre-set which darkened the image. I really liked how that looked so I reduced the exposure further, increased the colour saturation by half and then used the fading tool to create further darkness and softness within the image.
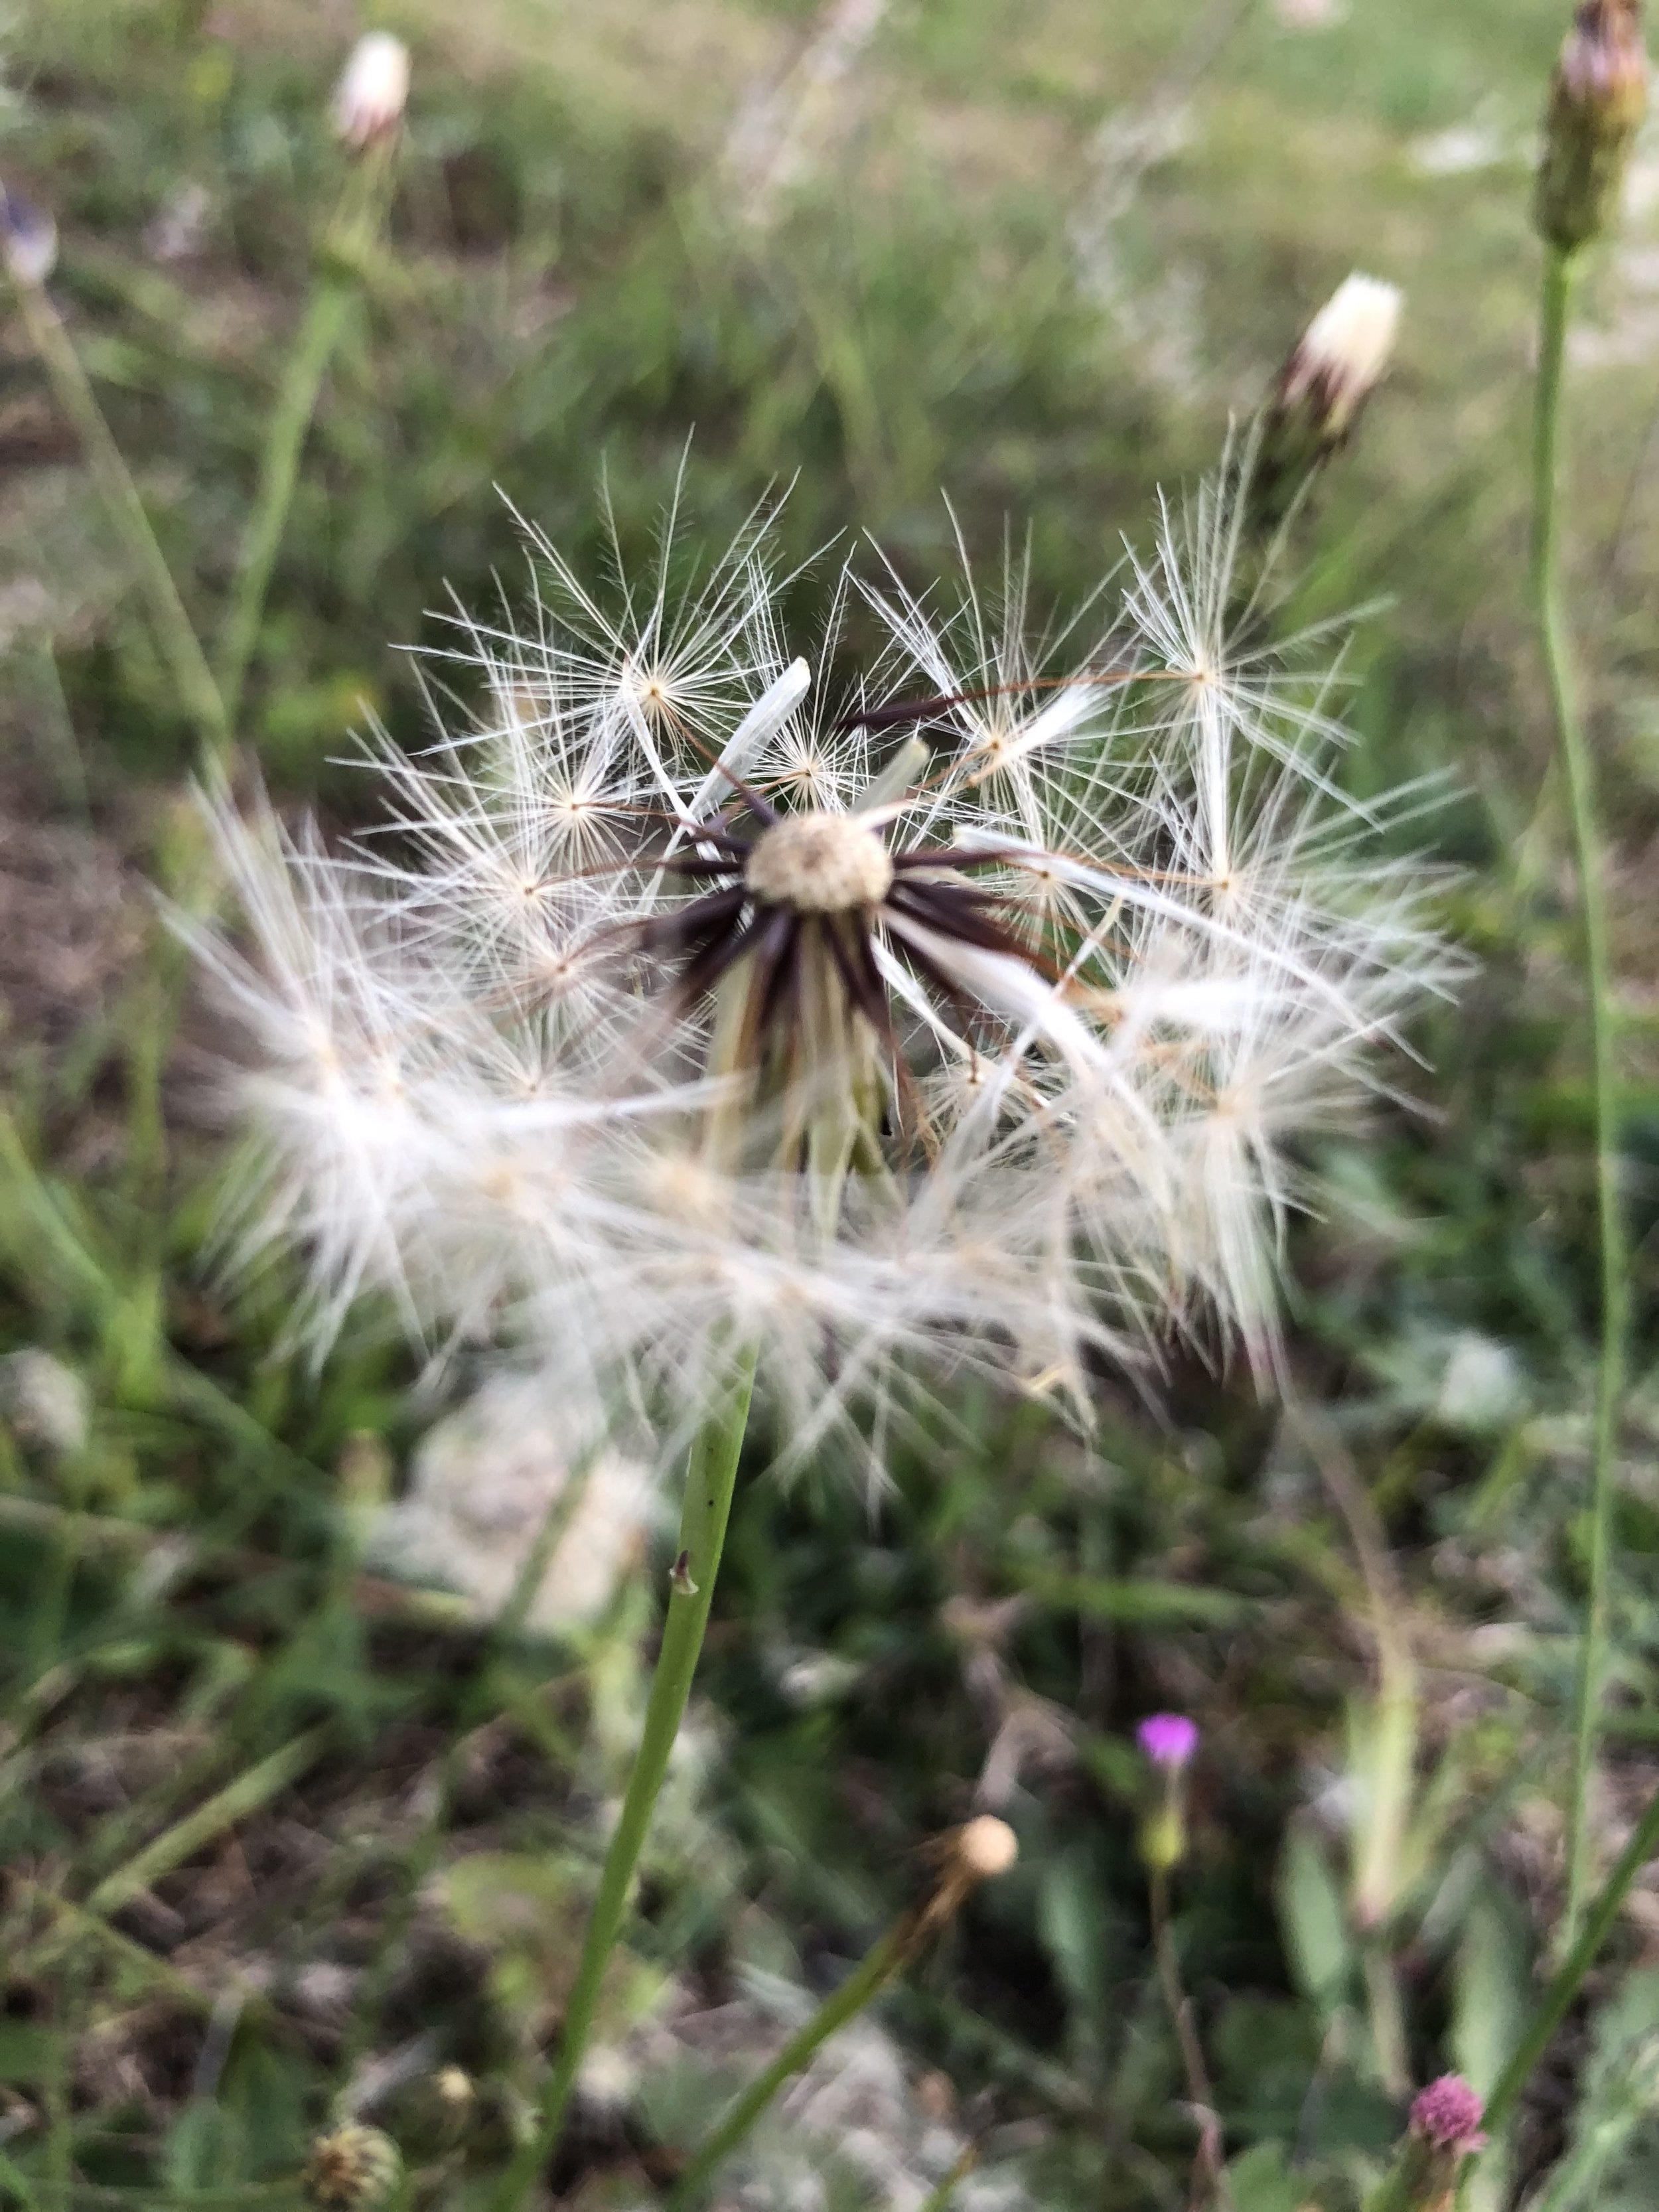
FORMULA CODE: VVLMIWR
I have always found dandelions to be magical and so full of promise. I am continually in awe when I capture them using my macro lens.
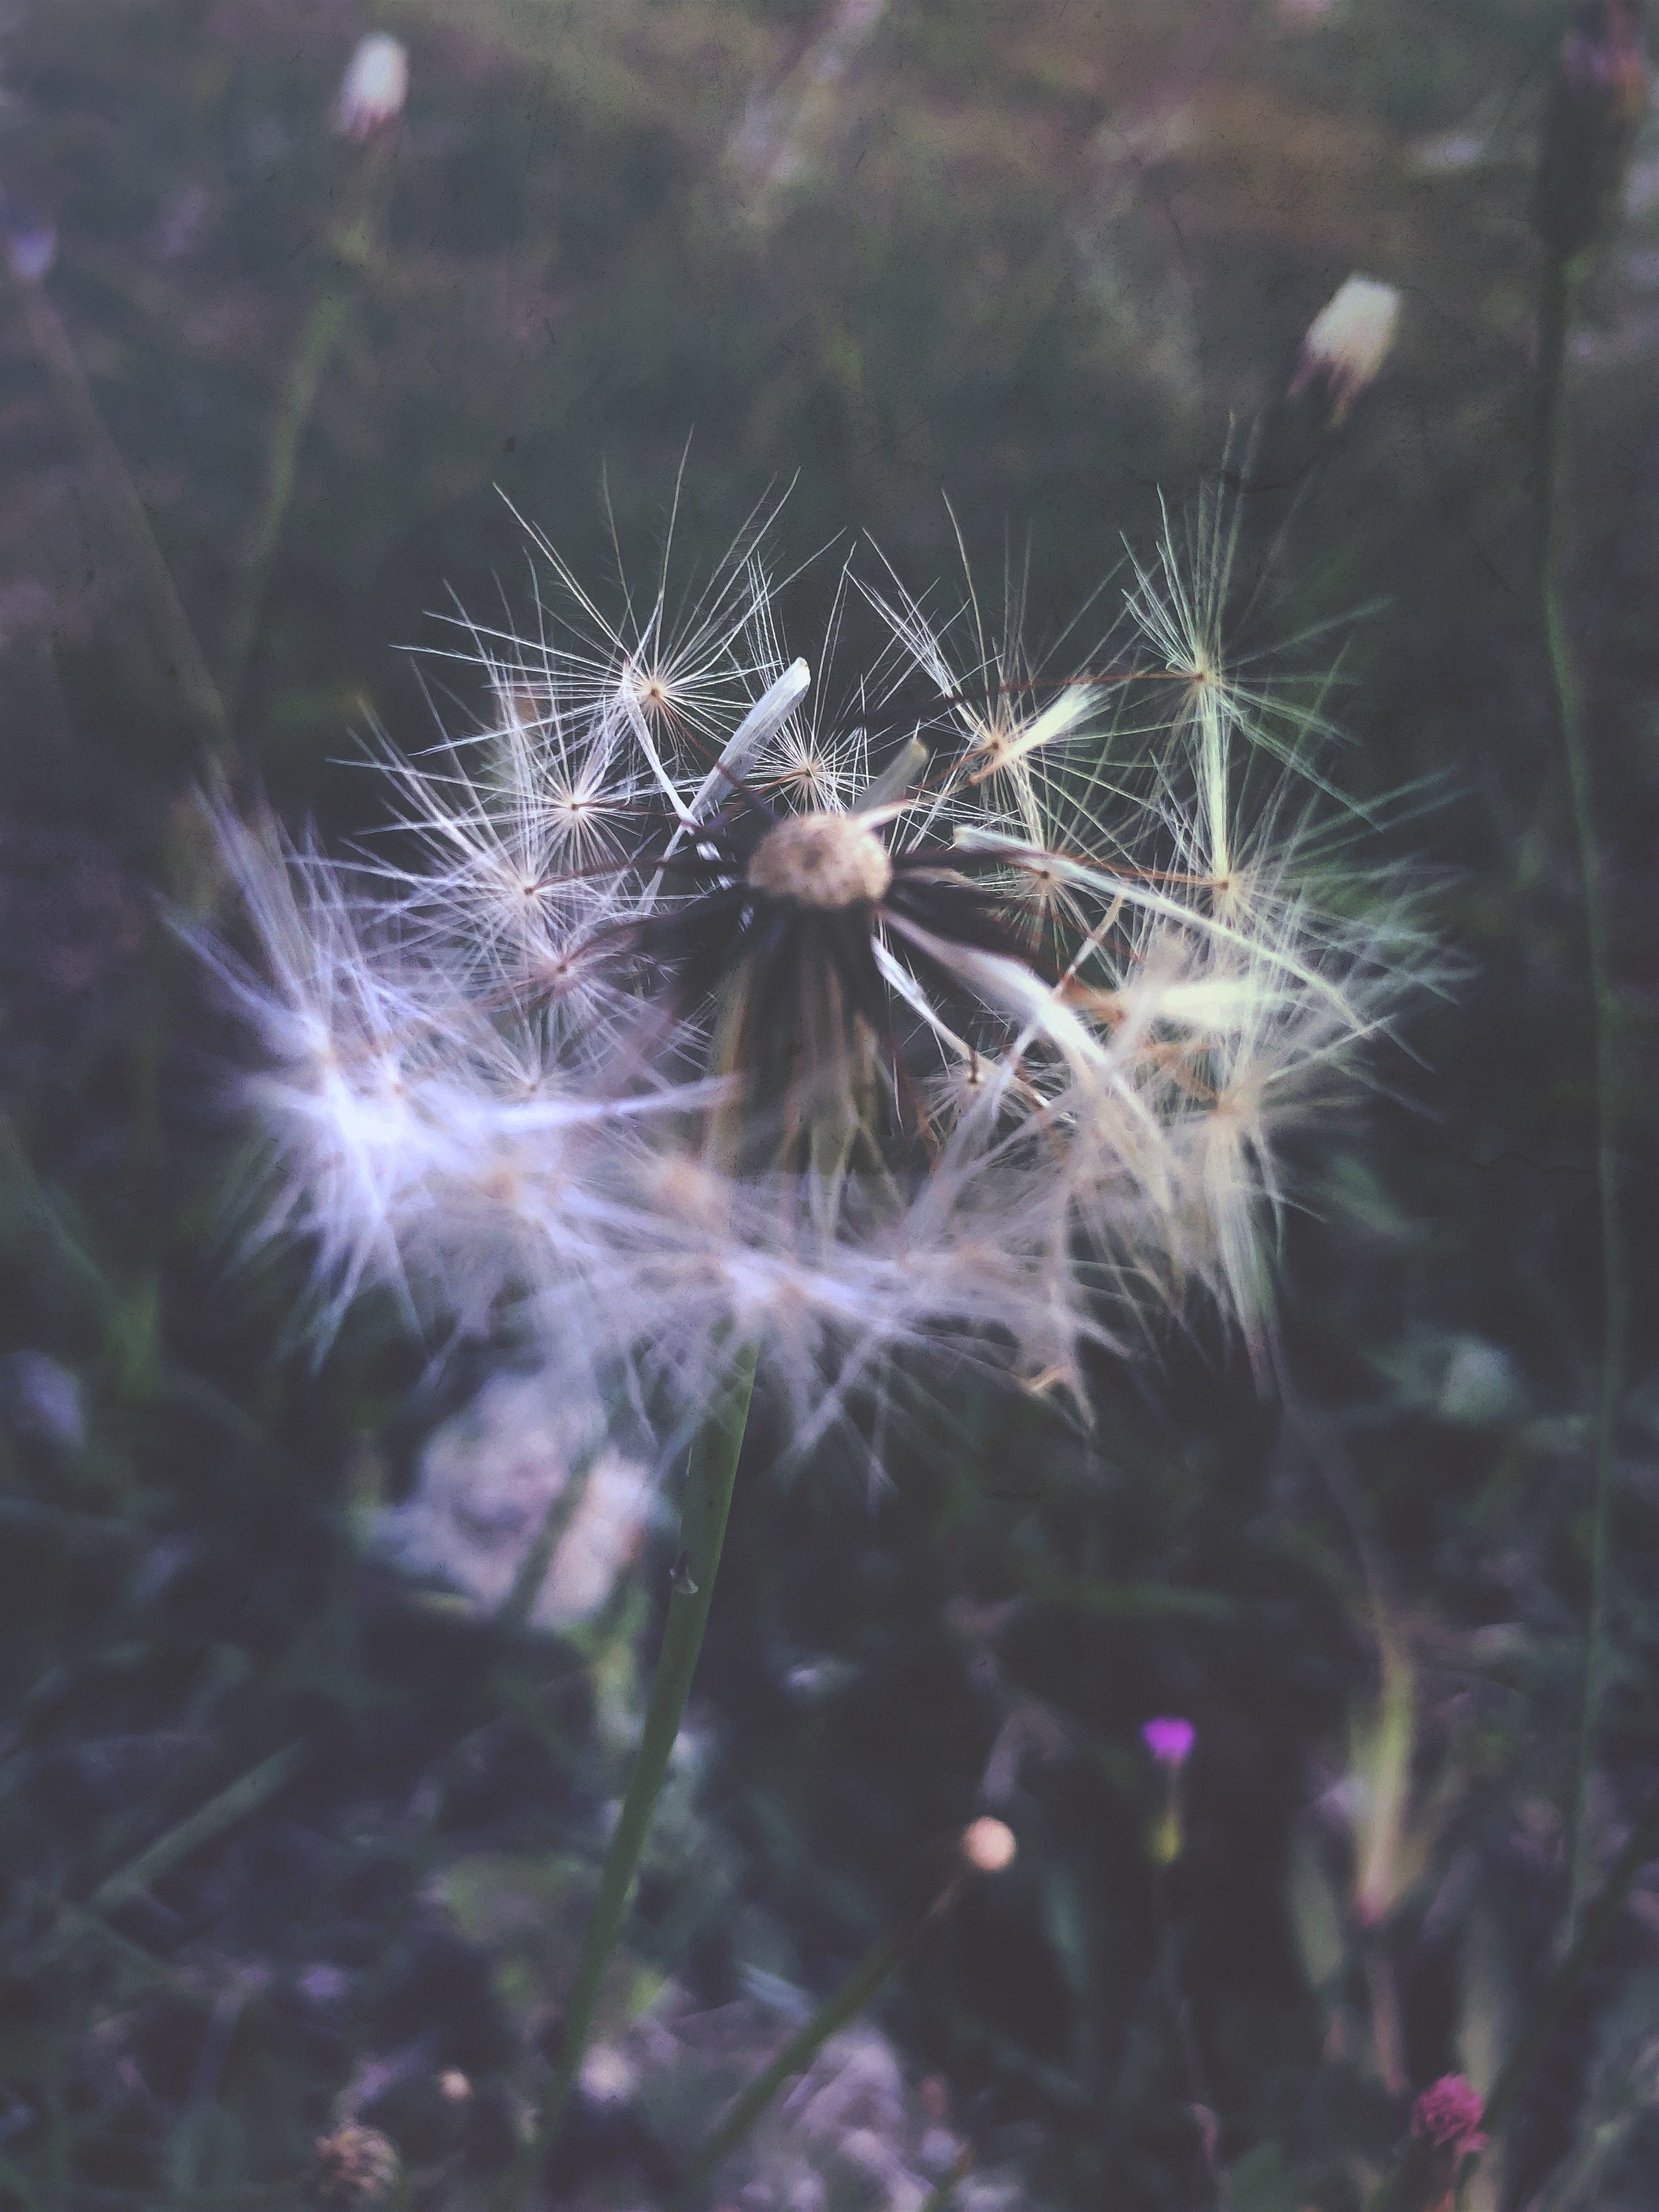
For this formula, I wanted to create a dream like effect. I started with Dawn from the Landscape pack. I decided to use orientation 3 in the lighten blend 40%, so that the background colour would be more evenly balanced throughout the image. I then used Gallows to highlight the centre of the dandelion in the Hard Light blend, orientation 4 at 32% from the Atmospheric pack. After I added the Indigo layer in Hard Light from X-Film, the image became cooler and the background dulled so that nothing was competing with the dandelion.
To continue making the dandelion stand out, I needed to make the background darker which I did by adding Tonic in overlay via orientation 4 from the Anomaly pack. The next layer involved creating softness at the top of the image through circle perks in Radiance, using orientation 4 in screen blend. The final texture saw the image take on a dreamscape feel. The dust and dirt texture of papery in the lighten blend, gave a hazy look to the image which was the effect I was trying to create. To finalise, I added the Golden Hour preset to add subtle warmth and then used tools to fade, blur, increase contrast and highlight the image.
See all of Layla’s wondrous imagery here!
